Quick guide for “Escape from the Room of the Serving Doll” game. Contain Complete walkthrough for the entire game, with both endings. All puzzle solutions with step by step instructions and screenshots.
Escape from the Room of the Serving Doll is an escape room game. You are locked in a basement
room with a sex doll named Aisha. Sex android would be a better description as Aisha can talk and
move on her own.
Interface
The interface will only appear when your cursor is in the area to activate the interface. Not shown is a back option, which appears at the bottom of the screen for some locations in the room.
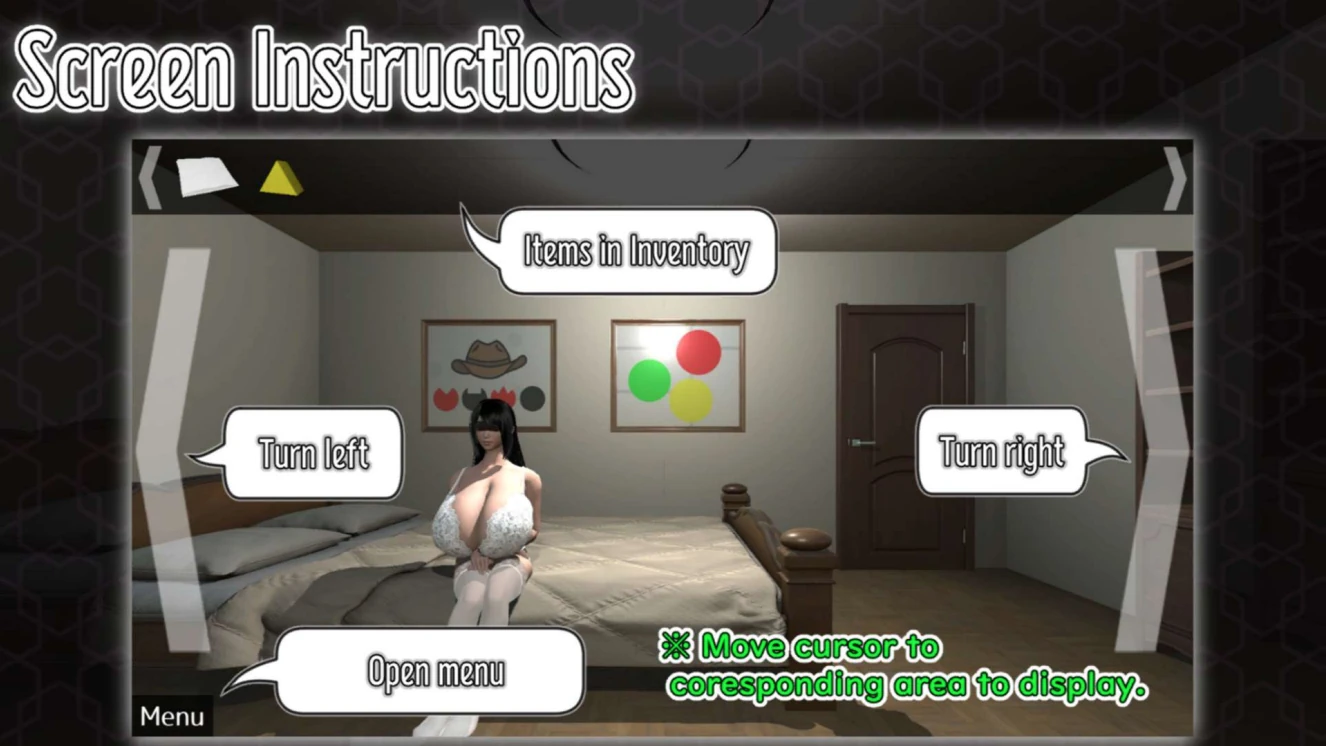
Right click items in your inventory to examine them. Left click to drag and drop. You can left click to pick up and left click again to drop, or drag and drop, your option.
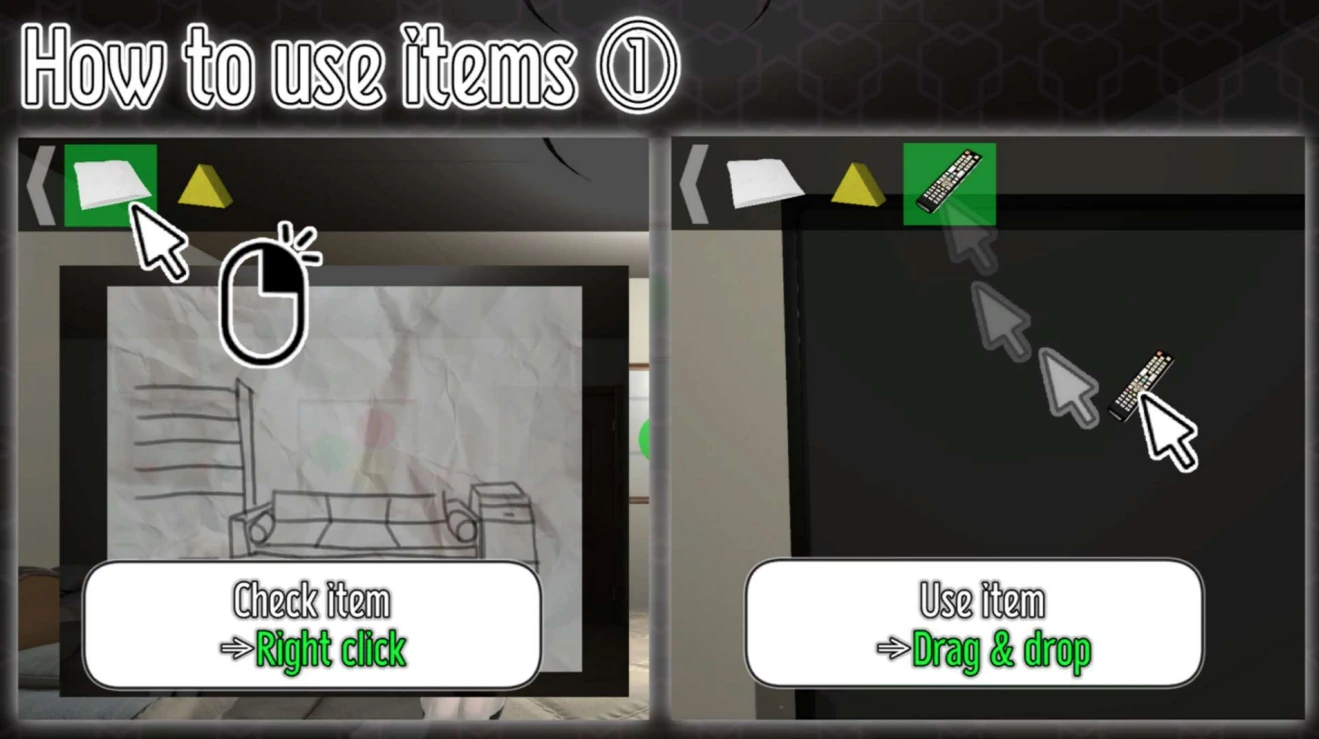
Drag and drop items in your inventory to combine them, like inserting the battery into the remote control, as shown here.

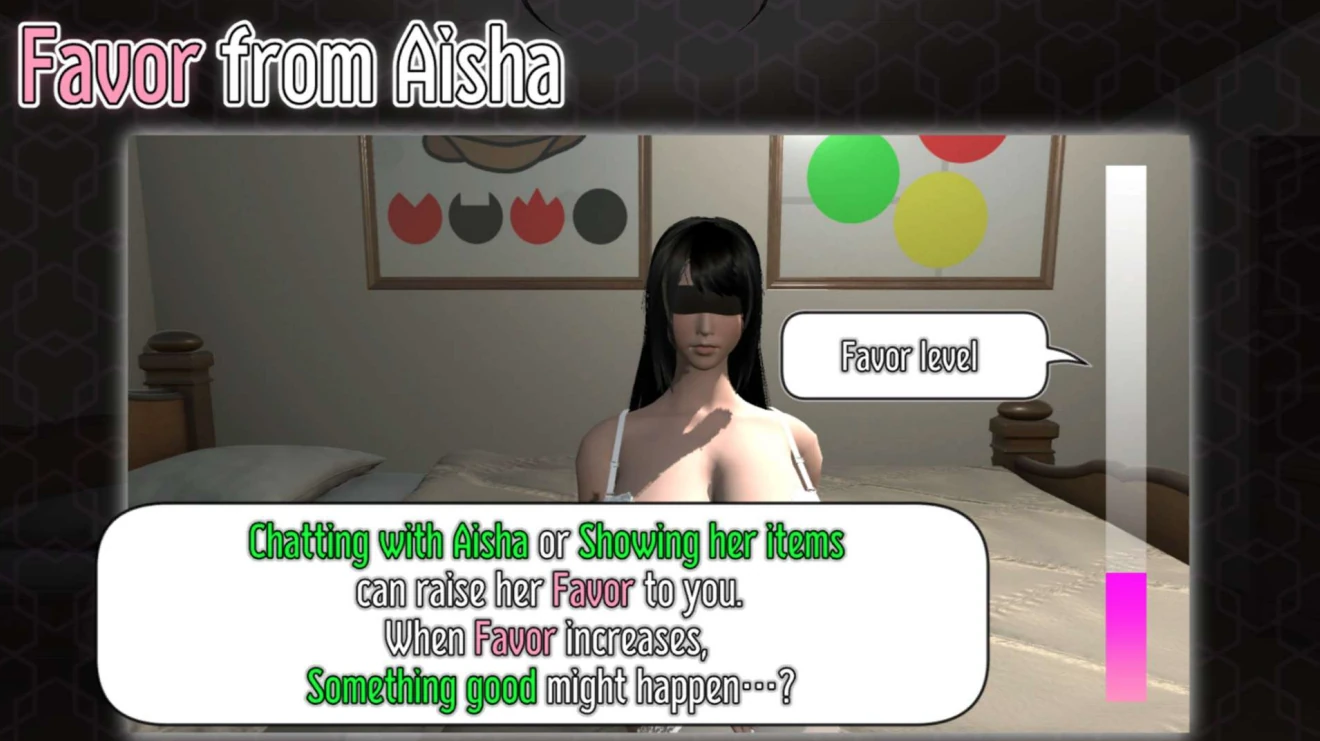
Interacting with Aisha
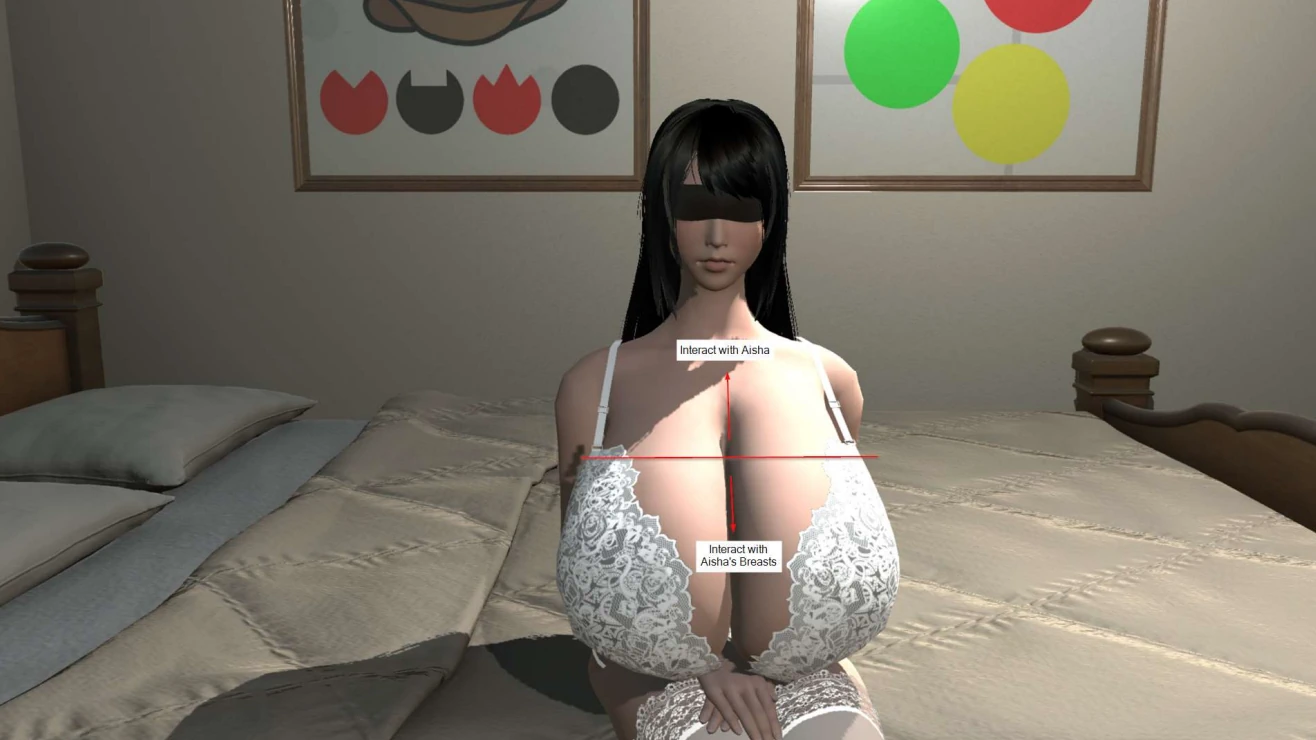
When you interact with Aisha, where you click on her body will determine your interaction. If you want to show Aisha something or talk to her, click on the upper half of her body. If you want to interact with her breasts, click on the lower half.
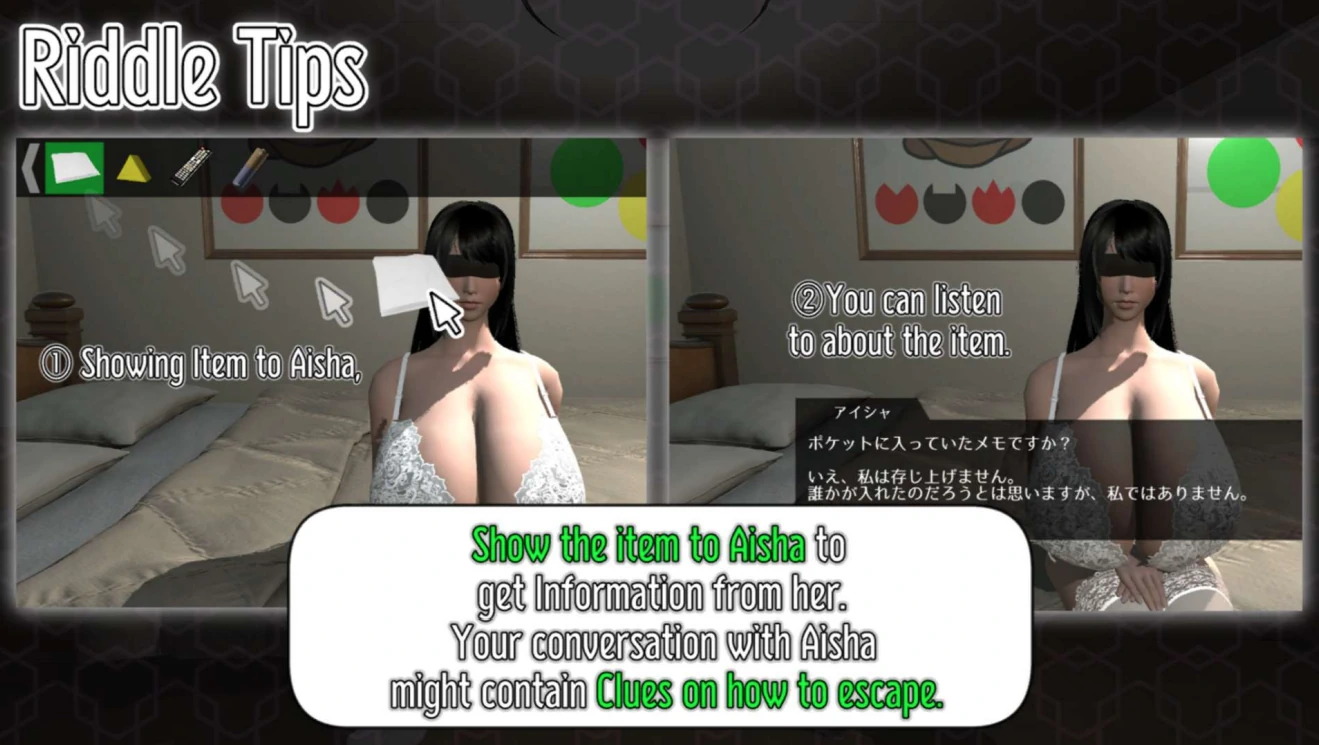
Show Aisha everything that you pick up in the room, including items that you create by combining items. Aisha will give you information, based upon the items that you show her.
This will increase Aisha’s Favor, shown in the bar on the right. As the Aisha’s Favor increase she will be willing to do more with you.
The Room
Clues for everything you need to escape the room, by opening the locked door, are in the room. You will frequently need information from different items in the room.
Walkthrough
Start off by looking at the note in your pocket.
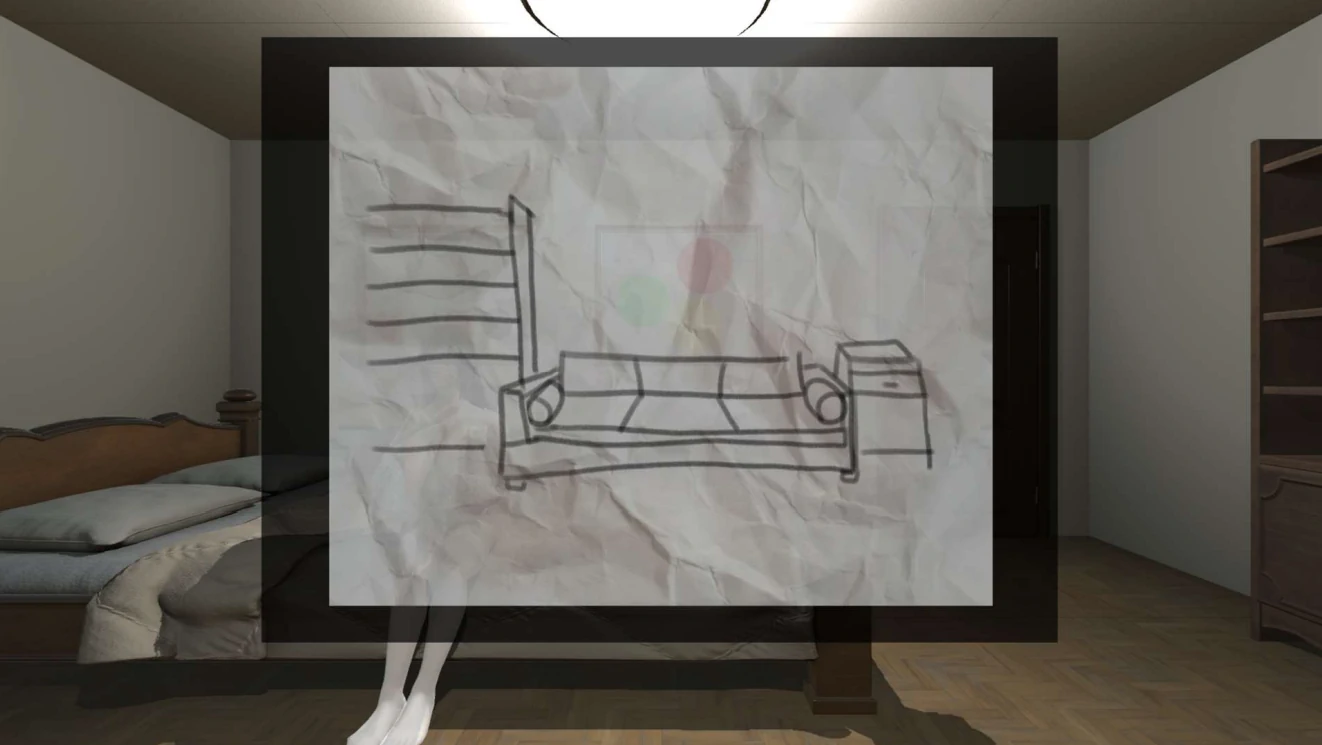
Show the note to Aisha. Aisha will tell you that someone else put it there. She notes that it is thin paper and you can see through it a little. You will gain some favor with Aisha.
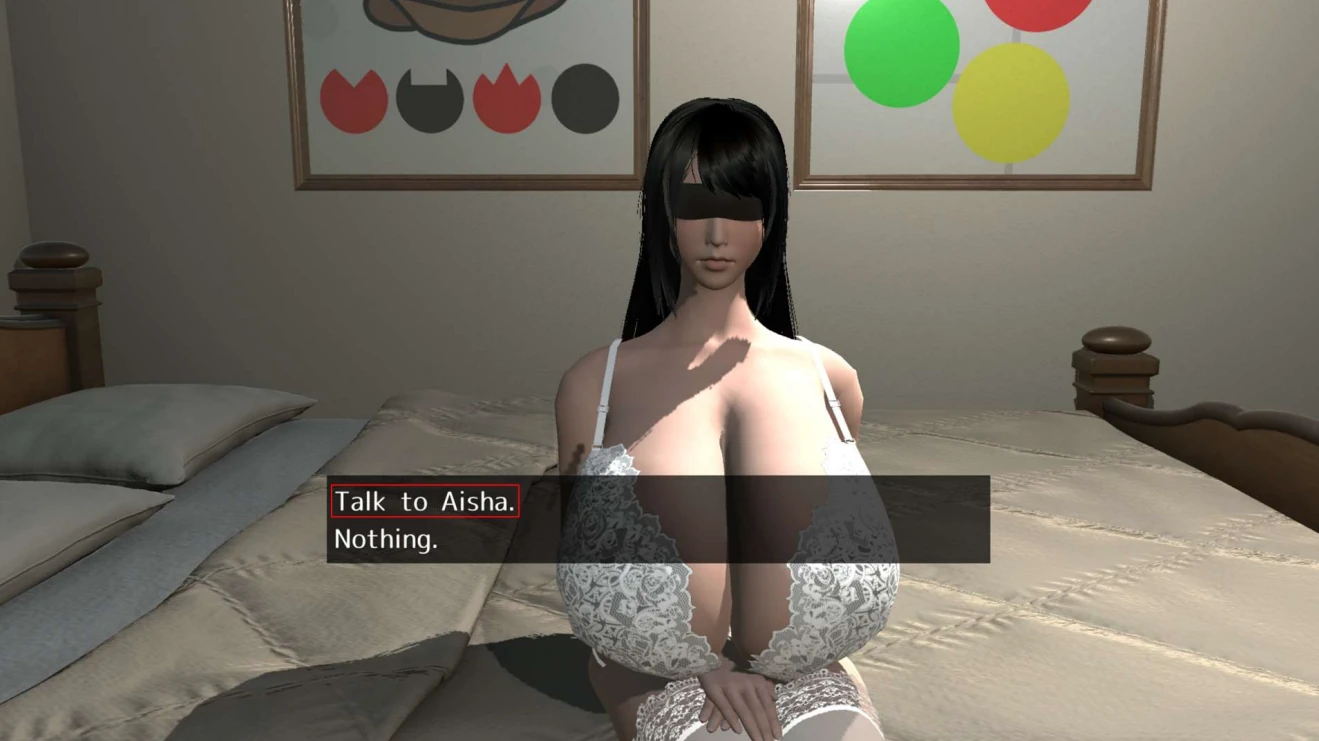
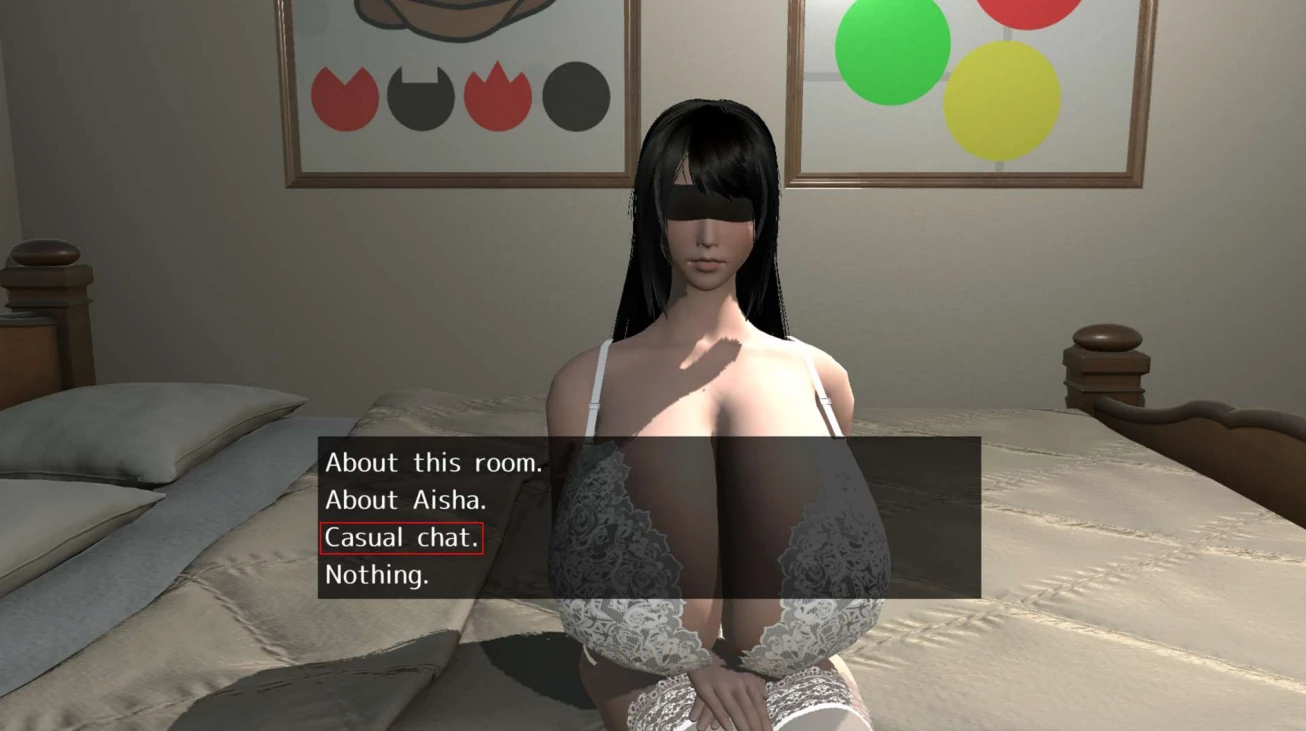
Talk to Aisha again by clicking on her upper torso. Select the Talk to Aisha option.
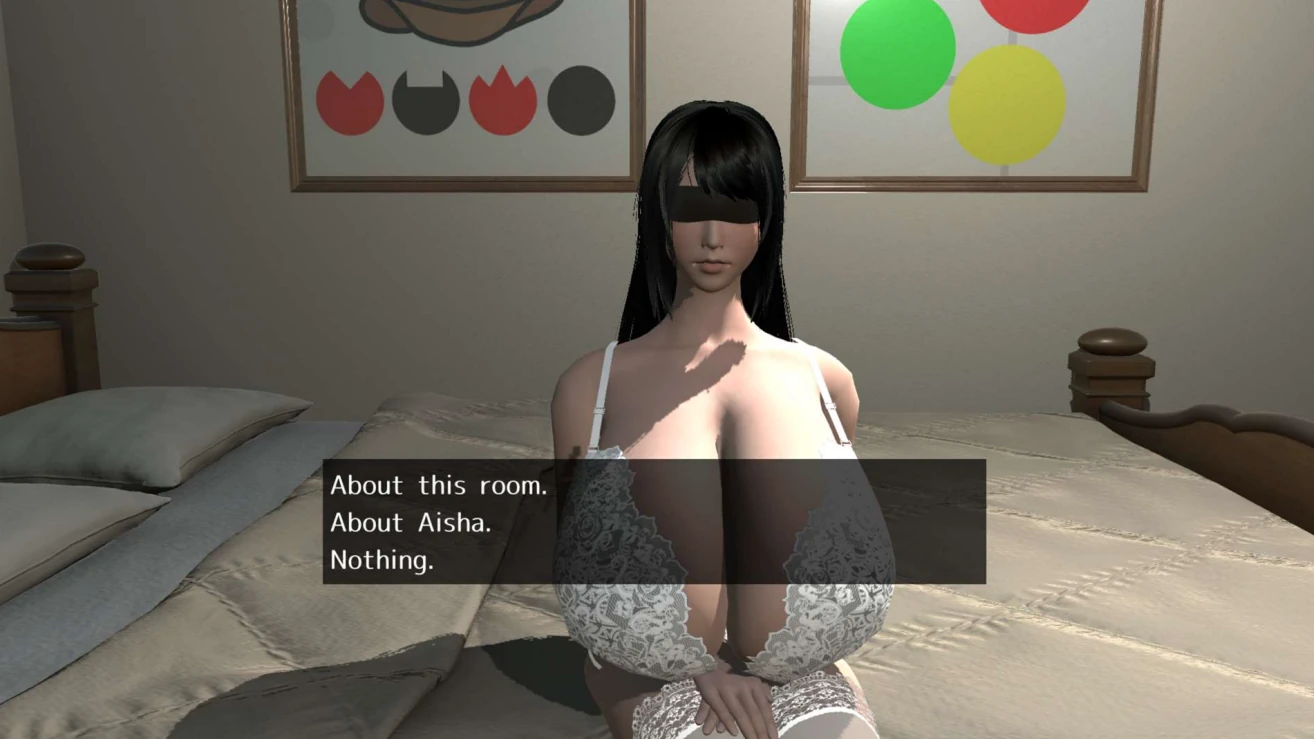
Select the About this room option. Aisha will inform you that it is in a basement.
Talk to Aisha again and this time select the About Aisha option. Aisha explains to you what a serving
doll is, and its function. She also tells you that android would be a better description of what she is.
You can now have a Casual chat option when you talk to Aisha and you can have her service you.

Talk to Aisha again and select the Casual chat option. You will gain some favor with Aisha. While showing Aisha items from your inventory will increase her favor, you will need to engage in Casual chat with her also, in order to completely fill the Favor meter.
Move your cursor to the bottom of the screen to bring up the arrow that will allow you to back away from Aisha.
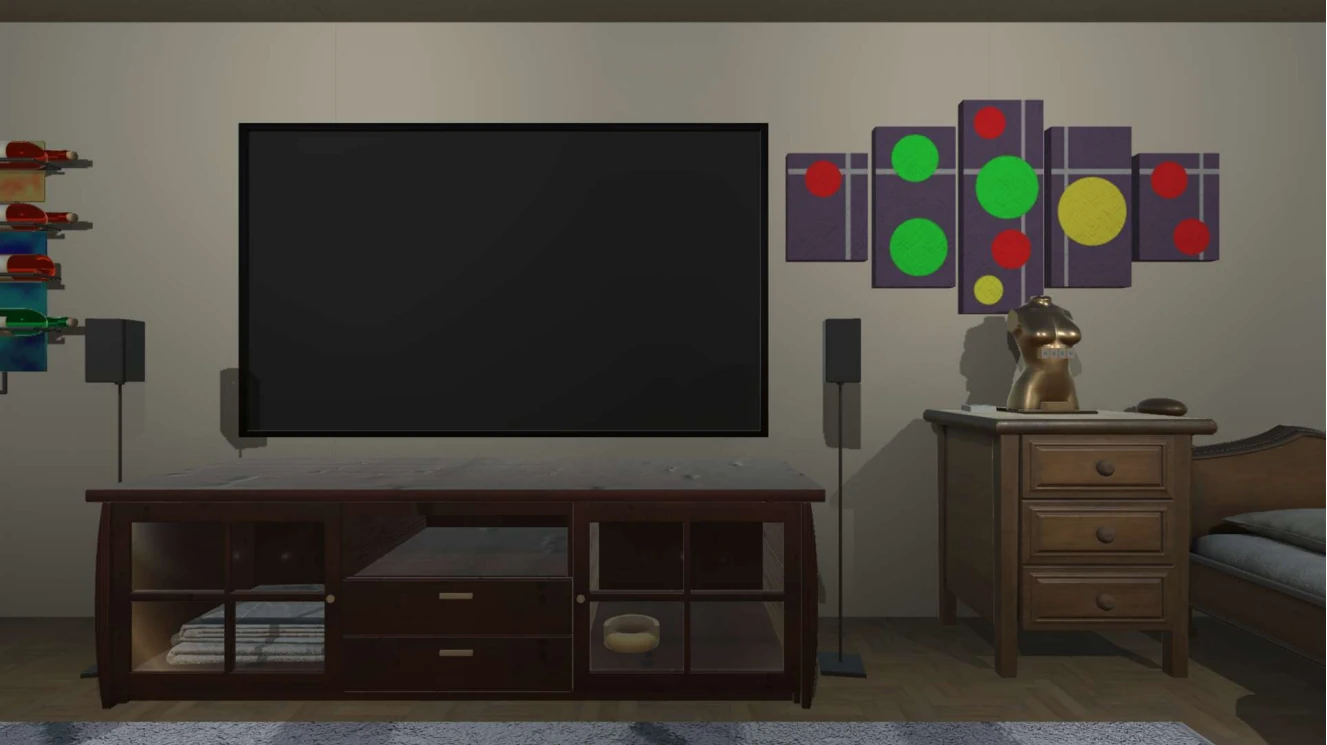
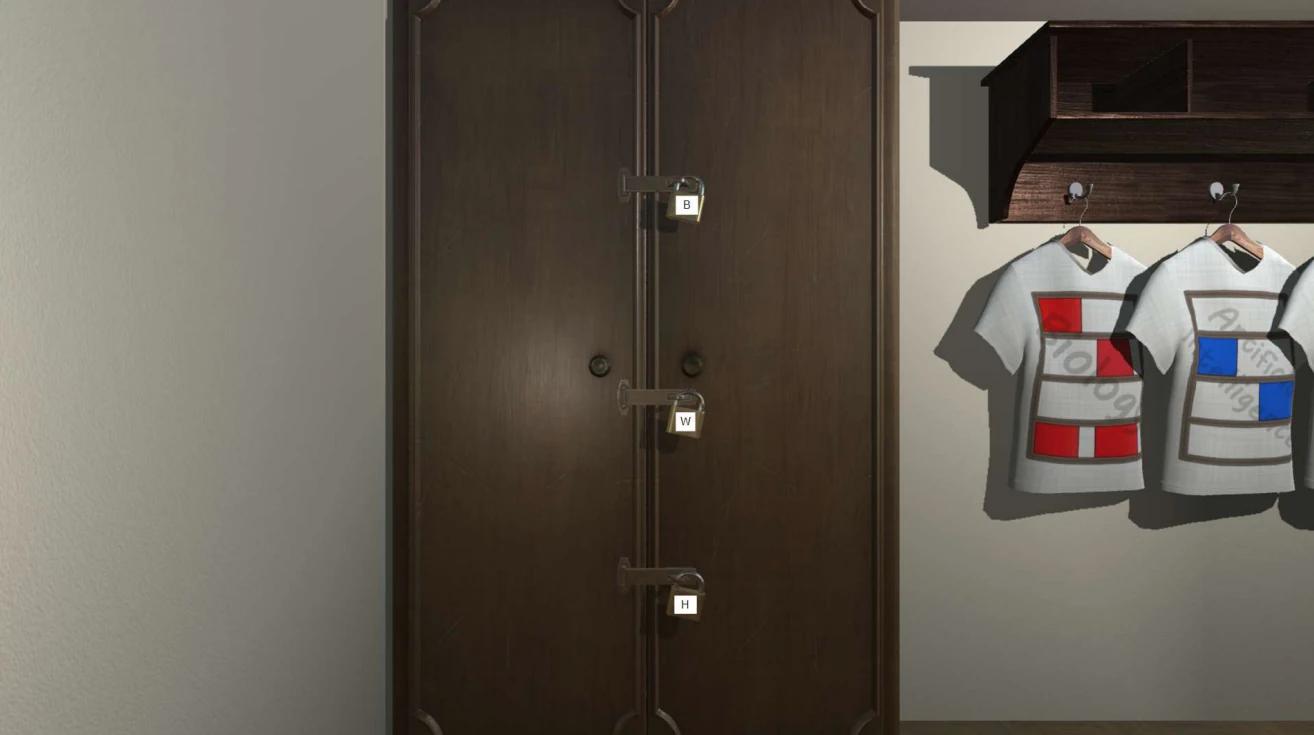
The main portion of the puzzle is the cabinet locked with three pad locks in the corner of the room, opposite Aisha. Each of the three locks has a letter on it. Top to bottom they are: B, W, H.
The B Key
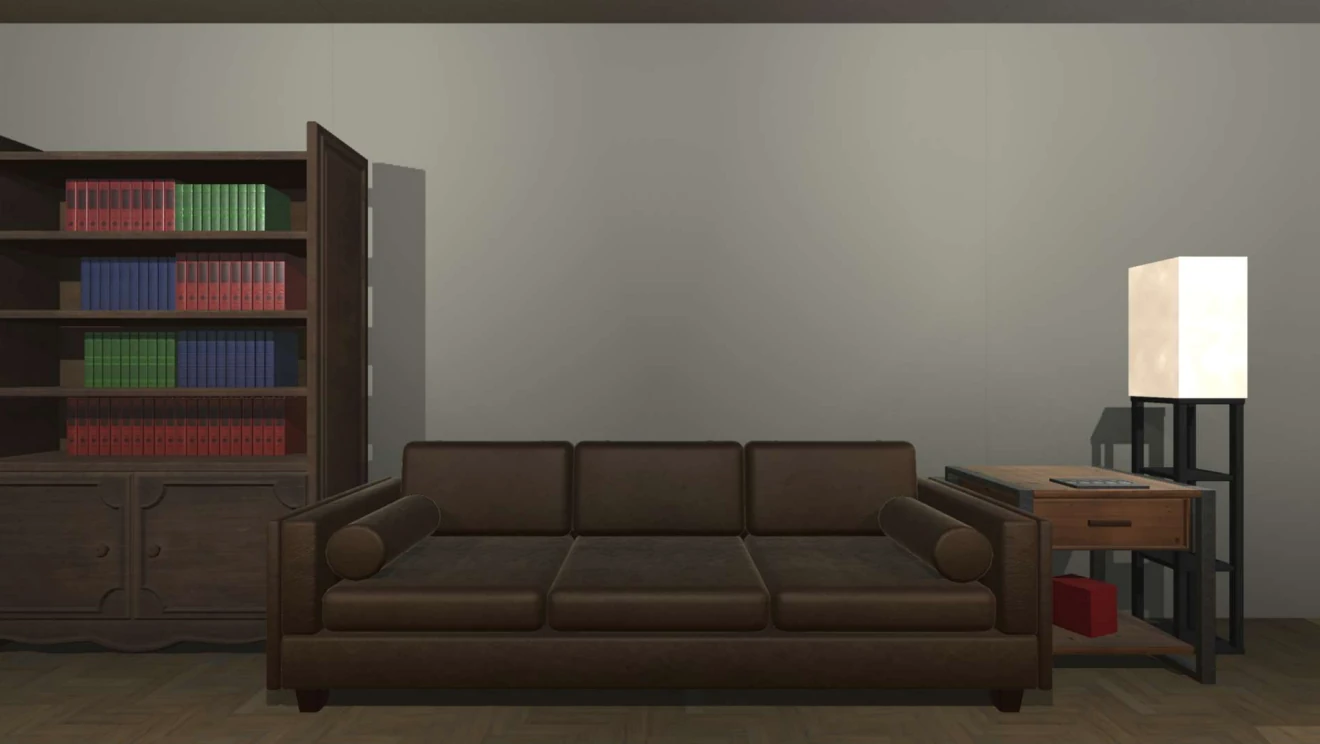
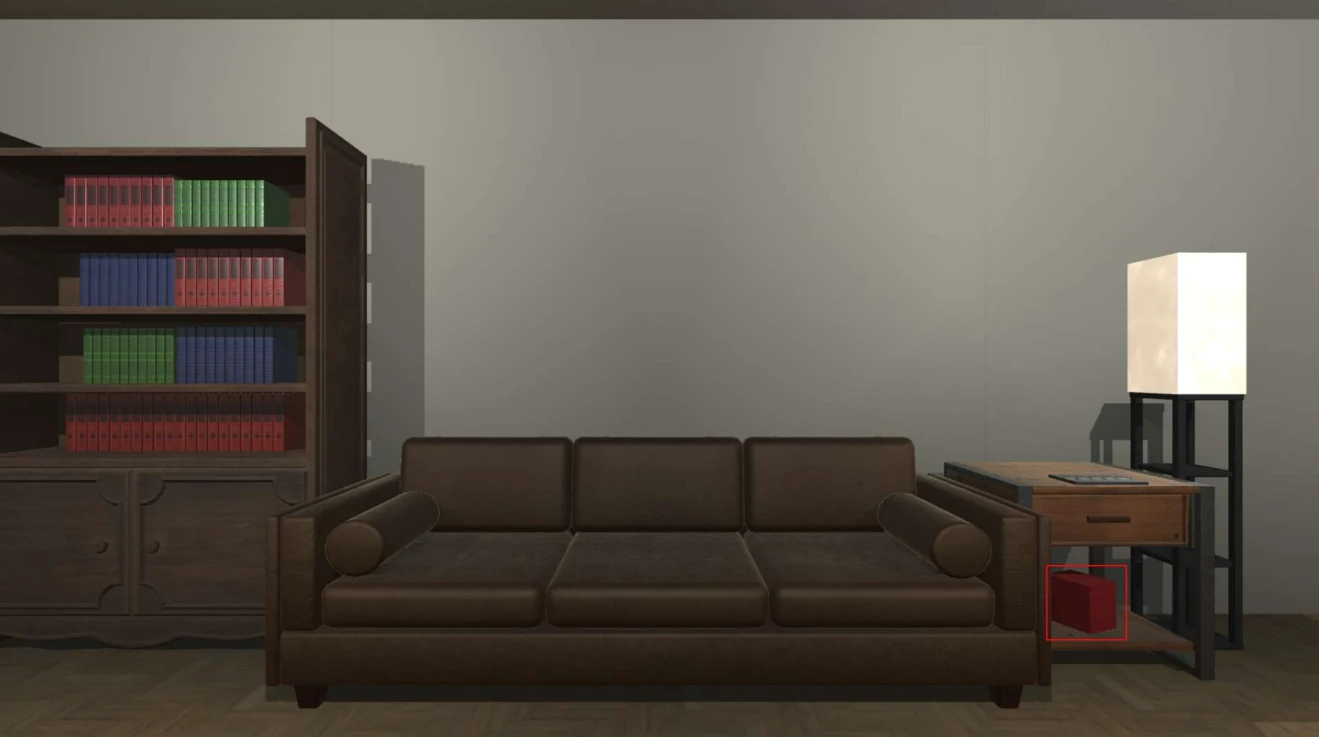
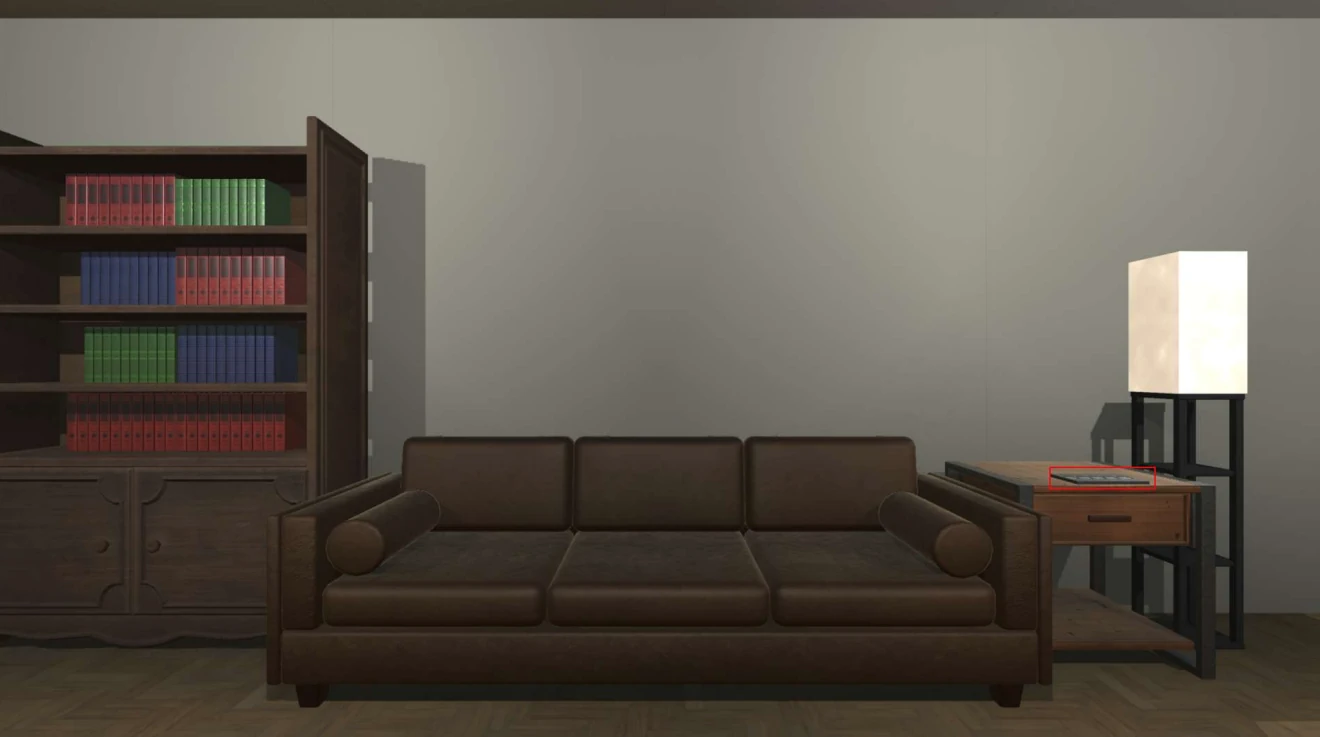
Turn to the wall with the couch on it. Click on the red building block, on the lower shelf of the end table.
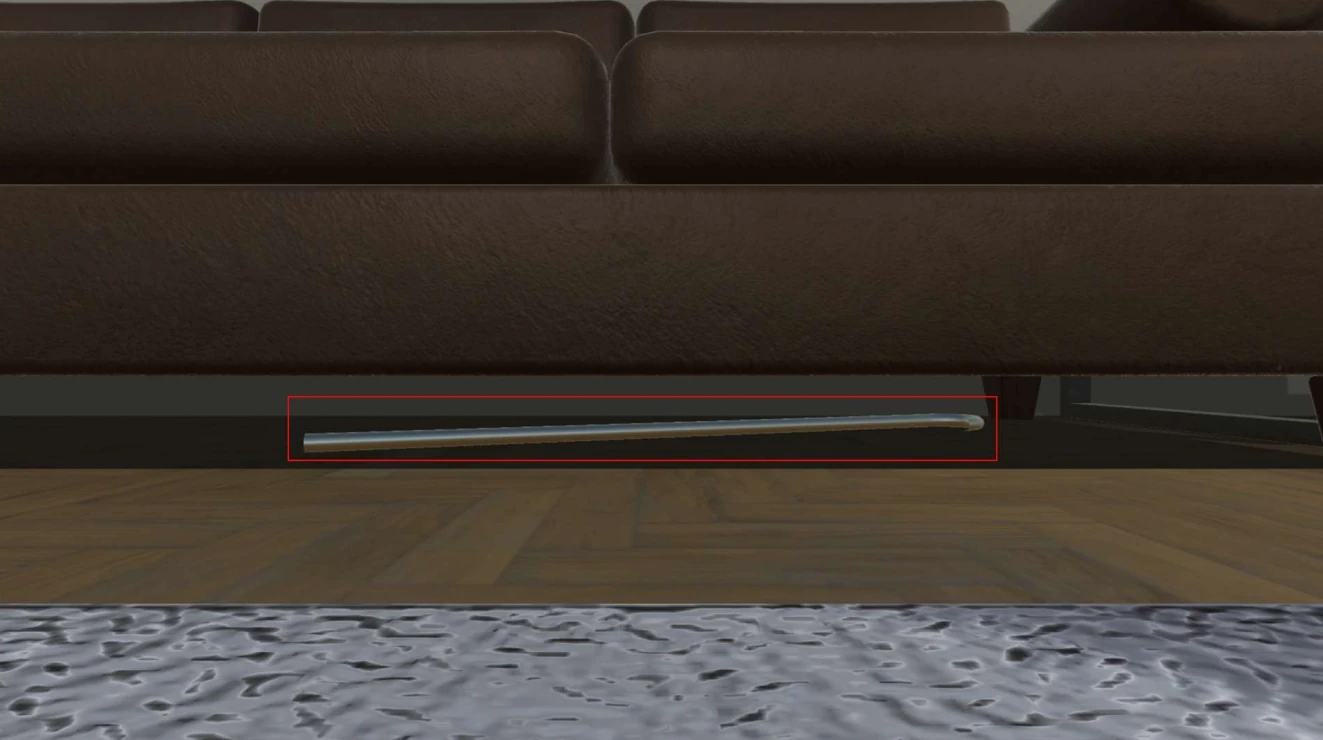
Next click on the floor in front of the couch.
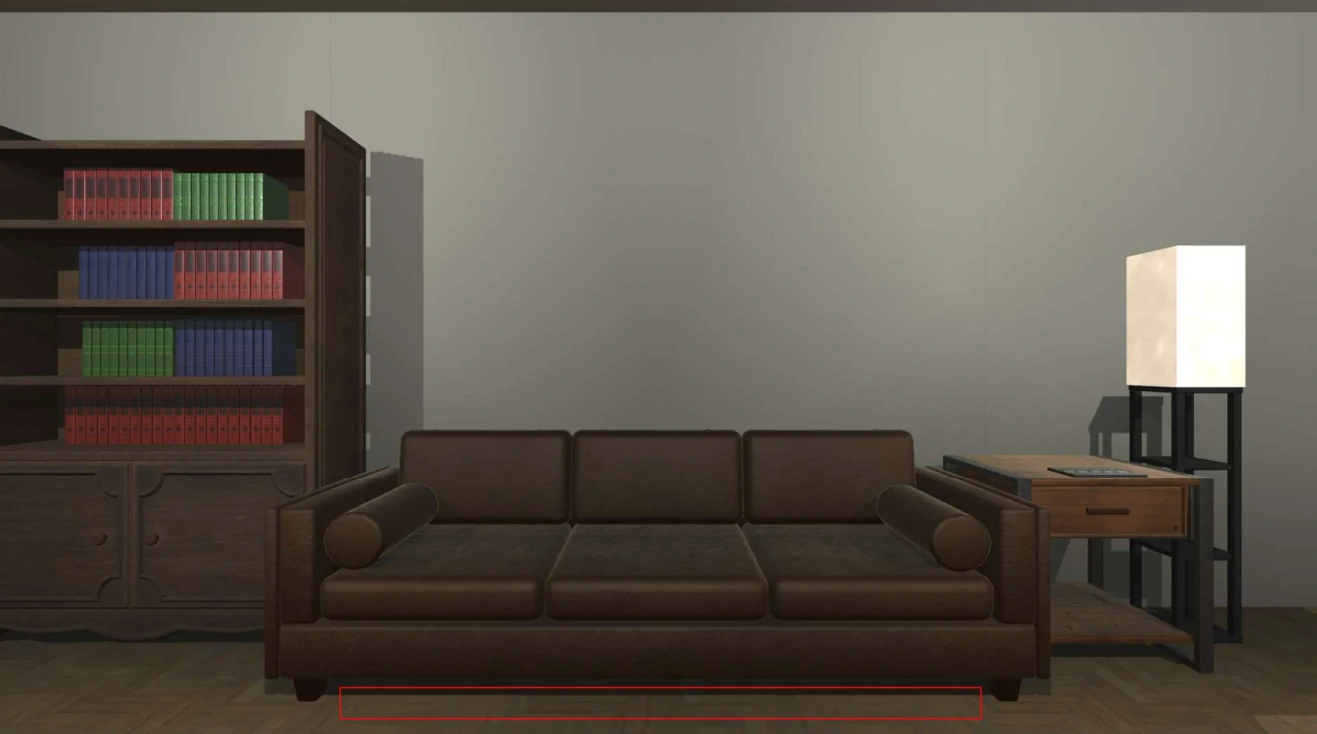
Pick up the Metal rod from under the couch.
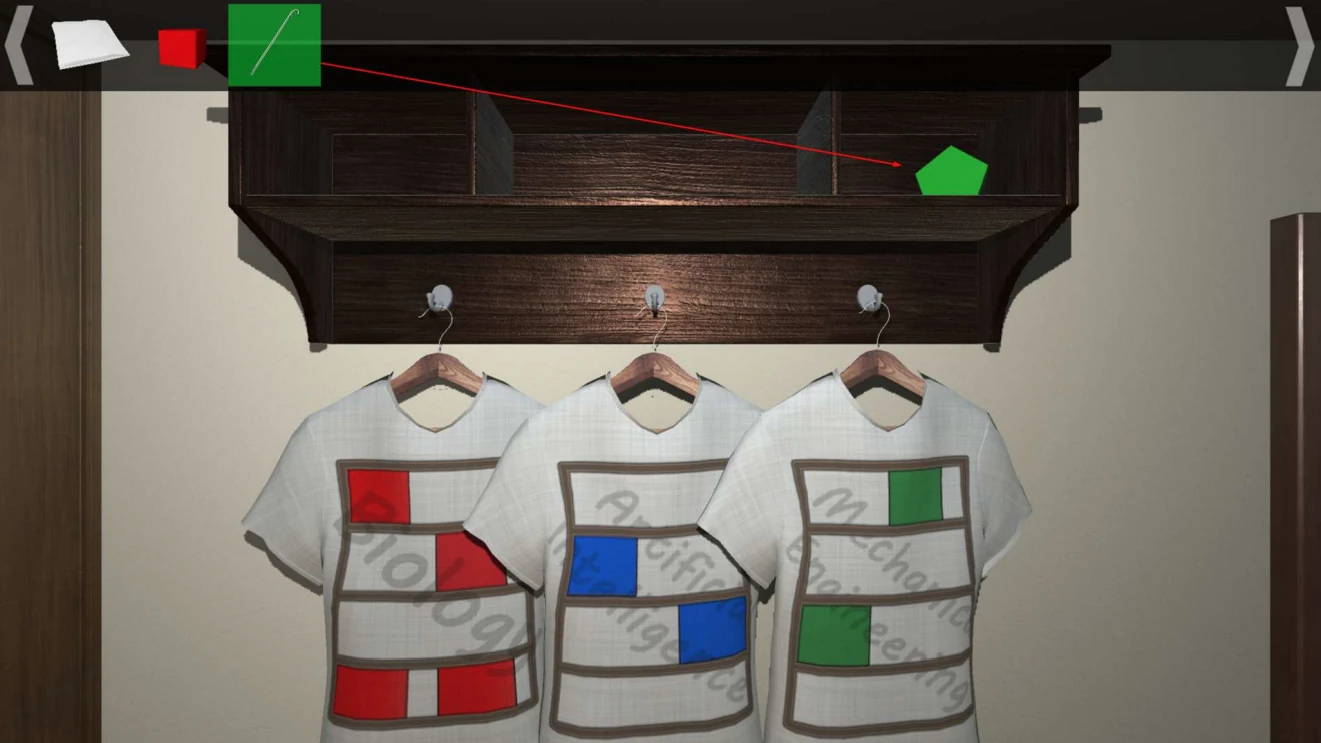
On the wall with the cabinet use the Metal rod to get the Green Pentagonal building block
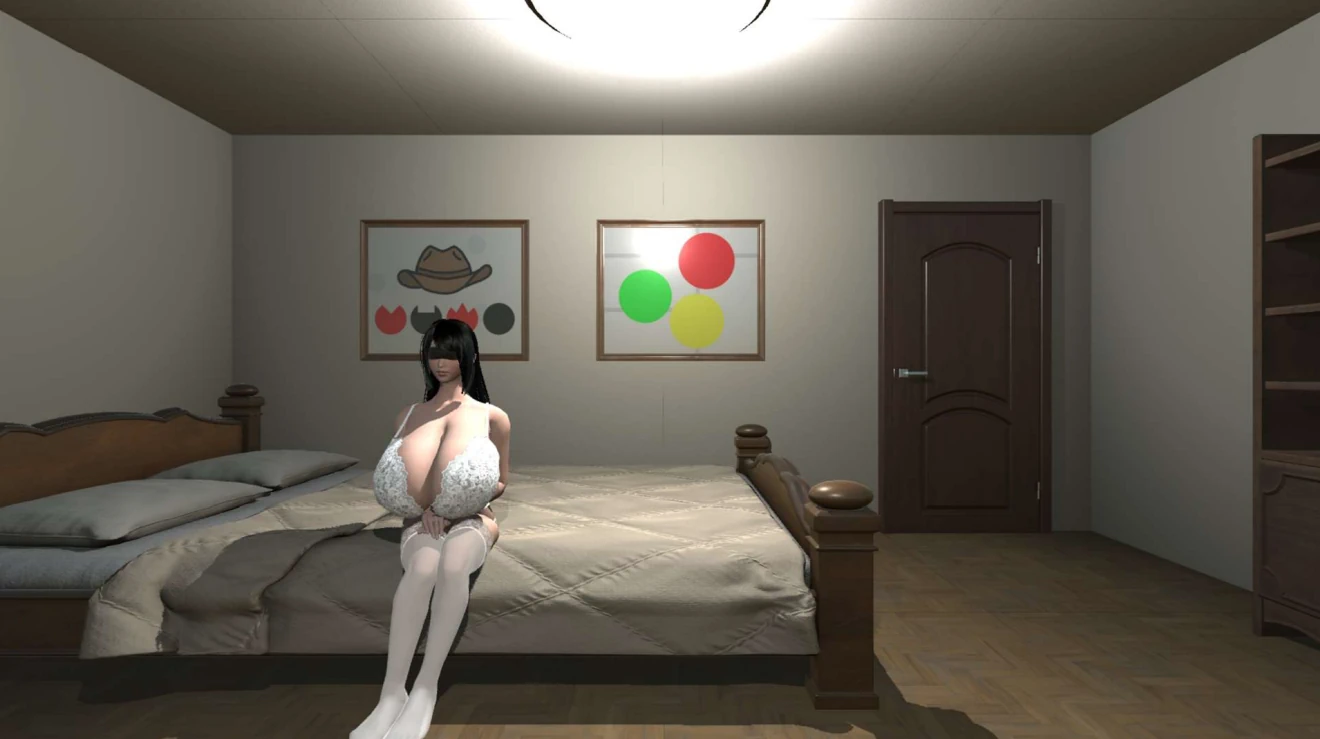
Turn to the bed and click to the right of the bed, on the floor.
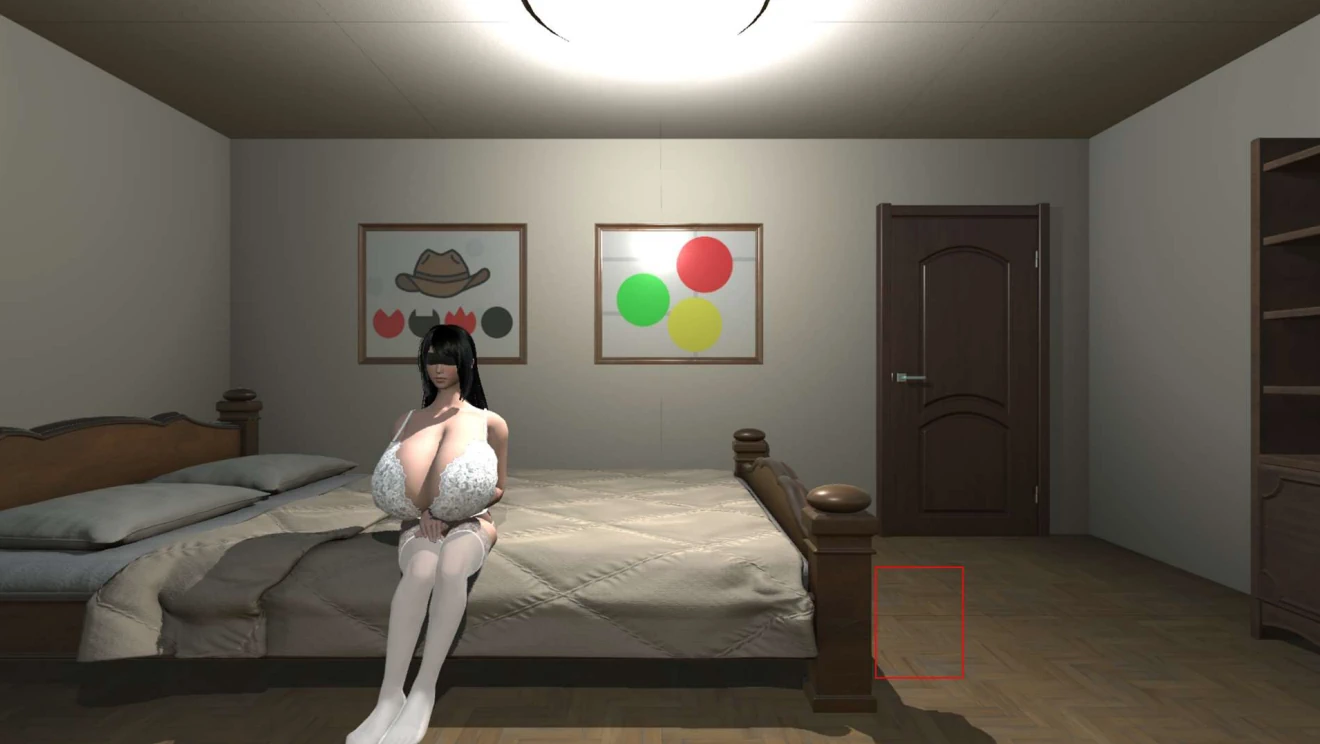
Pick up the Yellow Triangle building block.

Show Aisha all of the items that you have collected so far, the metal rod and three building blocks. Click on the right picture behind Aisha, the one with the three colored circles
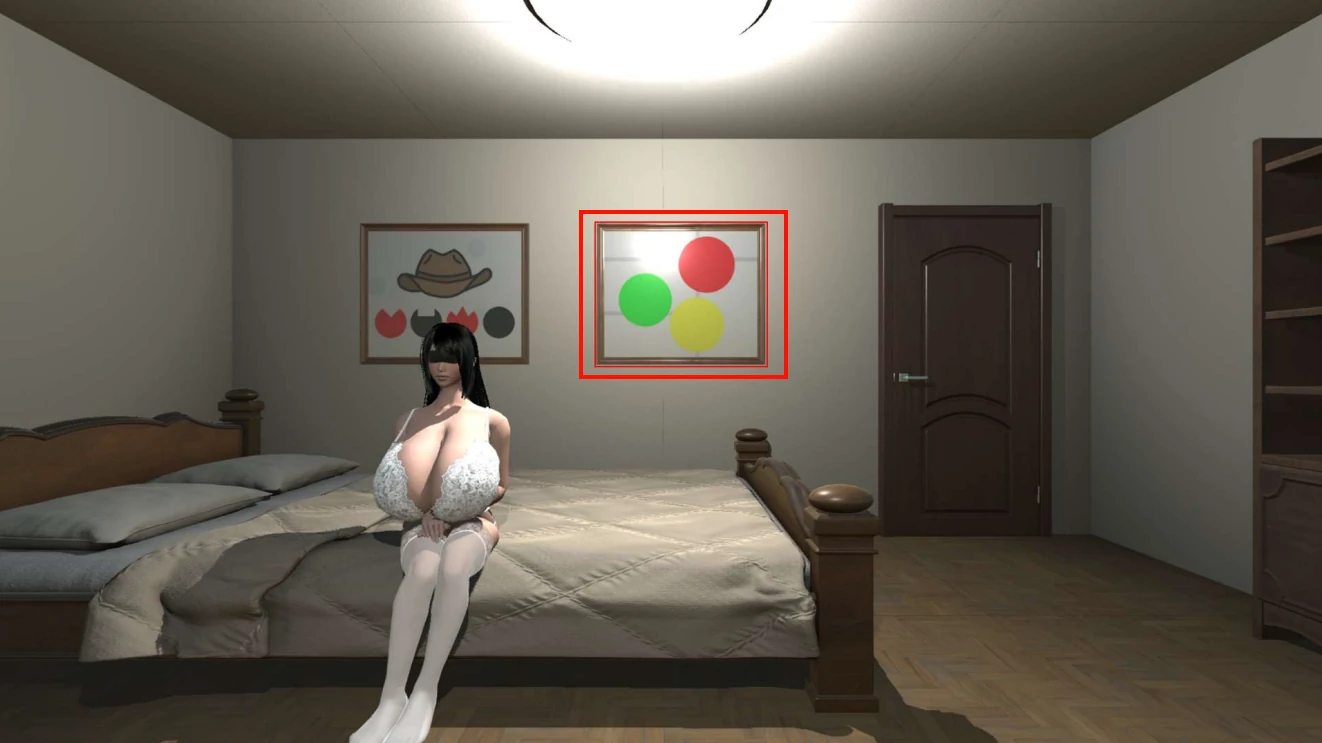
Click on the picture again to swing it away from the wall. Insert the building blocks into the correct holes. After the building blocks have been inserted, click on the back of the picture to close it.
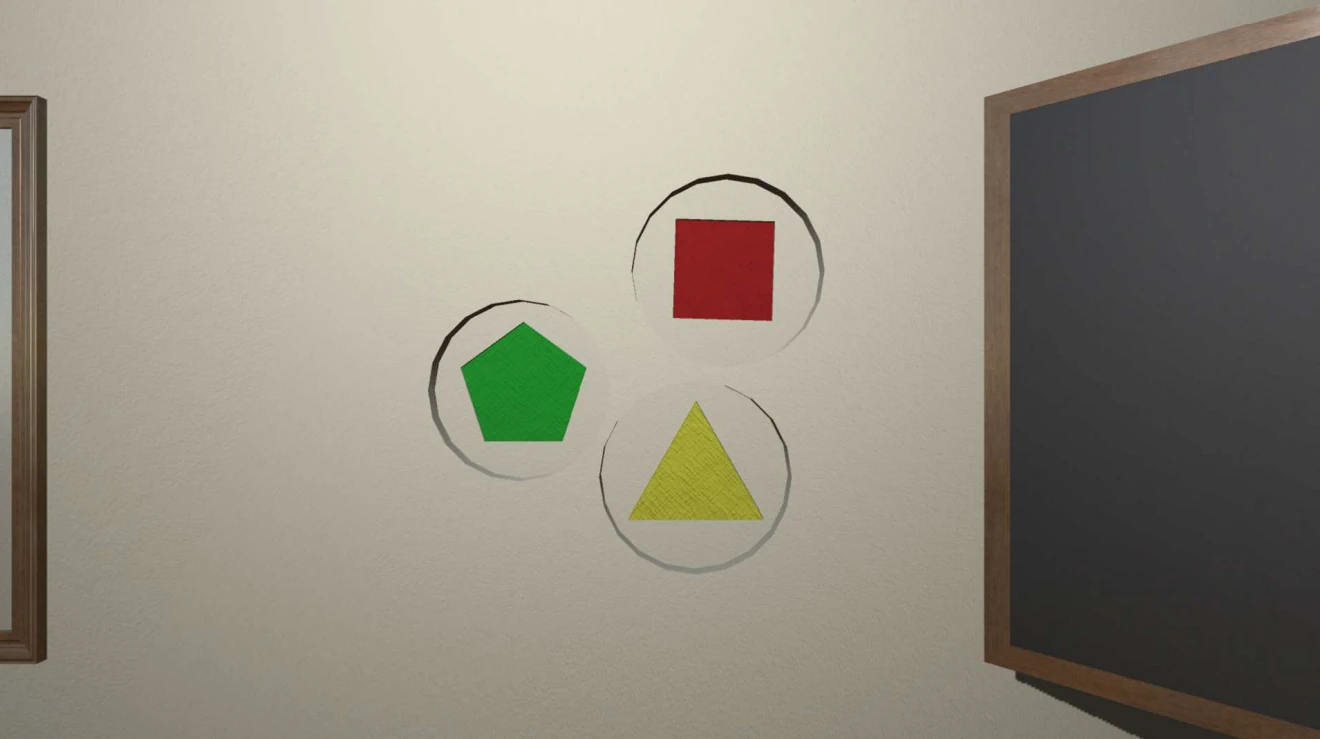
You will see that numbers now appear inside of the circles of the picture.

On the wall with the television, look at the five piece artwork on the wall.
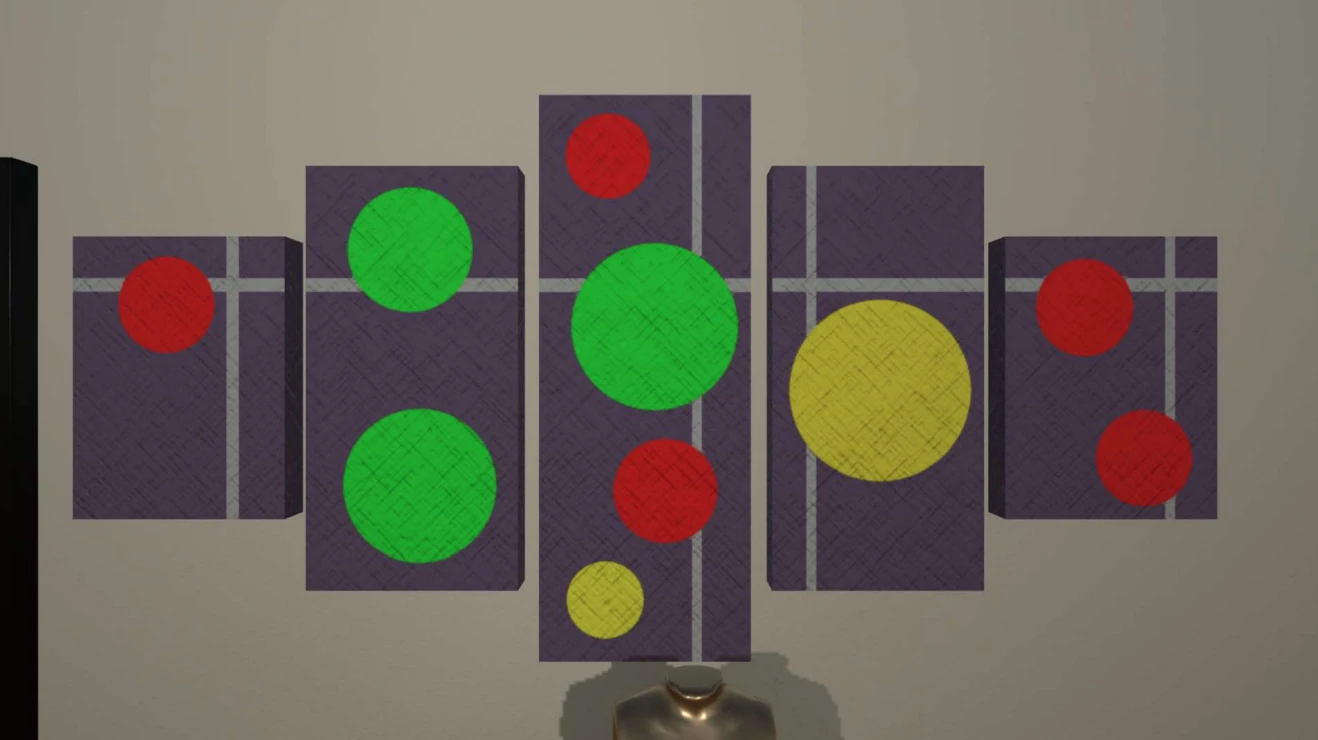
Click on the panel on the top of the end table, next to the couch.
Use the number from the painting
With the artwork to determine the code for the end table.
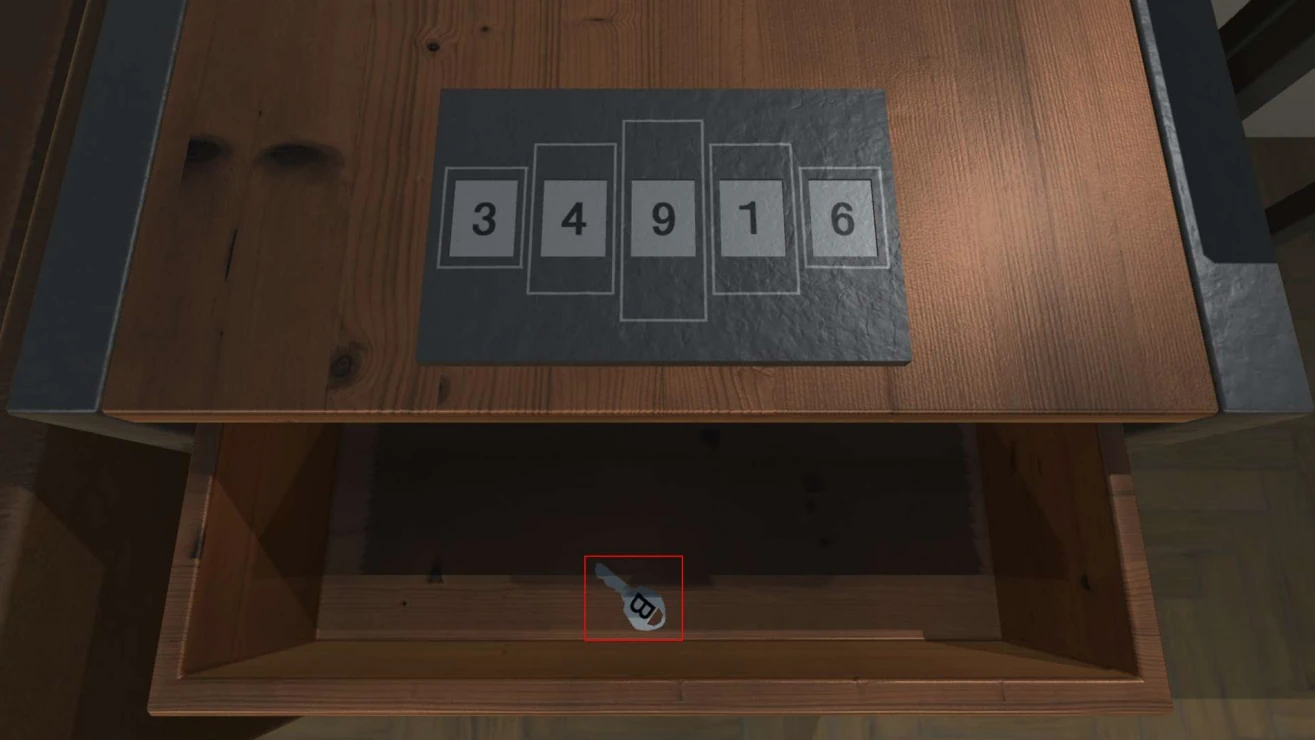
34916
After you enter the correct code, you will hear a tone and the drawer will open, revealing the B Key. Pick up the B Key.
The W Key
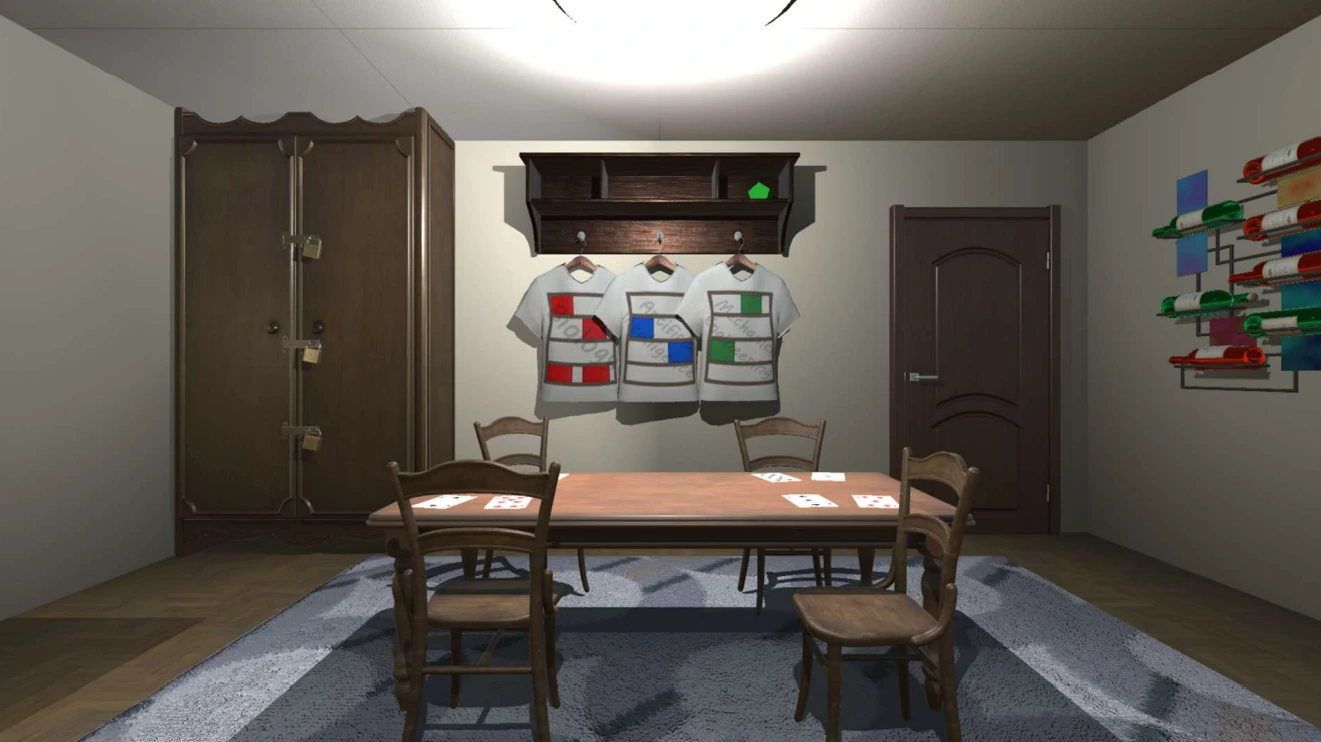
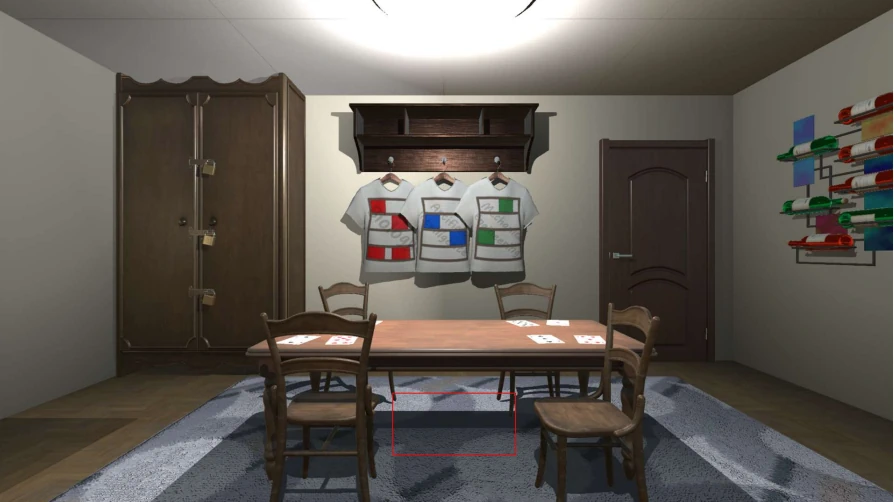
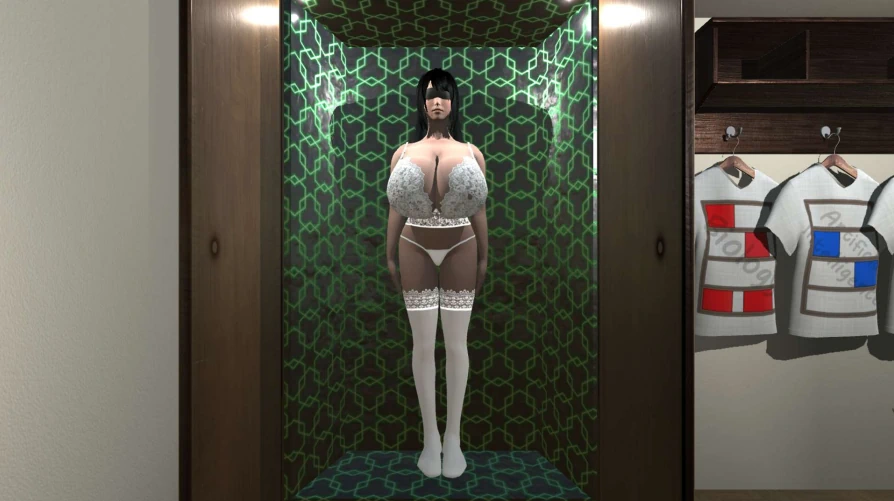
Look at the shirts next to the cabinet
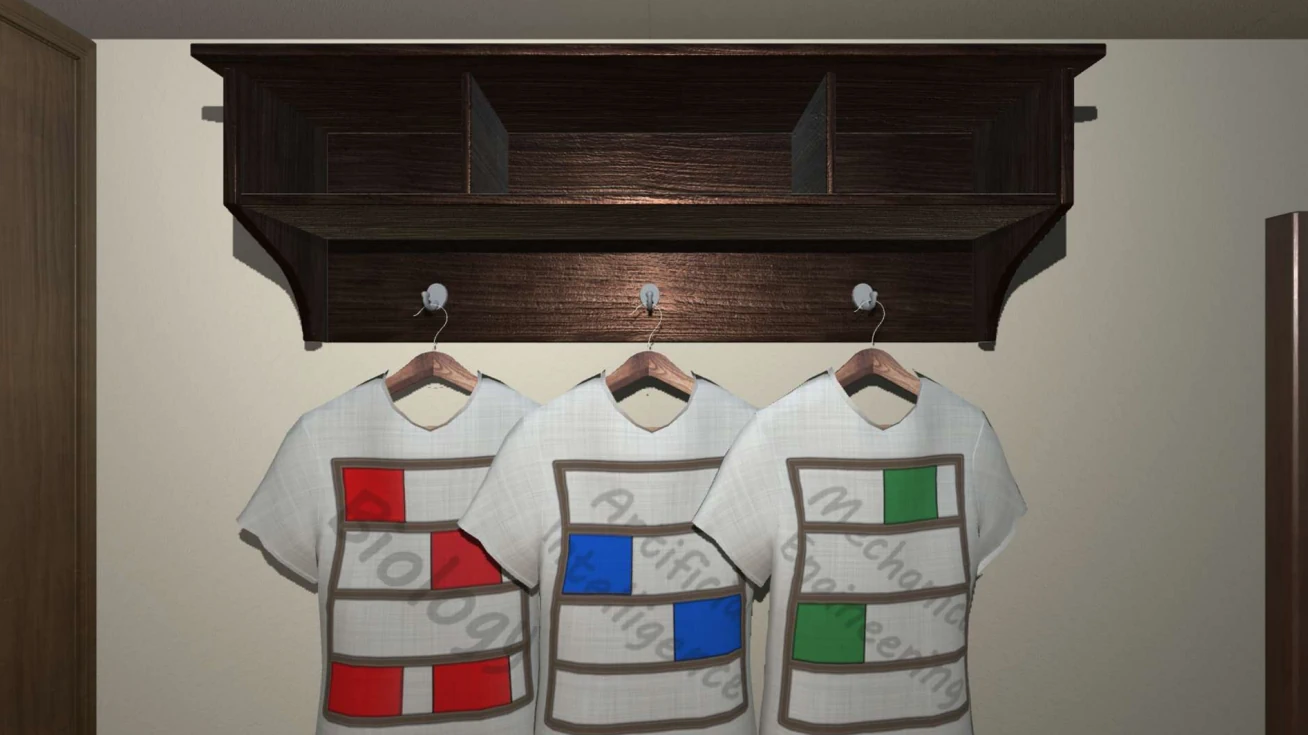
Click on the Books in the Bookshelf, next to the couch. Arrange the books so that they match the shirts. You will hear a tone when they are arranged correctly.
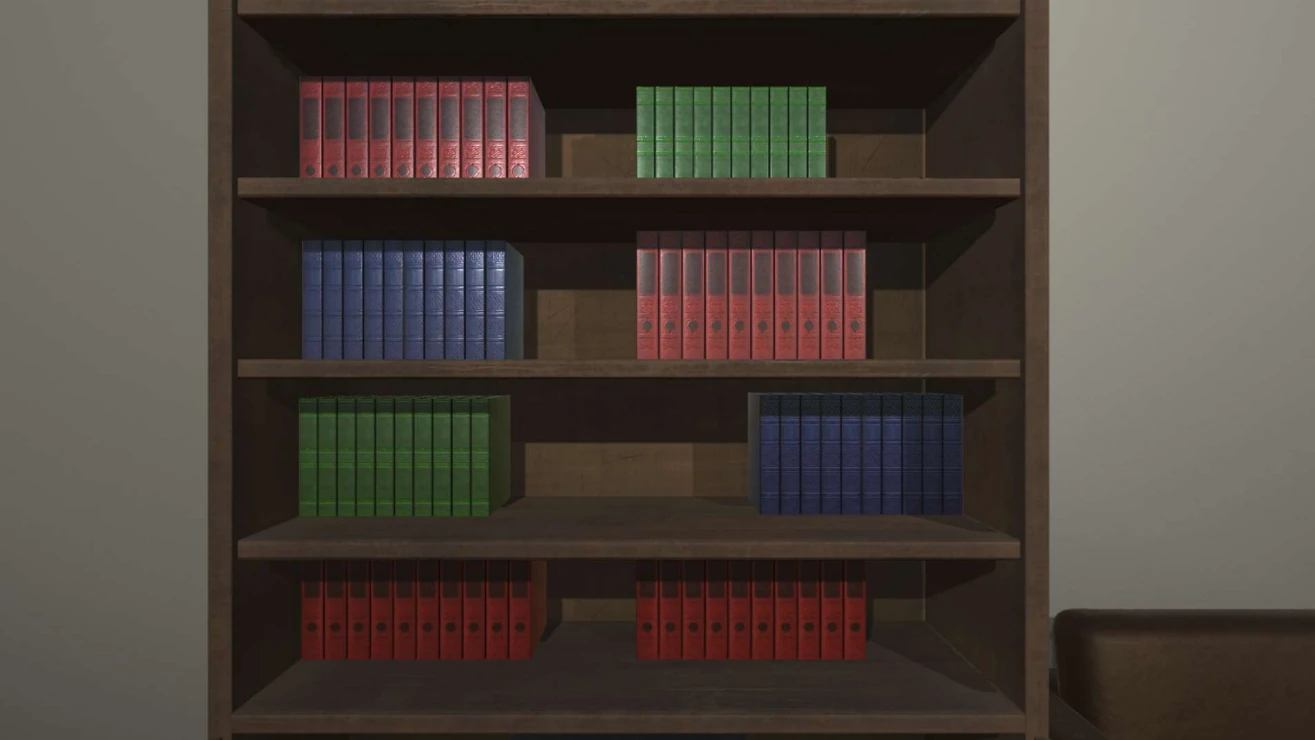
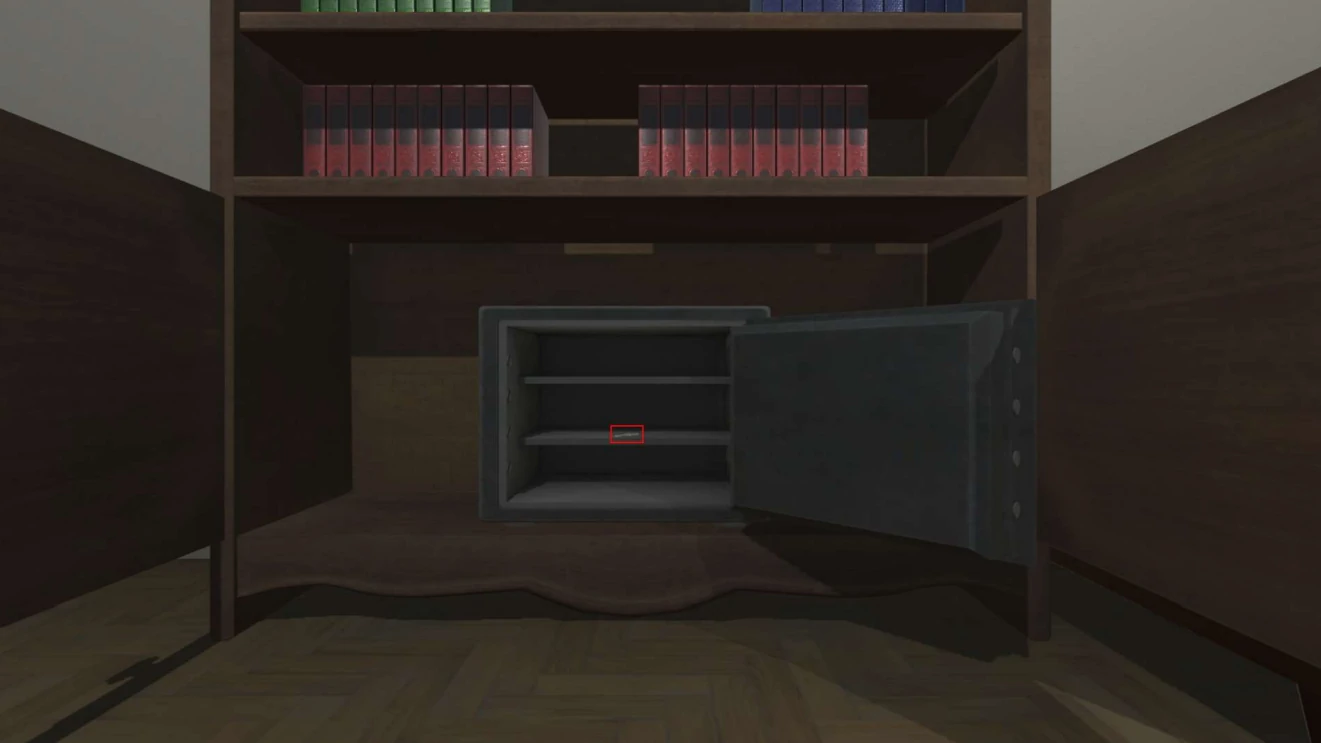
When you back up, you will see that the cabinet below the bookshelf has opened. Look at the wine bottles on the wall next to the television.
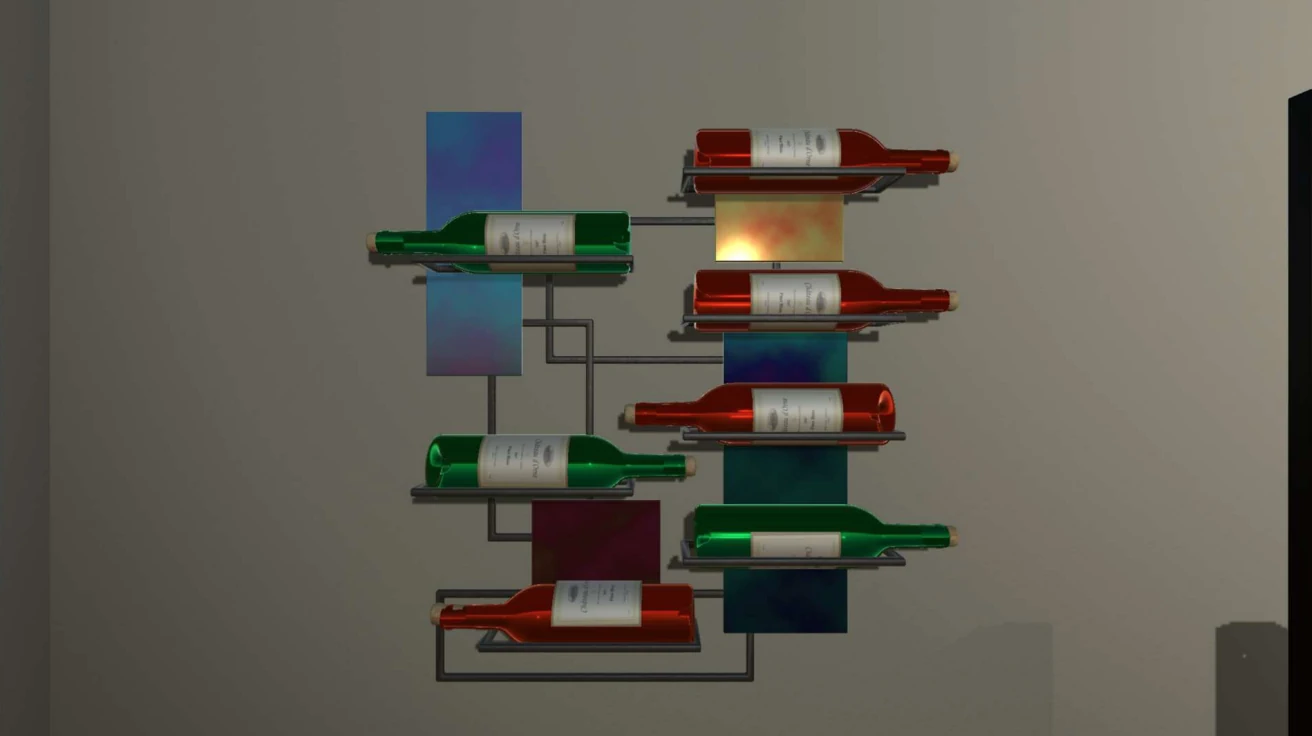
Click on the buttons of the safe in the bookcase, in the order, top to bottom, of the wine.
4143223
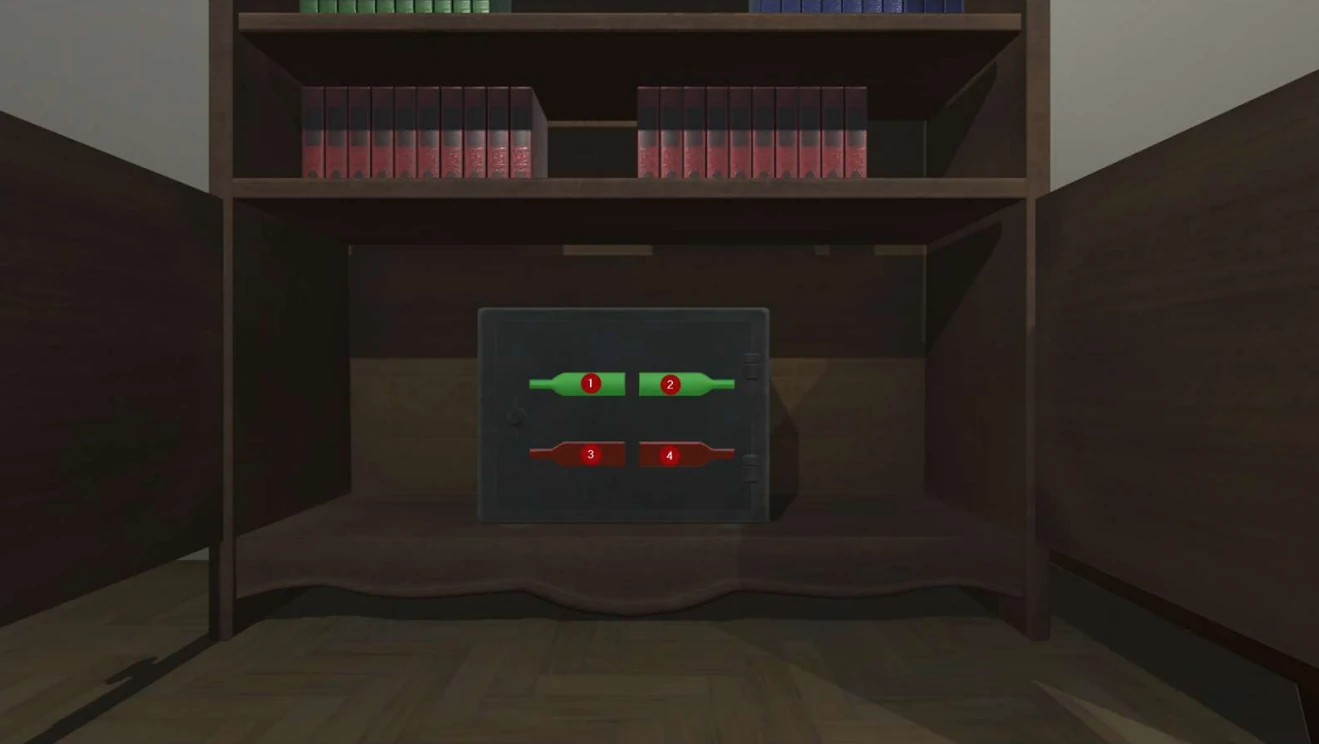
You will hear a tone and receive a message that the safe opened. Pick up the W Key, from the safe.
The H Key
The H Key is the most complex puzzle, and I don’t agree with the solution. So far, everything we have done can be logically explained, not so for the H Key.
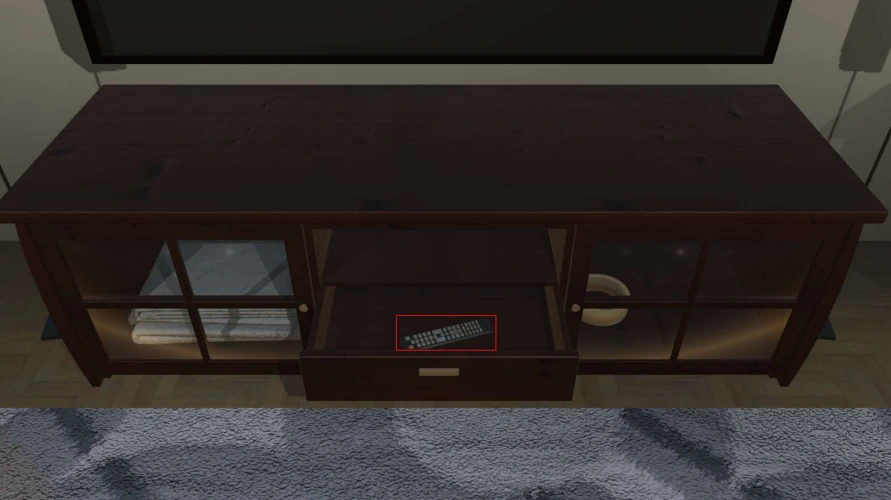
Click on the entertainment center under the television. Open the top drawer. Pick up the remote
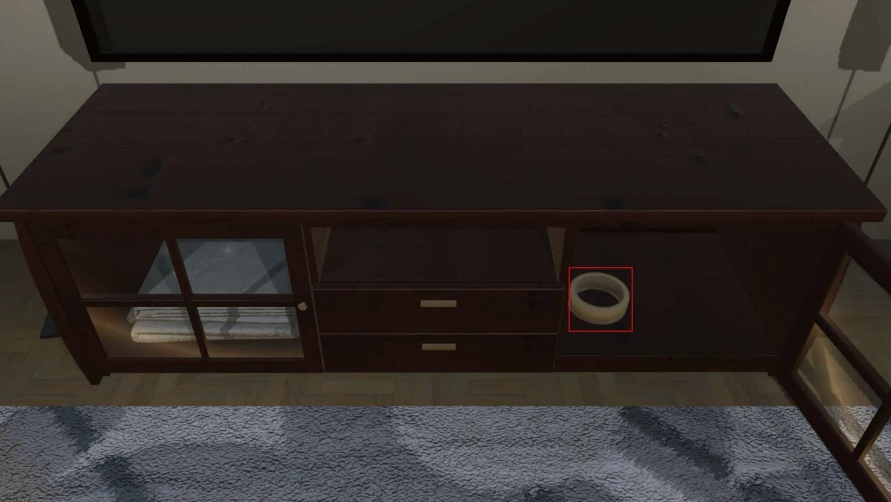
Since we are here, open the right door and pick up the Tape.
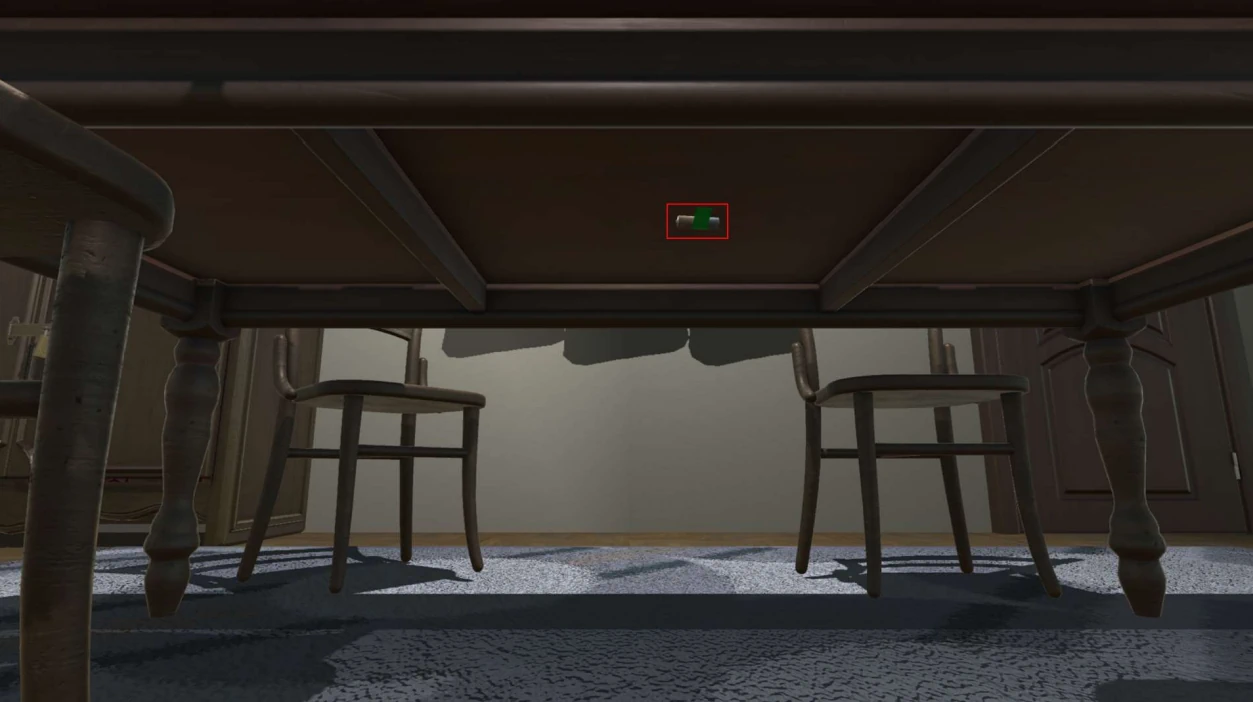
Turn to the wall with the cabinet and click under the table
Pick up the Dry Battery.
Time to show Aisha all of the things we have found. Show Aisha the B Key, the W Key, the Remote Control, Tape, and Dry Battery. This will unlock a scene with Aisha.
After you have shown Aisha everything put the Dry Battery into the Remote Control and show it to Aisha.
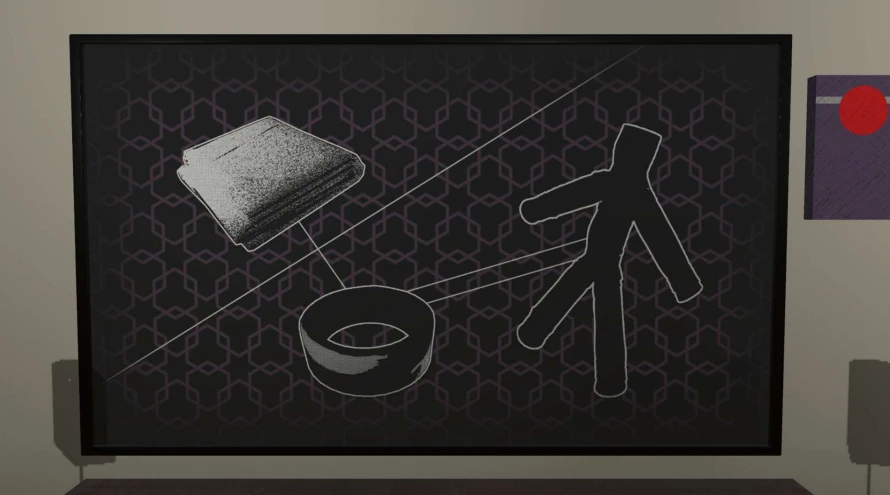
Use the Remote Control on the television.
Look at the picture on the left behind Aisha.
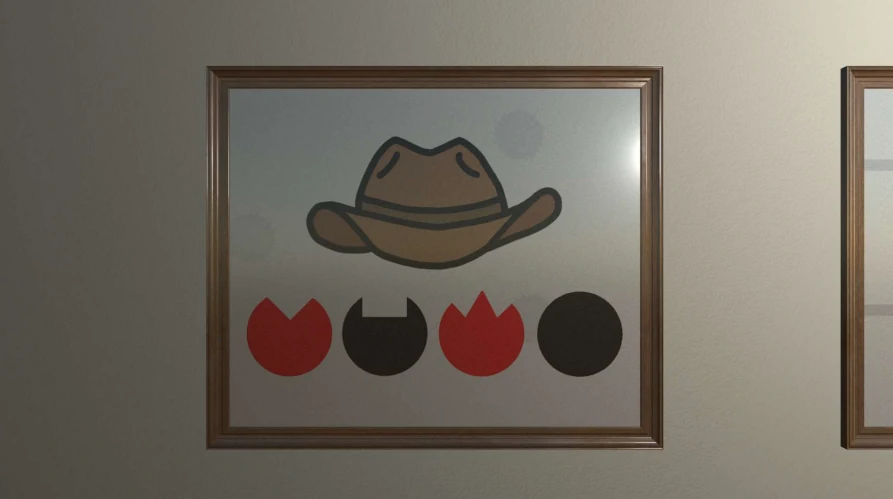
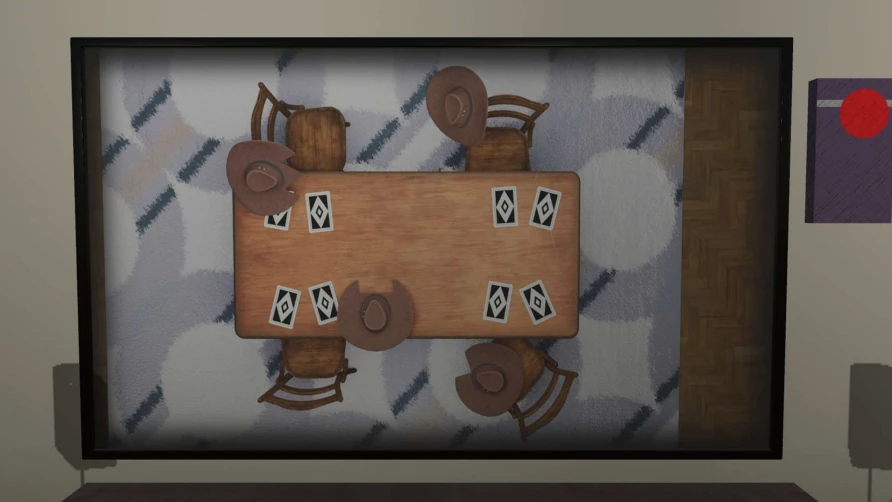
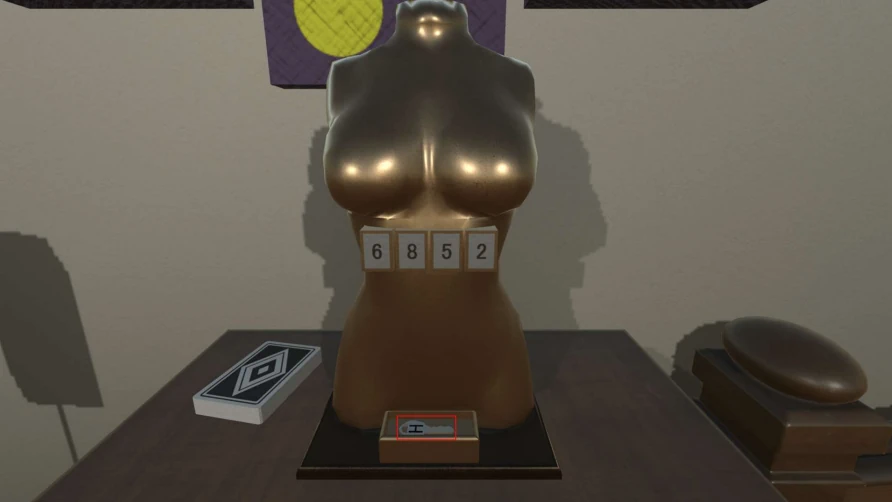
Now, look at the cards on the table.
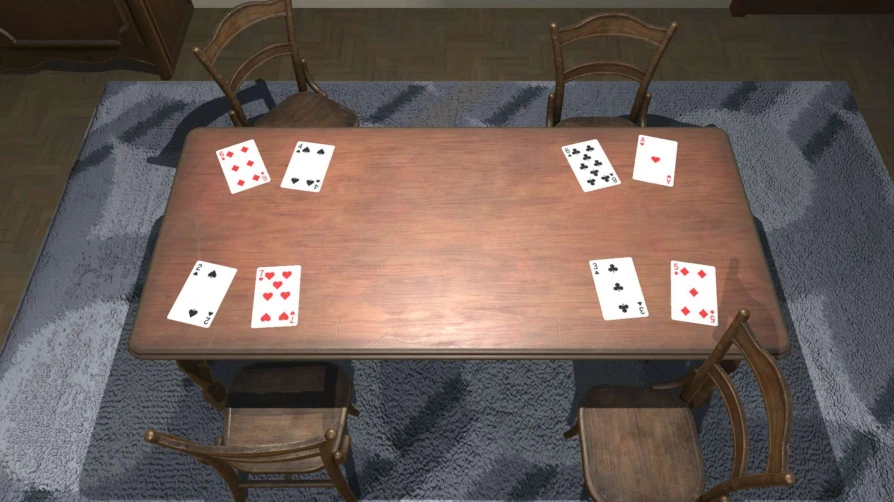
Now we have to use all three to come up with the code. The television tells us what hat goes with which cards, the picture tells us what card is important, and the cards are on the table. This is where the “logic” falls apart for me. I would put the numbers in the order of the picture. The red card on the lower right, 5. The black care on the lower left, 2. The red card of the upper left, 6. The black card of the upper right, 8. For a combination of 5268. The actual combination is 6852, starting in the upper left and going clockwise around the table. Enter the code 6852 into the bust, that is on the right-hand side of the television. You will hear a tone with the code has been entered correctly and the H Key will be revealed. Pick up the H key.
Unlocking the Cabinet
Now we have all of the keys needed to unlock the cabinet. Unlock the cabinet using the keys.
Open the Cabinet. Pick up the note.
Show Aisha the H Key and the new Note. Unlock a scene with Aisha.
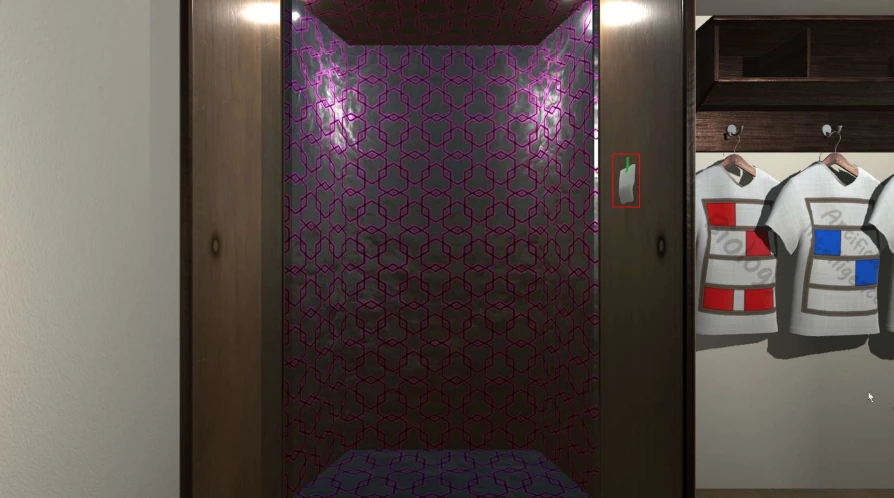
Combine the two notes and show them to Aisha. Talk to Aisha about the cabinet. You can now tell Aisha to enter the cabinet. Notice that when Aisha is in the cabinet the lines turn green. Locking the door of the cabinet now will allow you to exit the room, but there is more content to discover. If you exit now you will receive the Normal ending.
Examine the combine note in your inventory.
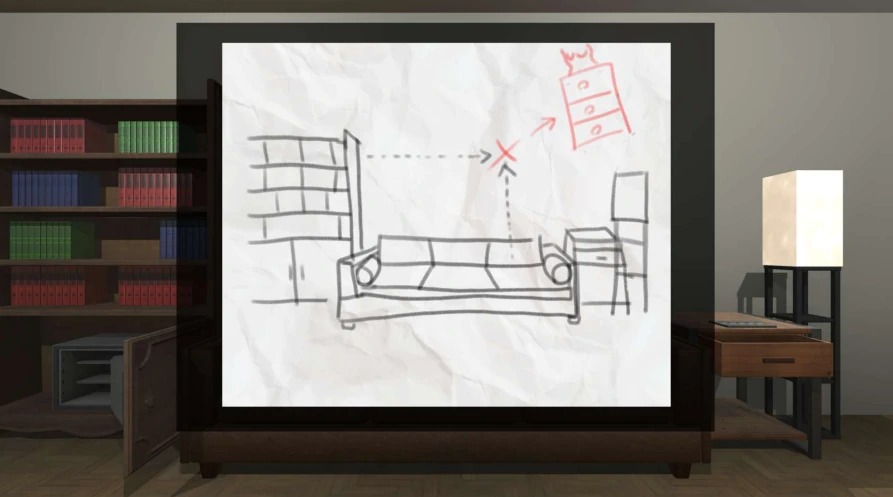
Click on the wall, in the area indicated, above the couch.
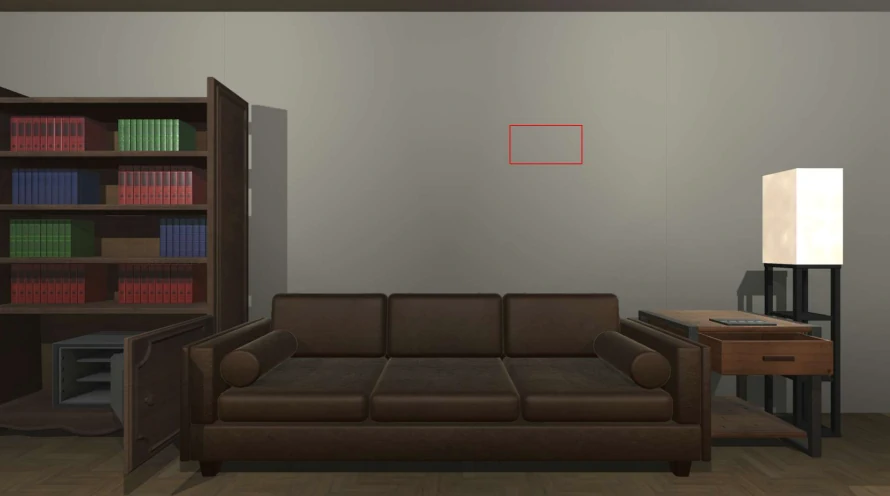
You will find letter written on the wall. You will notice that the letters match the keys for the cabinet.
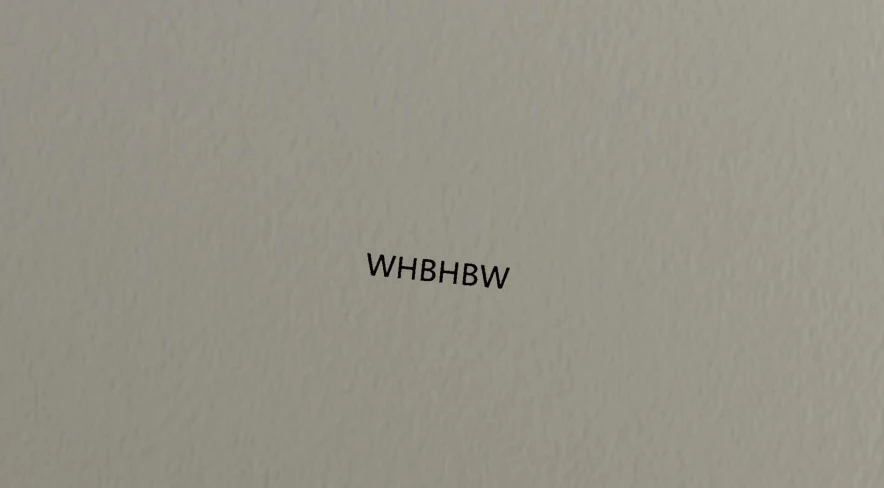
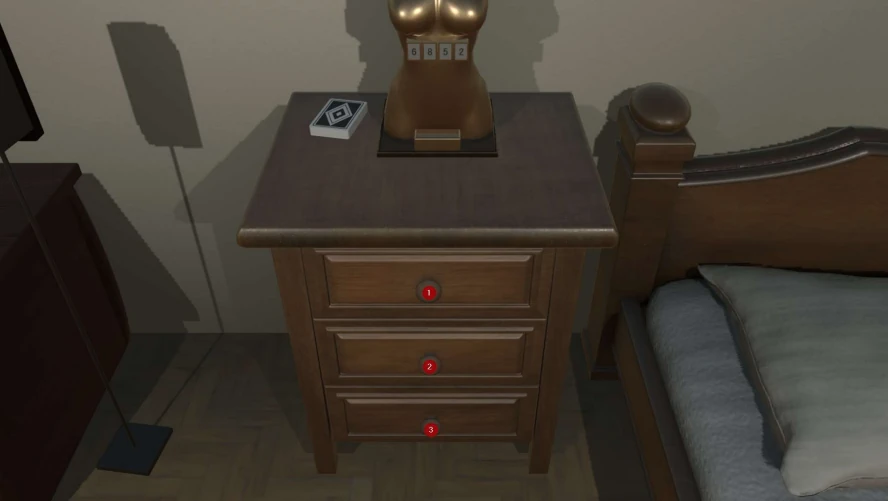
From the combined note we know that it goes with the cabinet under the bust.
B=1, W=2, and H=3
Pull the knobs on the drawers in the following order: 231312
You will hear a tone and receive a message that the sound of unlocking came from below the TV.
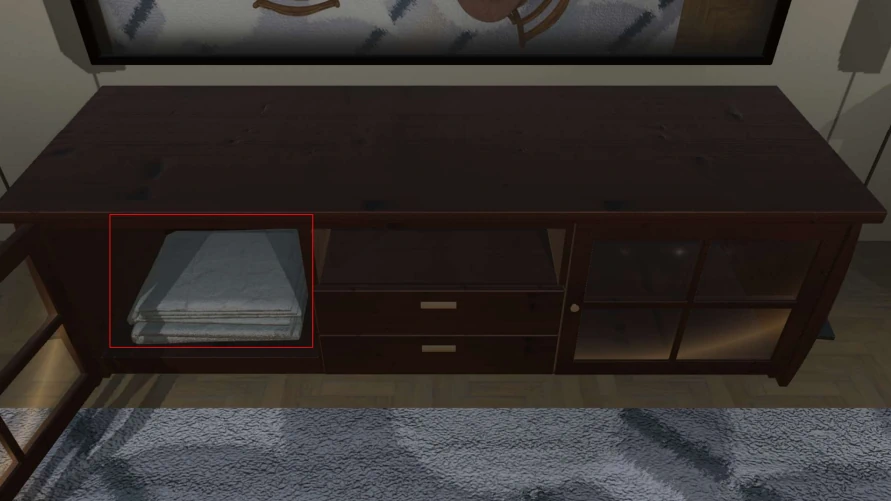
Open the left door of the media center and take the Blanket.
You will notice when you back up that the picture on the television screen has changed
If you use the remote control on the television there is yet another image
If you use the remote control again, there is another image.
Time to talk to Aisha again. Show the blanket to Aisha.
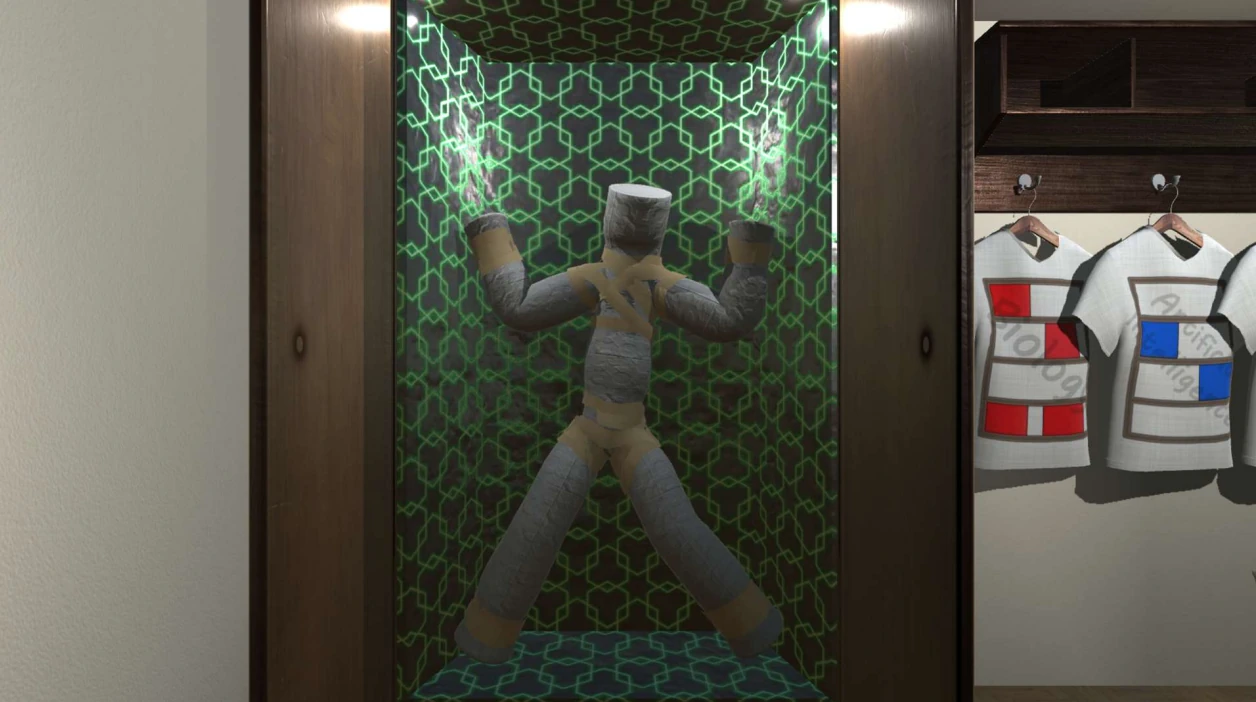
Use the Tape on the Blanket. Show the doll to Aisha.
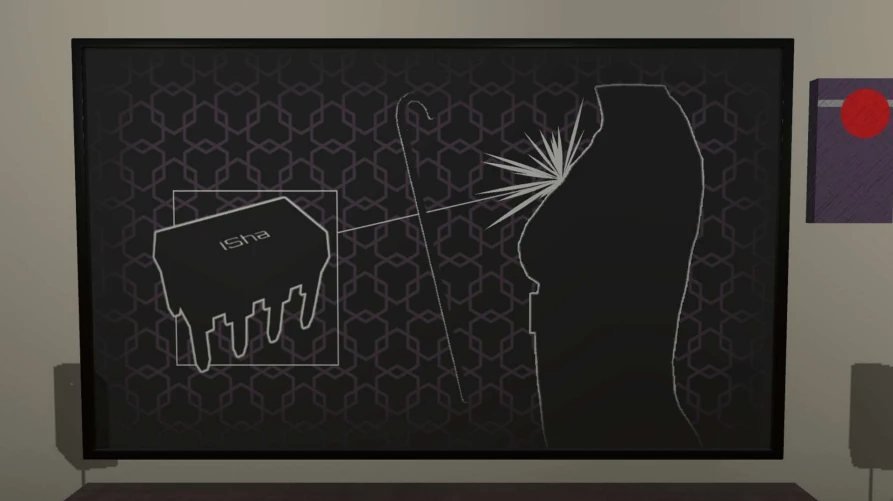
From the second “new” image, on the television, we see that there is a chip inside of the bust that we need to break to get.
Use the Metal rod on the bust. Receive an Identification chip.

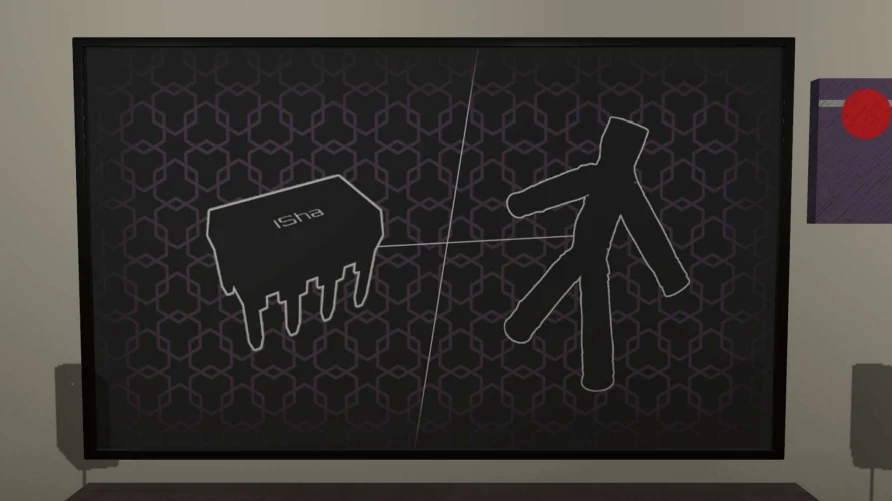
Show the Identification chip to Aisha. Per the last image, of the new set, on the television, combine the Doll and Identification chip. Show the updated Doll to Aisha. Place the Doll with Identification chip into the cabinet. Notice that the background turns green, just like if Aisha is in it. Close and lock the cabinet.
Talk to Aisha and select the casual chat option, until you fill her Favor meter. You will unlock two new scenes with Aisha. After you have the Favor meter filled select the Tell her to escape together.

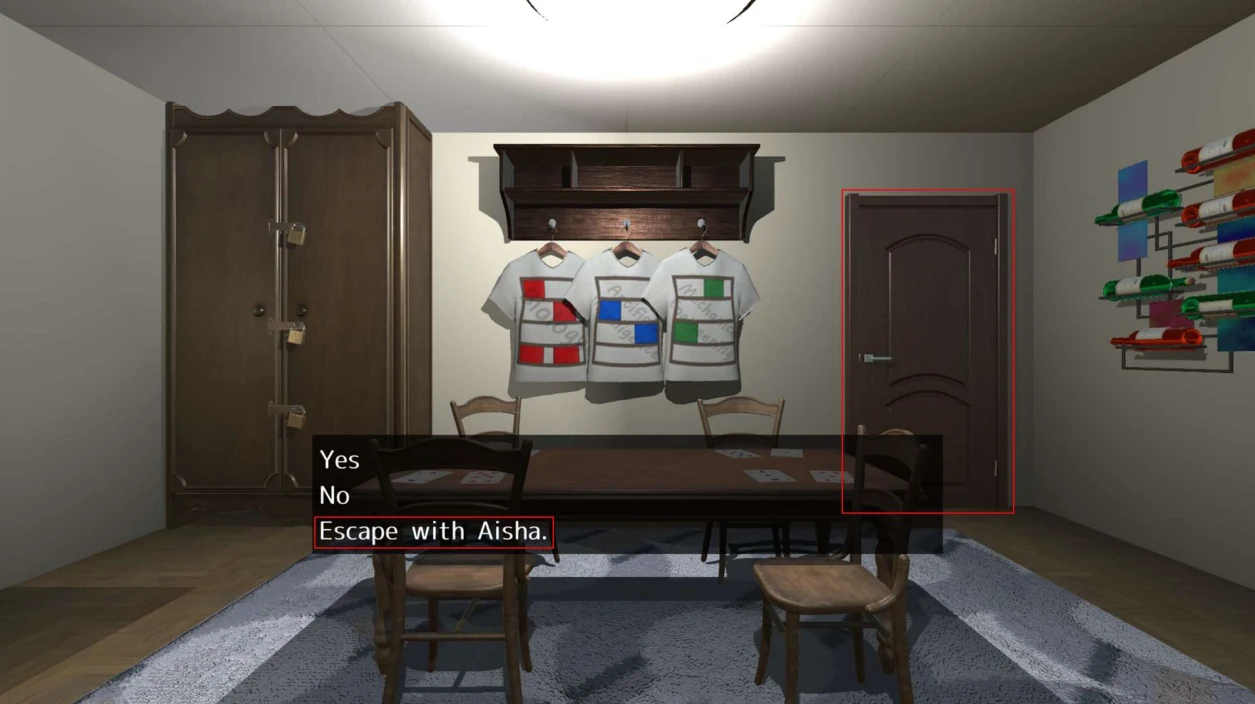
Click on the door to exit and select the Escape with Aisha option. Receive the Happy Ending and two more scenes.
The end =) Thx Kilroy for this guide.