What to look out for in early Princess&Blade game.
Introduction
This guide is meant to help early game players navigate the game, in terms of what weapons to focus on first to get the best results in Journey of Salvation, which of Princess’ attributes to upgrade during level up, and which charms to spend resources on. As with pretty much everything, take all this with a pinch of salt – it is based on my experience and is meant to be result driven. If that is not your thing, play it however you like.
Weapons
I will get started on weapons first since you require this right from the start. I will use the same ranking that XP Liu uses for weapon proficiency, from F to SSS.
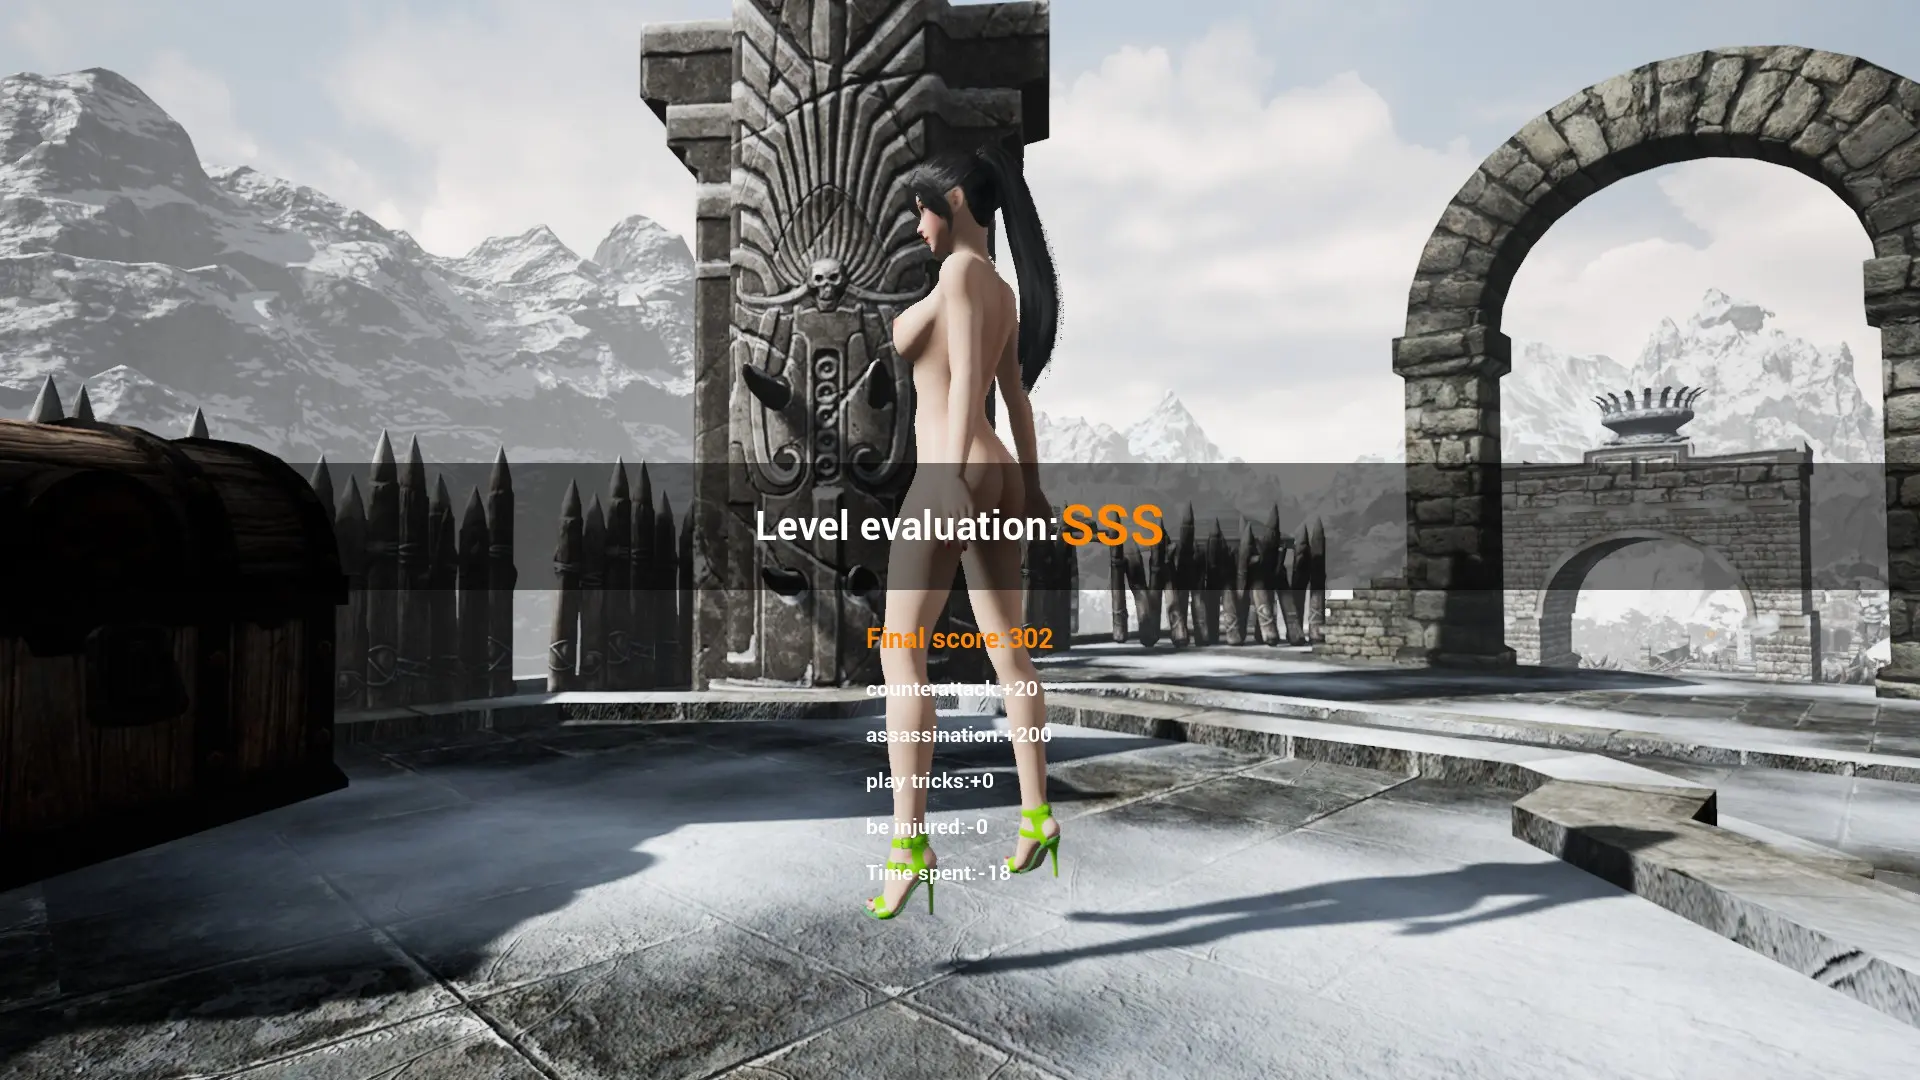
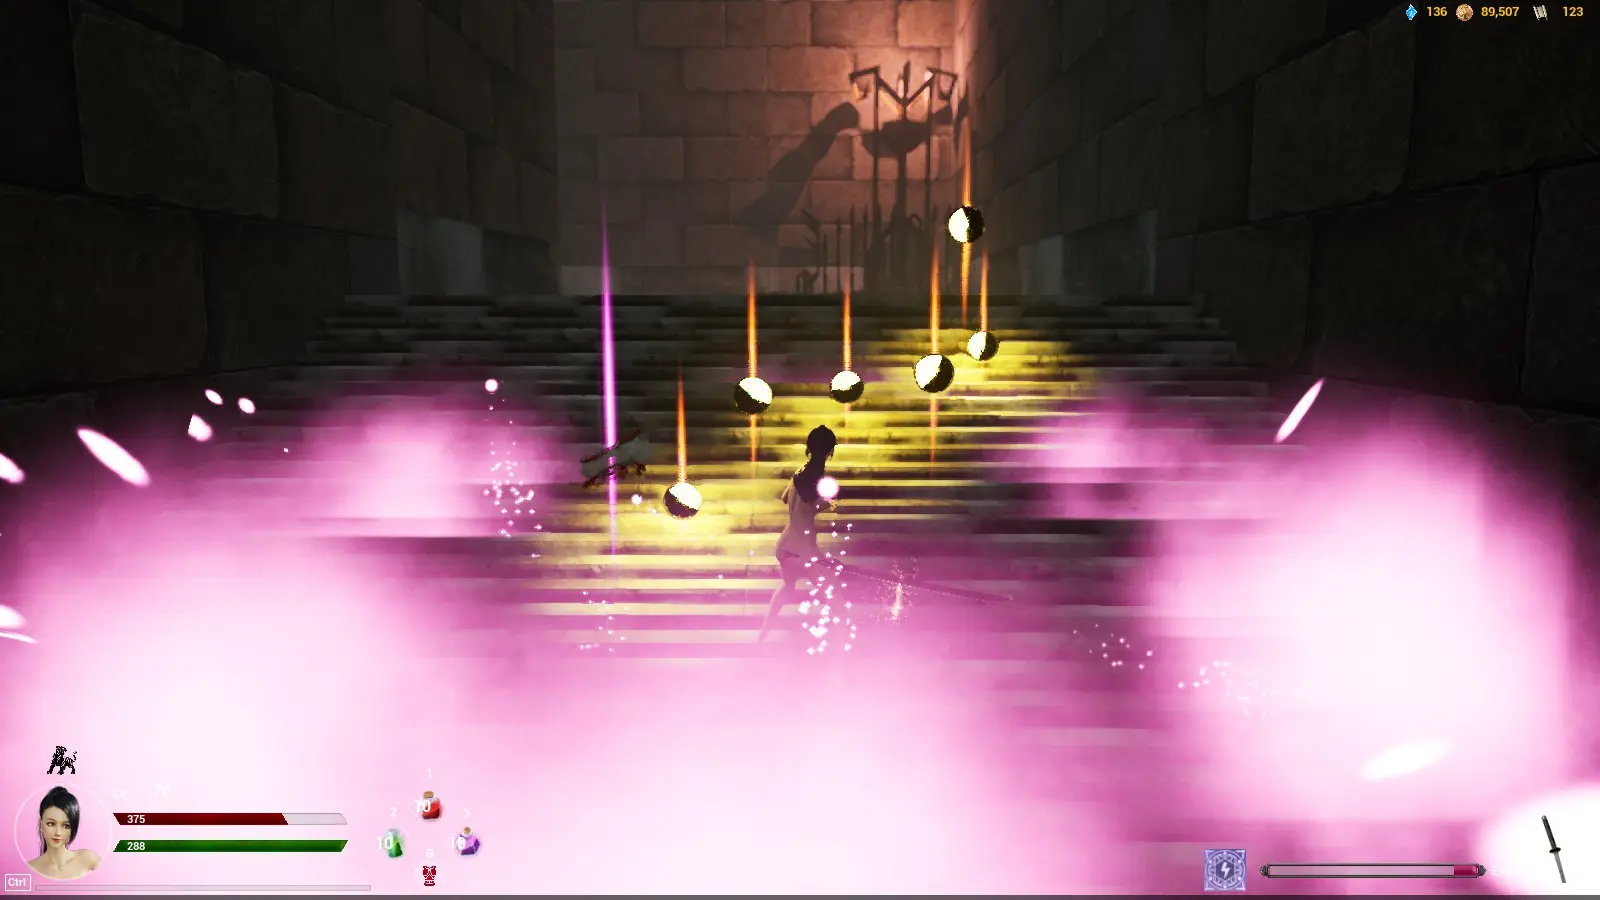
Before that it is important to explain how the scoring system works in Journey of Salvation. You start each level with 100 points, getting additional points for making counterattacks, assassinations, playing tricks, but suffer penalties for taking damage and for increasing amounts of time spent clearing the level’s objectives. The higher the score, the better the rewards, and if you wish to attain SSS (the highest tier), you will need to have at least 90 points by the end of the level.
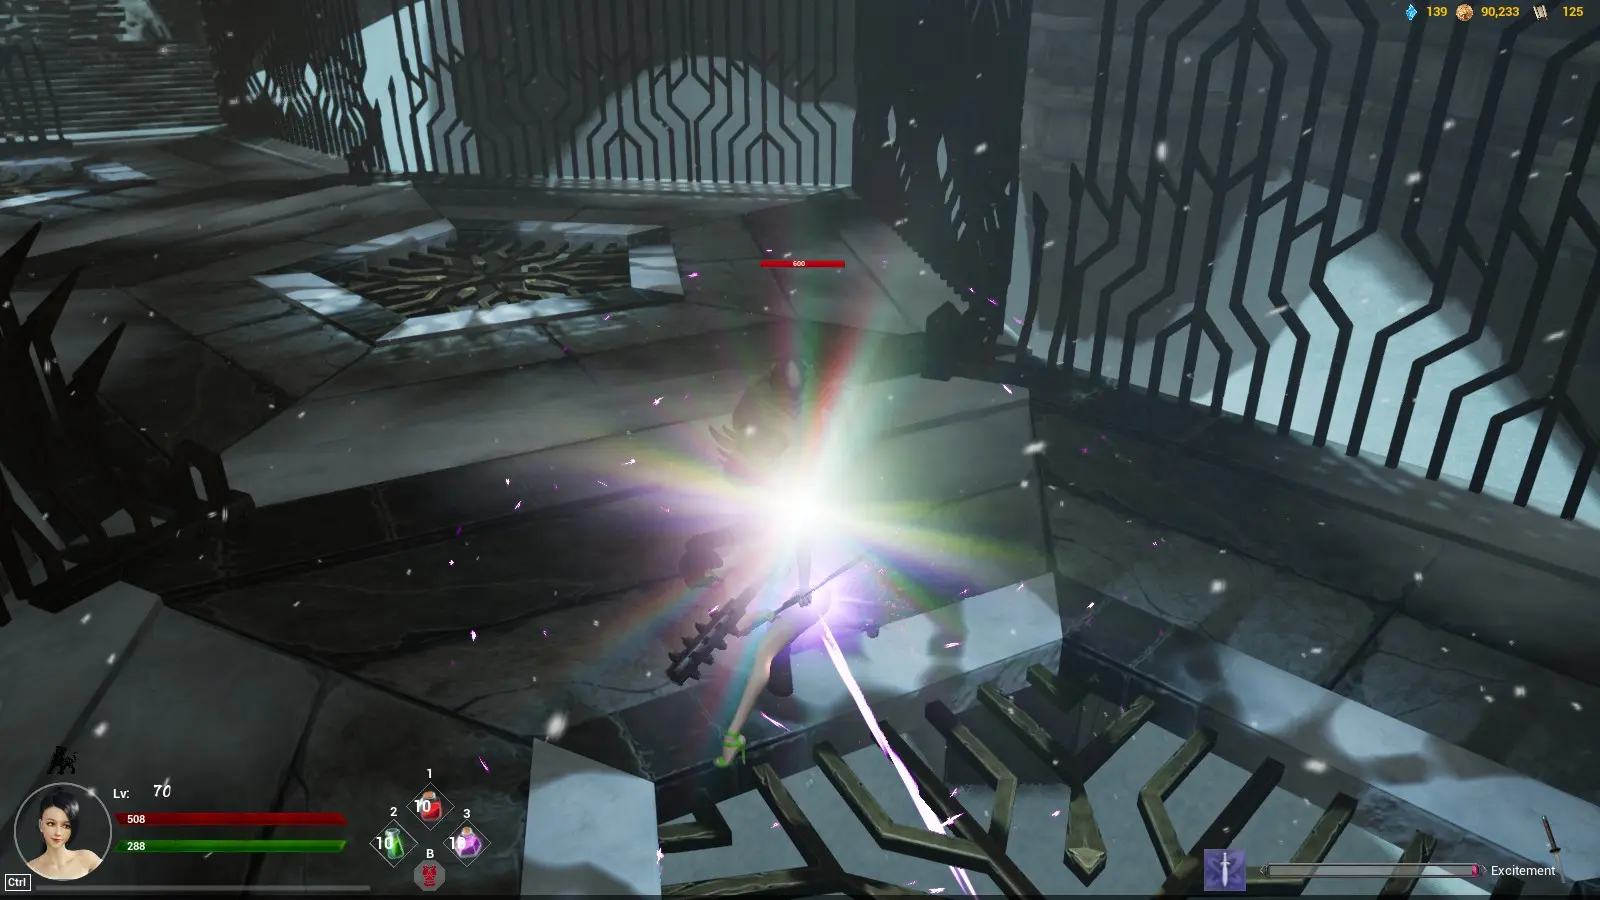
Counterattack (4 points per): Princess blocks an incoming hit and makes a counterattack during a short window of opportunity by pressing the E key. Currently, the sword (aka Tiger posture) is the only weapon which can do this for all melee enemies. Princess can block with all other weapon types, but cannot counterattack. The only exception to this is when facing the big ogre-ish brutes on Border Fortress level and in the open world map, in which every weapon can make a counterattack if you dodge the brute’s attacks at the right timing. See below.

Assassination (8 points per): Princess sneaks up behind an enemy and stabs it in the back dealing massive damage. This can be done with any weapon type except the bow.
Play tricks: I honestly have no idea how to execute this, anyone who knows please enlightened the unenlightened.
Be injured: The less damage Princess takes through the level, the lower the penalty to final score. I don’t know the exact math (i.e. how much penalty per point of damage), so just don’t take any.
Time spent: The lesser the time Princess spends clearing the level, the lower the penalty to the final score. Again, I don’t know the exact math behind this penalty, so clear as fast as possible.
1. SSS Tier
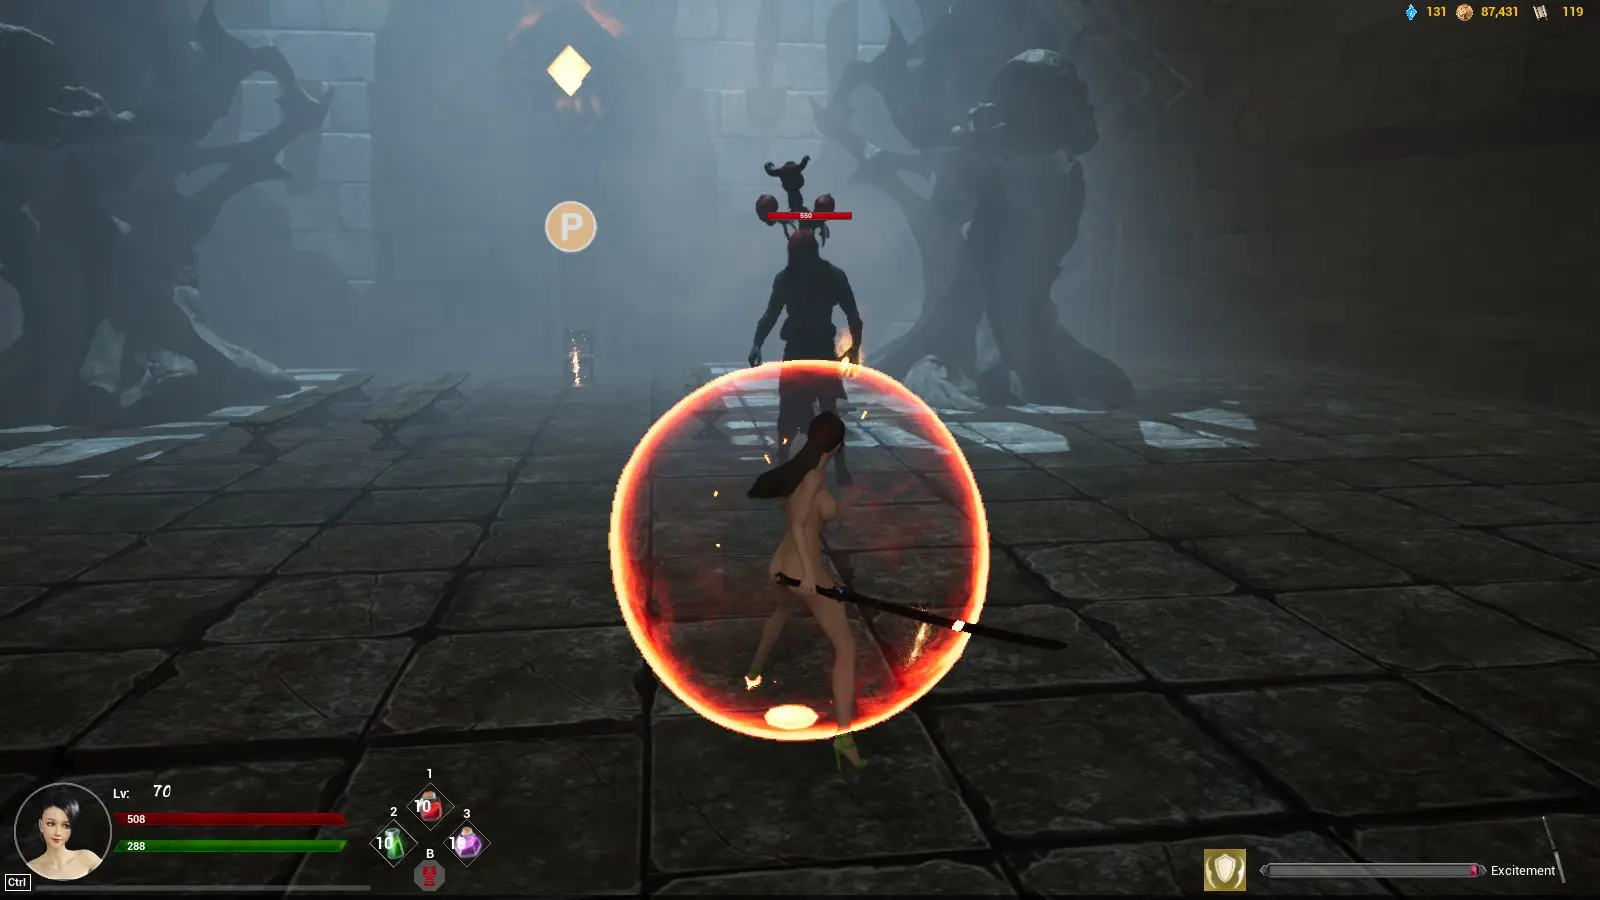
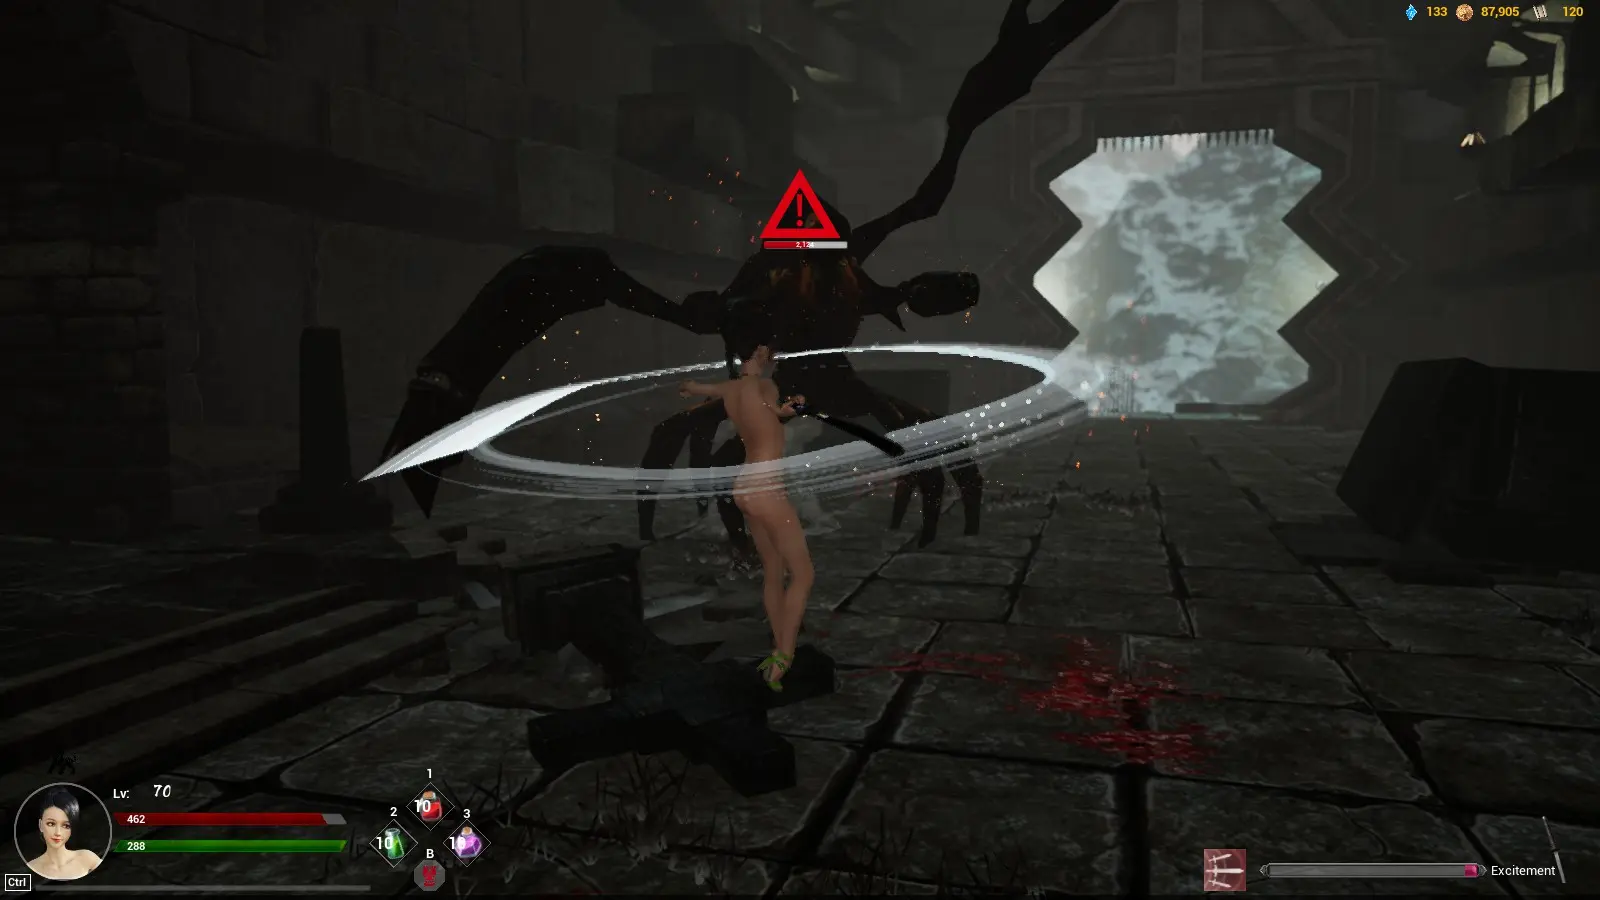
Sword (aka Tiger posture)
If you are looking to get the maximum points in the various levels of Journey of Salvation, this is the best weapon, period. As explained above, the sword is the only weapon that can counterattack all melee enemies, giving you an additional avenue to score points, considering that not all enemies will turn their backs on the Princess, or if you just mess up your sneaking.
You can see a sample of the level Chill I cleared with the sword, doing only counterattacks and assassinations against the enemies.
2. SS Tier
Rapier (aka Rabbit posture)
Most of my above analysis for the sword holds for the rapier, which trades out the counterattack feature for a massive increase in attack speed (+60% at max proficiency). This is not as good as the counterattack feature because of the fact that counterattack gives points. Even if the increase in attack speed helps you cut back a little bit of time in traversing the level and staggers the enemies to such as extent they cannot attack Princess at all, based on my experience, cutting back on time spent only leads to a miniscule reduction in points lost, and if you counterattack properly, you will not take damage either. Overall, still a very good weapon.
3. S Tier
That funny 4 bladed scythe like thing (aka is that a pseudodragon of some sorts I cannot tell)
The scythe thing can restore excitement on each hit and will allow you to use the special skill more frequently, which could be really good depending on which special you have chosen to equip yourself with (more analysis on that below). Assuming you choose the good skill (and not the trashy ones), this could really help you cycle through the special skills more frequently to deal with the enemies faster or protect the Princess. I cannot give it any higher because there exist potions for restoring excitement.
4. A Tier
Bow (aka Wolf posture)
I really like to place the bow higher, but I can’t, at least not in its current state. The biggest advantage of the bow is of course, the ability to attack safely from range. This will keep most melee enemies away from you since each hit knocks them backwards, and enemy archers for some reason, have shorter range than the Princess and you can begin sniping them from a much longer range. This is particularly good for dealing with big tanky bosses that can two or three shot your fragile Princess especially early in the game, and when your dodging skills aren’t going be winning any prizes. Further, headshots are a thing, which deal up to 4x the normal damage (at max proficiency), and are particularly handy for dealing with the big boss monsters on the Border Fortress level (since they have big, easy to hit heads).
The biggest drawback of the bow is that it has very weird hit boxes. There are many times where I have aimed straight for the enemy’s chest, only to have the arrow phase right through. The enemy is thus not damaged and continues charging at the Princess. Until XP Liu fixes this, I cannot place the bow any higher, even though it is an otherwise safe option to use. Of course, if you are a champion sniper and can score headshots without fail, then I can see the bow at SS Tier for you. Sure, you cannot assassinate enemies for more points, but you can clear the map much more safely.
5. B Tier
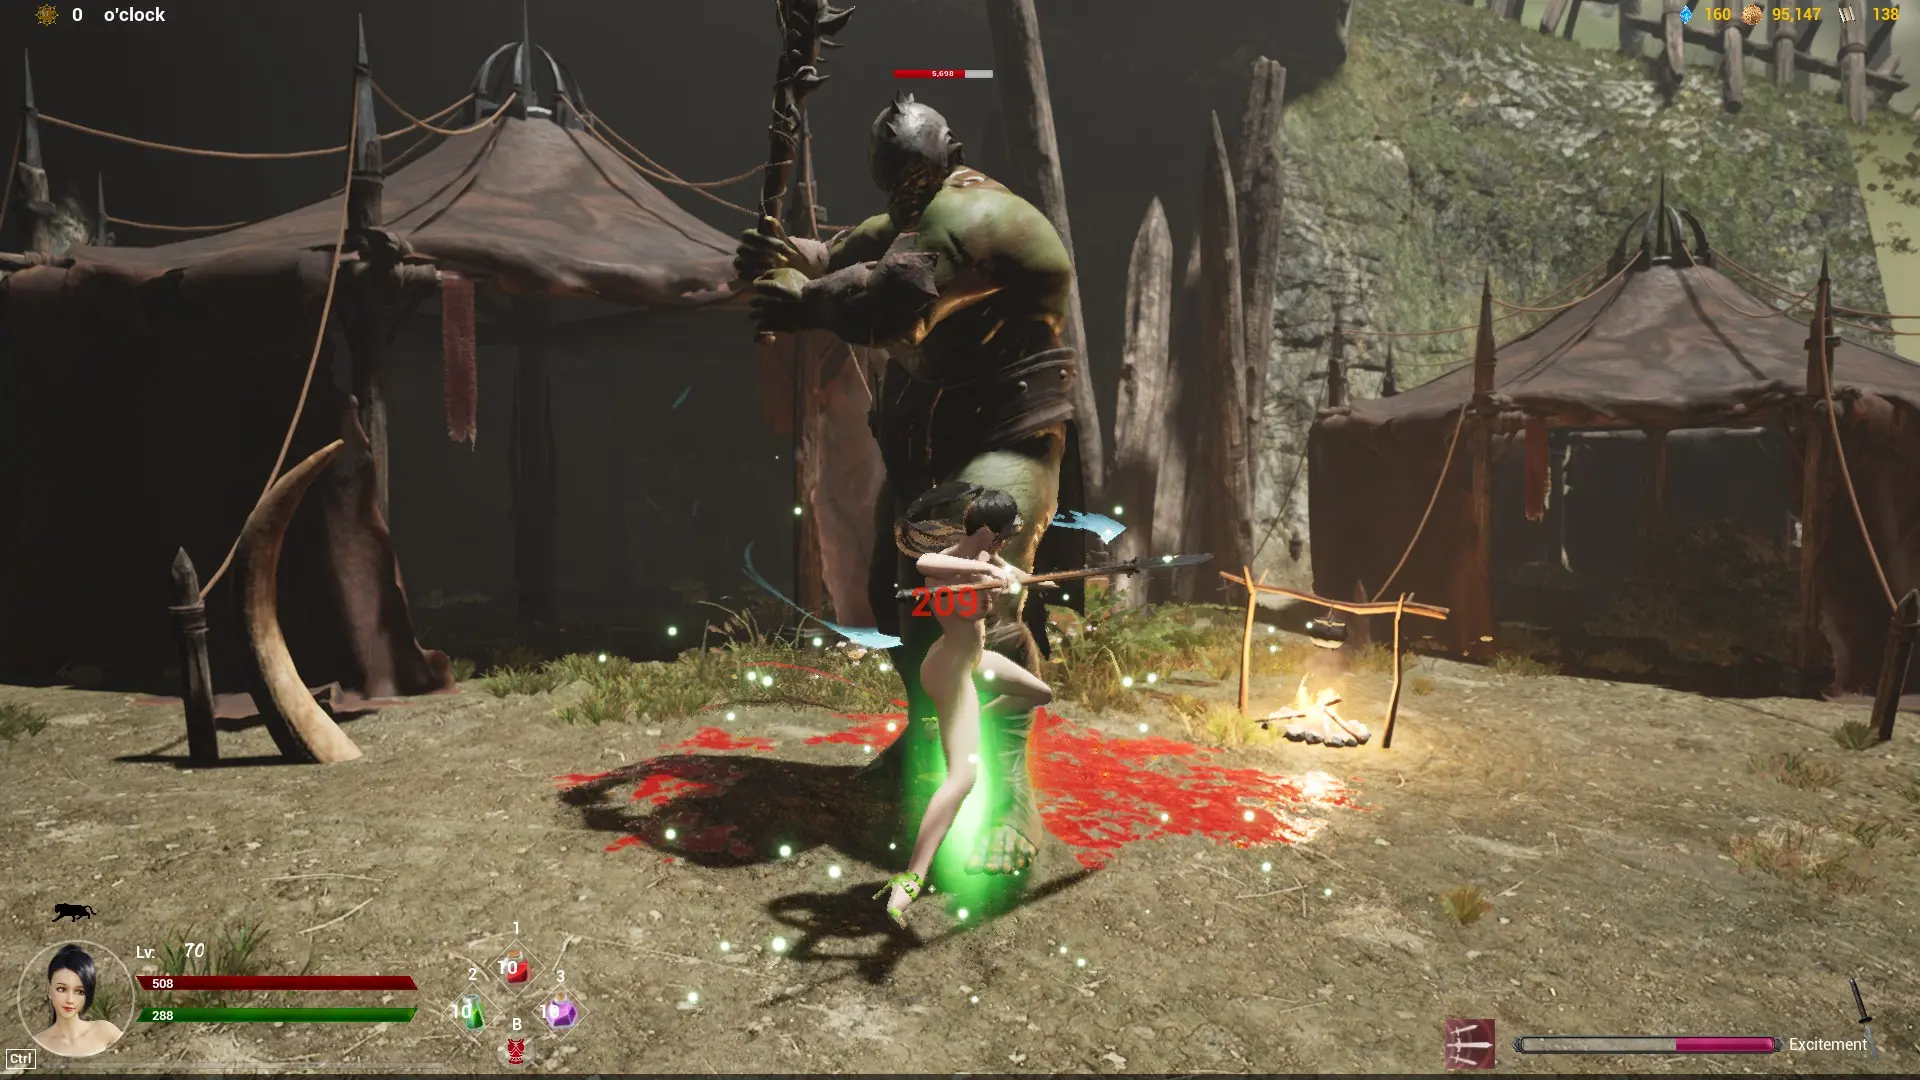
Glaive (aka Leopard posture)
The glaive has a chance to restore hit points to the Princess, which is good when she is fragile in the early game and you are too noob to dodge, and are too stingy to spend some gold on health potions. However, the usefulness of this effect falls off dramatically once you get better at the game, have more hit points and are swimming in gold and can buy all the potions in the world. Also, the hit point restoration relies on a certain chance to trigger, and I rather not rely on chance if I can help it. You can see the restoration effect below, and since I am dealing about 200 points of damage, that would restore about 40 hit points whenever the effect triggers, which is not very fancy if you ask me.
6. C Tier
None as of yet
7. D Tier
None as of yet
8. E Tier
Katar (aka Cobra posture)
This is not very good. The toxicity is supposed to deal damage over time, and although the damage is decent and racks up rather quickly (see below), more often than not you can just hit the enemy one more time and kill it rather than let it slowly die from poison. Why let it live for those few moments longer and provide it more opportunities to hit the Princess when you can just finish it off?! The only reason it gets E tier is because there are 2 worse weapons.
9. F Tier
Claymore (aka Bear posture)
The claymore is absolutely terrible. Sure, it deals more damage per normal hit, but it is so clunky and the Princess takes forever to swing it around, you have just provided a wide opening for the enemy to hit the Princess. Even worse, although the normal attack damage is the highest of all weapons, it is still not sufficient to kill most enemy minions in one hit (unless perhaps until you have reached max proficiency). You are better off just assassinating or counterattacking.
Axe (aka Eagle posture)
Compared to the claymore, the axe has higher attack speed, lower normal attack damage but has a chance to land a critical hit. I have not yet worked out the exact math, but as with all things relying on chance, I rather not take it. If you do not crit (especially at lower proficiencies where the rates are low), then you have pretty much the most useless weapon in the game with no special abilities or built in mechanics.
Special skills
I will cover special skills next since this is also something you get pretty early on when you find the playable plot events in each level of Journey of Salvation. As with weapons, special skills were not created equal, and I will use the same tier raking system from F to SSS.
(Since the special skills have no names, I will just use their pictures)
1. SSS Tier
This skill dramatically slows down the flow of time for all enemies, although Princess will continue to move and attack at her usual speed. This is just so good because enemy attacks move at a fraction of the speed, which you should be able to dodge even if you are a brick (unless you deliberately want to get hit). It seems to last rather long – 20 seconds or so in my experience (but that is also because my Sexy charm is at 20), which allows you to plow through several enemies in a small area during the time the skill is active. I have no screenshot to provide since it is a slowdown in time, just imagine the effect yourself.
2. SS Tier
This skill creates an impenetrable shield around Princess that will absorb all incoming damage for a certain duration, while she can attack the enemies with impunity. Great for going up against bosses, especially when you have no trust in your own dodging skills. The duration seems quite significant, around 10 to 12 seconds by my estimate (but that is also because my Sexy charm is at 20).
3. S Tier
None as of yet
4, A Tier

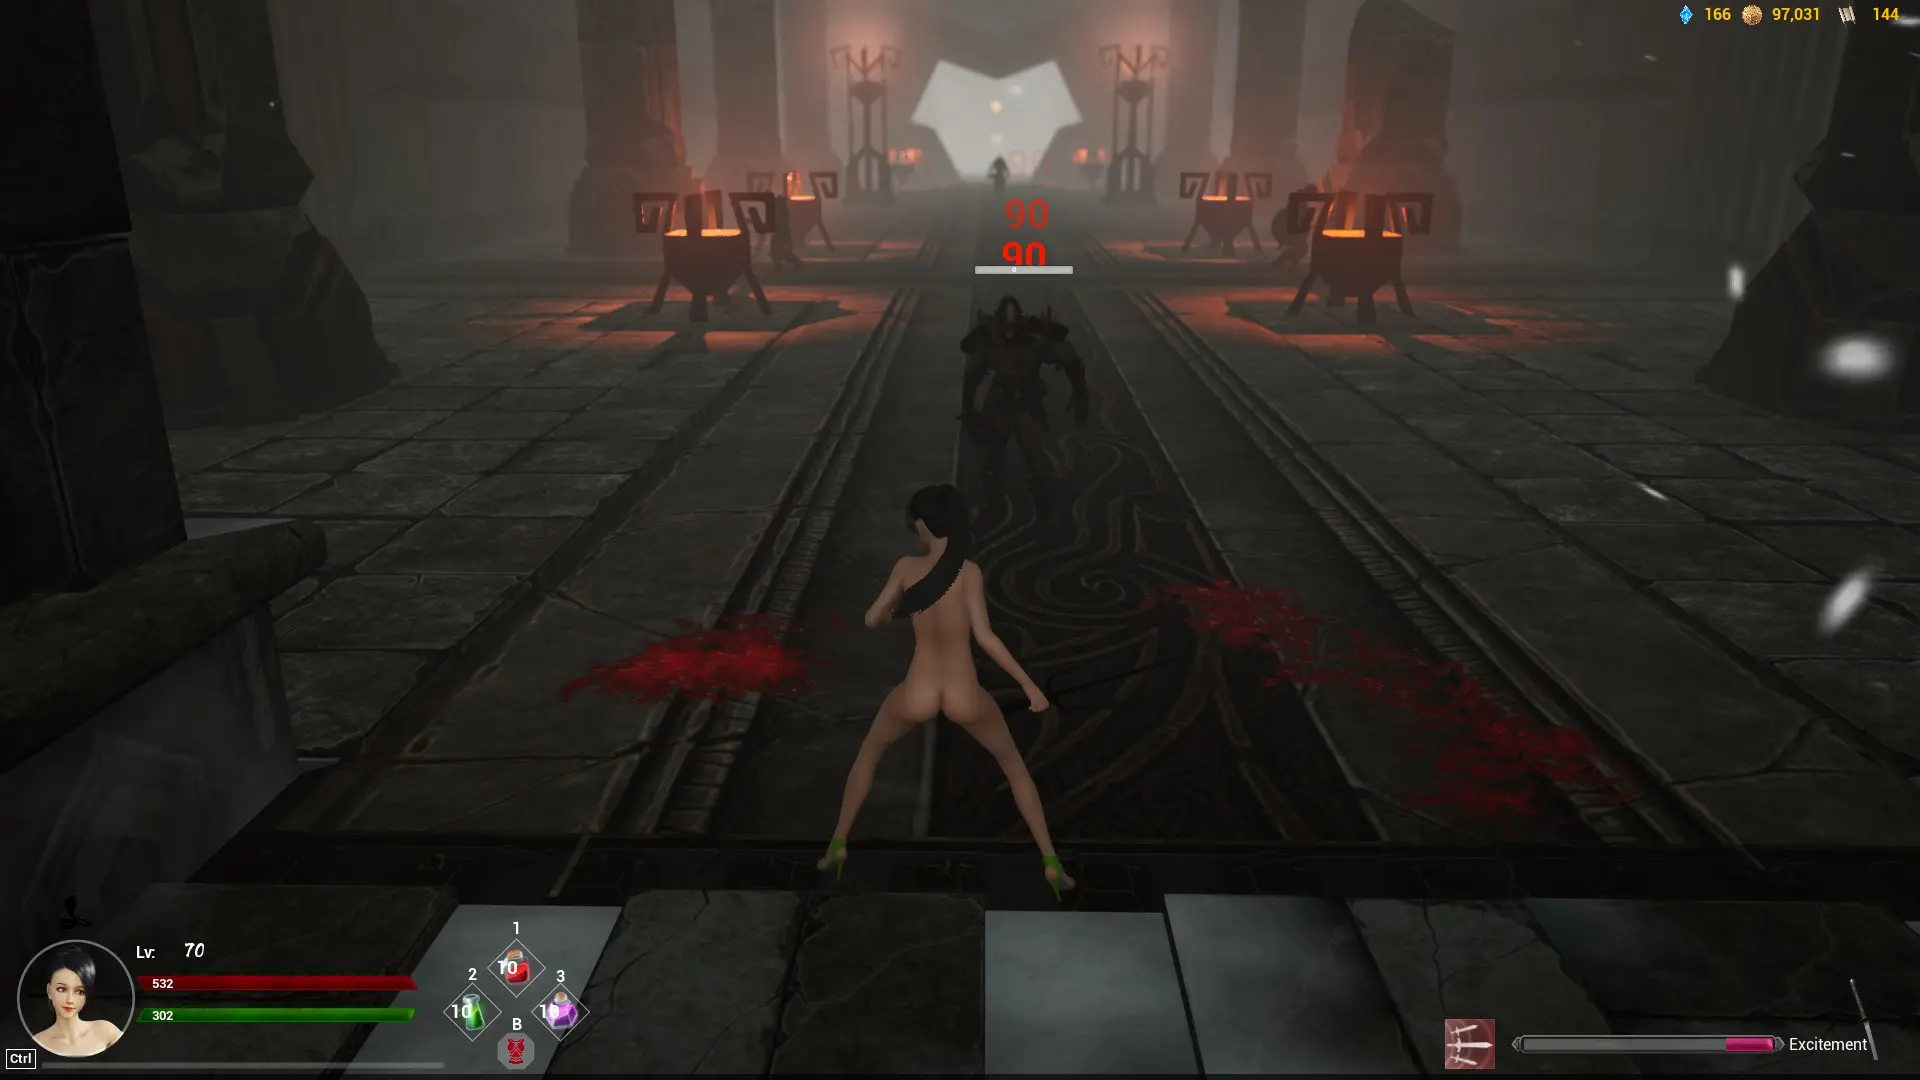
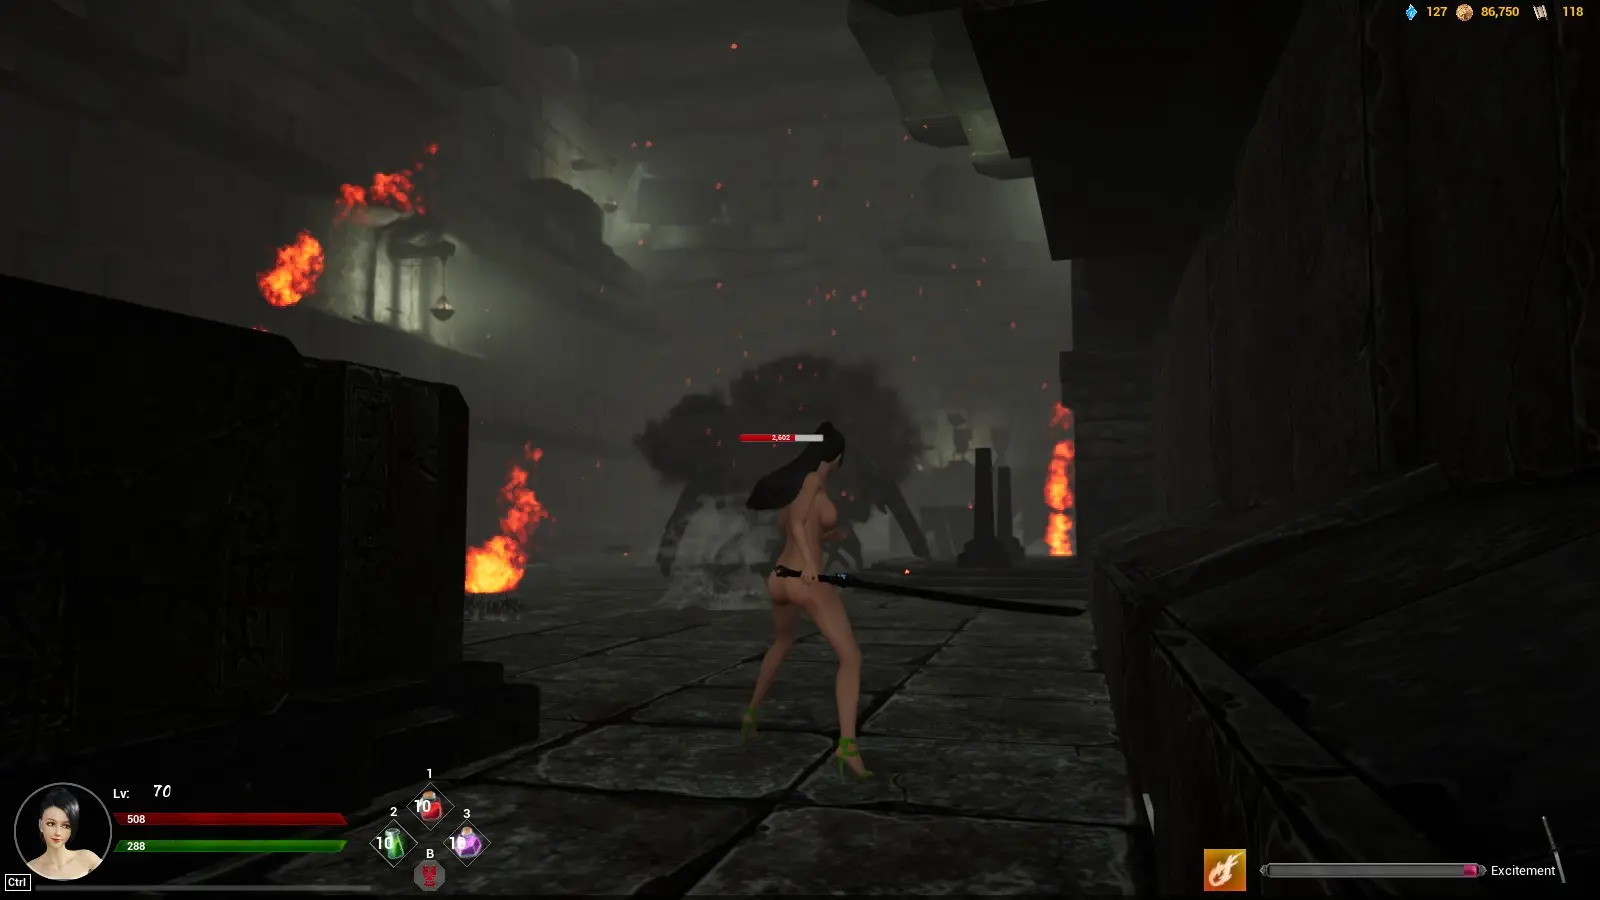
The first of the 2 A tier skills is this fireball, which you can press and hold Q to aim at a specific target. It does a reasonable amount of damage, enough to one shot a minion but not enough for a boss monster (despite the single target nature). As you can see below, I took out about 1/3 the health of the spider boss on Border Fortress. It’s pretty good largely because it can be aimed, unlike all the other damage based skills.

The second is a big AOE skill centered on the Princess that deals damage to all surrounding enemies. This has the widest AOE of all the AOE damage skills, and ticks 4 times, each dealing about 400 damage. Very good for dealing with mobs if you find yourself surrounded, but this is unlikely to happen in Journey of Salvation since the enemies are rather spaced out. Giving it a good ranking because of the size of the AOE.
5. B Tier
This first one, Princess goes spinning for like 2 seconds after a brief charge up period, is invulnerable for the duration of the spinning and does damage to all those hit. I cannot seem to control the direction of the spin, which limits the usefulness of this skill.
The second one, Princess rapidly cuts a small area immediately in front of her after a brief charge up, and does damage to all enemies in that area. This means that the skill will catch up to 3 enemies by my estimates if you can get them to group up right in front of the Princess. Better than the spinning trick above because you know where it is aimed, but has a smaller AOE as a result.

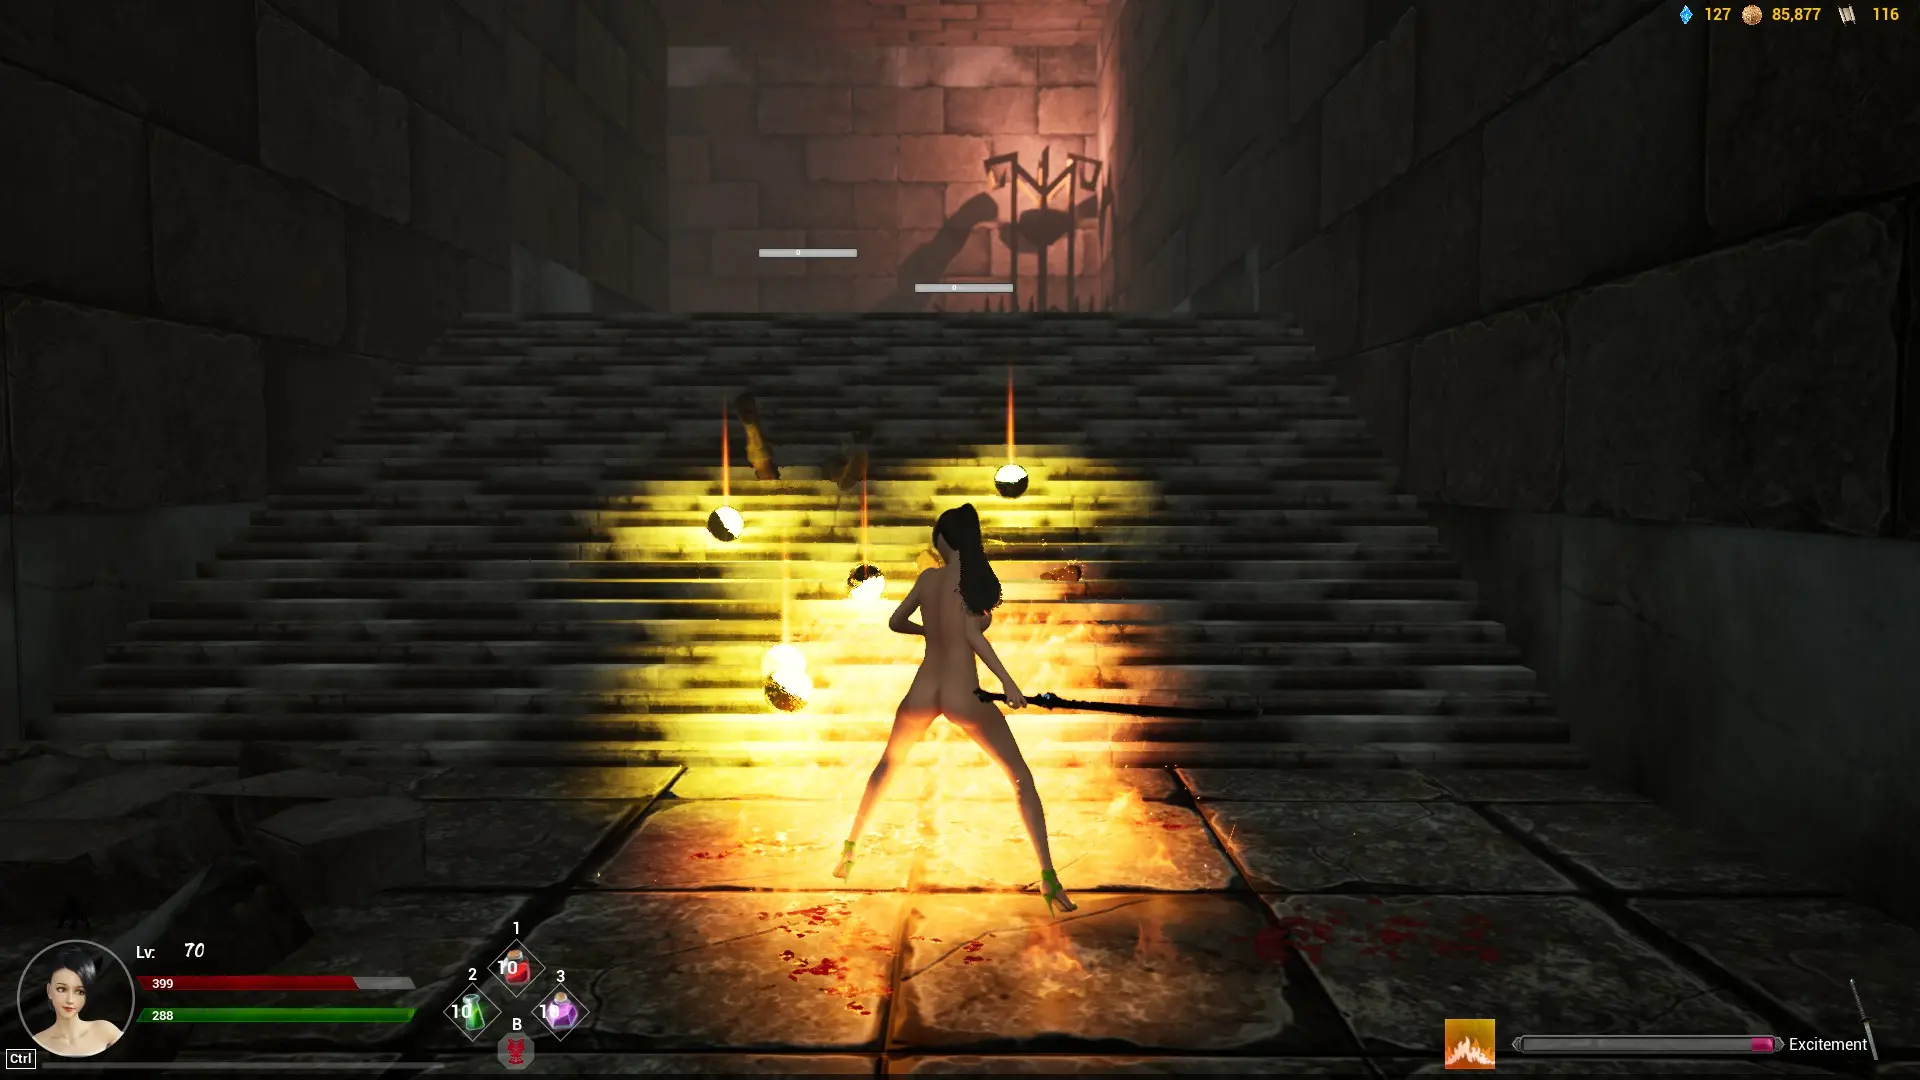
The last one sprays fire in a line across the floor and burns all enemies standing on top of the fire. Again, I do not seem to be able to aim where I want the line to go, it just drops when activated.
I am putting all 3 in B tier because overall – i.e average, not very fantastic, they share similar characteristics and drawbacks – small AOE, cannot aim. If you want to aim, use the fireball. If you want AOE, use the big AOE one (see both in A tier above). I am not sure if the overall damage is higher on these three skills because they happen too fast for me to do any calculations, but if does not matter too much since all damage dealing skills can destroy the minions very quickly and will never destroy bosses. I might even drop these three to C tier, but you get the idea.
6. C Tier
None as of yet
7. D Tier
None as of yet
8. E Tier
None as of yet
9. F Tier
A healing skill. I did not even bother trying this out. Why do you want to waste a limited use special skill on healing when potions exist, or when you can just negate damage with the slow skill or the shield skill (see SSS and SS tiers above)? Enough said.
Attributes and Charms
Attributes
I will not rank attributes in the same way as the weapons or skills since there are only 5 and THERE ARE CORRECT ANSWERS (like absolutely correct, don’t argue).
You get 3 attribute points per level gained by the Princess. At the end of the day, you should spend them all in attack speed and/or damage. Each point gives you 1 extra damage or 0.01 increase in attack speed. I will explain why max health, max strength and defense do not matter.
Max health – Potions exist, if you need an extra buffer, use the shield or slow special skills (see above).
Max strength – The most important of the three useless attributes because you will need strength to attack, to dodge etc, and if you run out of strength you become a sitting duck in the face of an enemy. HOWEVER, again, potions exist, and there is current no limit on how many Princess can chug down.
Defense – Shield and slow skills exist, and learn to dodge/counterattack. Enough said.
Of course, in the early game, you may want to invest some attribute points into health and strength if you constantly find yourself running low, seeing as how you can reset all your attributes at any time. However, as you progress to the mid to late game, you should be putting all into damage and attack speed. In case you weren’t aware, Princess kills enemies by attacking and dealing damage, not by being strong and beefy. Further, once you get some upgrades to the Mature and Wild charms (more on charms below), your hit point and strength will recover very quickly if expended.
Charms
Lastly, we come to charms.
The most IMPORTANT point to note when upgrading charms – always choose your favourite clothing for your Princess, regardless if their charm bonuses. This is why we are all here, are we not? Also, with the addition of enhancement scrolls in the May 6th 2023 update, each clothing can now have their maximum enhancements increased, so you will eventually get the charm distribution you desire regardless of what Princess wears. How else do you think my Princess can run around in emperor’s clothing yet have such busted stats.
That being said, suppose you are still an early game scrub who is totally broke (which is also why you are reading this, no?), I would recommend the following charms.
Gentle and Shy – Very useful because Shy increases Princess’ move speed and Gentle increases assassination damage and allows Princess to run up closer to the enemy before having to sneak (i.e. reduces enemies’ detection range when coming from behind). Both work hand in hand to make to easier to assassinate enemies, and in general traverse faster across maps.
Heroic/Sexy – Either of these is pretty good, depending on whether you want to deal more headshot and counterattack damage or rely more frequently on the power of the special skills. If you have sufficient resources, you can increase both.
Mature – Not so much the hit point recovery rate but the increase in booty collected, which could be useful in very early game. However, if you have the patience to grind a bit more, then this is not important.
The benefits of the rest are not important. Of course, once you have maxed out the above, you can do these other charms in whichever order you fancy.