In this article we will look at some observations in the game Beautiful Mystic Defenders , which can help you develop a strategy.
I would like to address just a few things that you might be wondering before we dive into individual maps:
1) There are 36 stages in total, yielding 108 of each star when achieving the best rank. The total cost of all upgrades is also 108 of each star in the current version. This is an interesting choice, because it means you must complete the final level without access to every possible upgrade. I believe it is possible to earn 3 stars even if you miss a couple monsters, but I cannot promise this is always the case on every map/difficulty.
2) The total cost of all hero upgrades is 9,750 gems. If you were inclined to just hit the win button on every bronze and silver map, you would already have over 8,000 gems from just 72 missions. You can farm as many gems as you want on any mission (both legitimately and not), but it is not necessary to farm to unlock all of these upgrades before the end.
3) The heroes will not level up if you are using the win button to advance, nor will you be credited with achievements for killing bosses. Play legitimately and you will earn xp whenever a monster actually dies. Heroes earn this xp even if they are not personally engaged in the combat themselves.
4) It is possible to earn some extra coin by initiating waves before the countdown reaches zero. I can only recall values in the 3-32 range, but it’s worth considering if you can stack up several of them before the map is full.
5) Each wave will appear in a randomized lane each time you attempt a stage. There’s no use attempting to memorize in what lanes the waves appeared, because it is unlikely you will get the same game twice.
Towers
Tower Type (zone of control)
Level: cost (Damage Type, Range, Attack Speed)
Gunmen Tower (Air + Ground)1: 76 coins (20 physical, 3.0 m, 1.8 sec)
2: 68 coins (+5 physical, +0.2 m, -0.3 sec)
3: 129 coins (+5 physical, +0.2 m, -0.3 sec)
4: 194 coins (+5 physical, +0.2 m, -0.3 sec)
Barracks (Ground only)1: 65 coins (5 physical, 3.0 m)
2: 58 coins (+2 physical, +0.2 m)
3: 106 coins (+3 physical, +0.2 m)
4: 198 coins (+2 physical, +0.2 m)
Guards will engage in combat and lock down a target, halting its progress. Most waves will swarm past, though, so they are primarily for bosses. You will likely need to utilize the Rally command to disengage non-boss enemies when the boss is en route.
Cannon Platform (Ground only)1: 79 coins (24 physical, 3.0 m, 3.2 sec, 1.3 m AOE)
2: 71 coins (+4 physical, +0.3 m, -0.3 sec, +0.1 m AOE)
3: 130 coins (+4 physical, +0.3 m, -0.3 sec, +0.1 m AOE)
4: 192 coins (+4 physical, +0.3 m, -0.3 sec, +0.1 m AOE)
Magic Altar (Air + Ground)1: 80 coins (25 magical, 3.0 m, 1.9 sec)
2: 71 coins (+6 magical, +0.2 m, -0.3 sec)
3: 136 coins (+6 magical, +0.2 m, -0.3 sec)
4: 206 coins (+6 magical, +0.2 m, -0.3 sec)
Bile Launcher (Ground only)1: 77 coins (8 physical, 8 magical, 3.2 m, 3.0 sec, 1.1 m AOE)
2: 69 coins (+2 physical, +2 magical, +0.3 m, -0.3 sec, +0.1 m AOE)
3: 129 coins (+2 physical, +2 magical, +0.3 m, -0.3 sec, +0.1 m AOE)
4: 190 coins (+2 physical, +2 magical, +0.3 m, -0.3 sec, +0.1 m AOE)
Applies a mobility debuff and minuscule Damage over Time. Primarily for condensing waves into target-rich clusters to maximize AoE efficiency.
Missile Base (Air + Ground)1: 100 coins (22 physical, 3.5 m, 3.0 sec)
2: 89 coins (+2 physical, +0.3 m, -0.2 sec) * 2 projectiles
3. 196 coins (+2 physical, +0.3 m, -0.2 sec) * 3 projectiles
4. 332 coins (+2 physical, +0.3 m, -0.2 sec) * 4 projectiles
The key to the missile base is upgrading it. A cannon will likely dish out greater DPS to clusters of four or more targets, but the missile base is just smarter. I don’t think it sends all its projectiles to the same target when it only needs one to kill. A cannon, without multiple projectiles, is prone to wasting its payload on a lone target, especially if the tower range covers multiple lanes or the lane wraps around it.
If you don’t have the extra projectile upgrade that makes level 1 towers shoot twice, then you need to prioritize upgrading the tower to level 2 immediately after buying level 1. Having a single projectile missile base is not cost effective, and the “buy additional level 1s before upgrading” strategy does *NOT* apply here.
Thunder Coil (Air + Ground)1: 130 coins (15 magical, 3.1 m, 2.2 sec, 1.0 m AOE)
2: 116 coins (+3 magical, +0.2 m, -0.3 sec, +0.1 m AOE)
3: 205 coins (+3 magical, +0.2 m, -0.3 sec, +0.1 m AOE)
4: 290 coins (+3 magical, +0.2 m, -0.3 sec, +0.1 m AOE)
Additionally stuns enemies.
Lessons:It probably goes without saying, but it generally is more cost effective to buy additional level one towers before upgrading towers, if there is still room to do so. Obviously one must plan accordingly so that there are no weaknesses (i.e. building all cannons will provide no air defense). But if you were inclined, building all level one A, selling all level one A, then building all level one B would yield more then upgrading A, selling A, and trying to upgrade B.
Heroes
These stats are only visible in the popup in the top center of the screen when you have a Hero actively selected. Only vanilla stats are listed (no gem upgrades).
Kitsune (Human Warrior)
1: 2,000 HP, 35 physical, 0 magical, 1.0 sec (35 / 0 DPS)
2: 2,400 HP, 40 physical, 0 magical, 0.9 sec (44.44 / 0 DPS)
3: 2,800 HP, 46 physical, 0 magical, 0.8 sec (57.5 / 0 DPS)
4: 3,200 HP, 51 physical, 0 magical, 0.7 sec (72.85 / 0 DPS)
5: 3,600 HP, 56 physical, 0 magical, 0.6 sec (93.33 / 0 DPS)
6: 4,000 HP, 61 physical, 0 magical, 0.6 sec (101.66 / 0 DPS)
7: 4,400 HP, 66 physical, 0 magical, 0.5 sec (132 / 0 DPS)
8: 4,800 HP, 72 physical, 0 magical, 0.5 sec (144 / 0 DPS)

Takami (Elf Huntress)
1: 800 HP, 15 physical, 10 magical, 0.8 sec (18.75 / 12.5 DPS)
2: 960 HP, 17 physical, 12 magical, 0.7 sec (24.28 / 17.14 DPS)
3: 1,120 HP, 20 physical, 13 magical, 0.6 sec (33.33 / 21.66 DPS)
4: 1,280 HP, 22 physical, 14 magical, 0.5 sec (44 / 28 DPS)
5: 1,440 HP, 24 physical, 16 magical, 0.5 sec (48 / 32 DPS)
6: 1,600 HP, 26 physical, 18 magical, 0.4 sec (65 / 45 DPS)
7: 1,760 HP, 28 physical, 19 magical, 0.4 sec (70 / 47.5 DPS)
8: 1,920 HP, 31 physical, 20 magical, 0.4 sec (77.5 / 50 DPS)
9: 2,080 HP, 33 physical, 22 magical, 0.3 sec (110 / 73.33 DPS)
10: 2,240 HP, 35 physical, 24 magical, 0.3 sec (116.66 / 80 DPS)
11: 2,400 HP, 38 physical, 25 magical, 0.3 sec (126.66 / 83.33 DPS)
12: 2,560 HP, 40 physical, 26 magical, 0.3 sec (133.33 / 86.66 DPS)

Yasako (Fox Sorceress)
1: 600 HP, 0 physical, 25 magical, 1.5 sec (0 / 16.66 DPS)
2: 720 HP, 0 physical, 29 magical, 1.3 sec (0 / 22.30 DPS)
3: 840 HP, 0 physical, 32 magical, 1.2 sec (0 / 26.66 DPS)
4: 960 HP, 0 physical, 36 magical, 1.0 sec (0 / 36 DPS)
5: 1,080 HP, 0 physical, 40 magical, 0.9 sec (0 / 44.44 DPS)
6: 1,200 HP, 0 physical, 44 magical, 0.9 sec (0 / 48.88 DPS)
7: 1,320 HP, 0 physical, 48 magical, 0.8 sec (0 / 60 DPS)
8: 1,440 HP, 0 physical, 51 magical, 0.7 sec (0 / 72.85 DPS)
9: 1,560 HP, 0 physical, 55 magical, 0.7 sec (0 / 78.57 DPS)
10: 1,680 HP, 0 physical, 59 magical, 0.6 sec (0 / 98.33 DPS)
11: 1,800 HP, 0 physical, 62 magical, 0.6 sec (0 / 103.33 DPS)

Sumi (Cat Rogue)
1: 1,000 HP, 35 physical, 0 magical, 0.6 sec (58.33 / 0 DPS)
2: 1,200 HP, 40 physical, 0 magical, 0.5 sec (80 / 0 DPS)
3: 1,400 HP, 46 physical, 0 magical, 0.5 sec (92 / 0 DPS)
4: 1,600 HP, 51 physical, 0 magical, 0.4 sec (127.5 / 0 DPS)
5: 1,800 HP, 56 physical, 0 magical, 0.4 sec (140 / 0 DPS)
Airi (Human Mage)
1: 800 HP, 0 physical, 20 magical, 1.0 sec (0 / 20 DPS)
2: 900 HP, 0 physical, 23 magical, 0.9 sec (0 / 25.55 DPS)
3: 1,120 HP, 0 physical, 26 magical, 0.8 sec (0 / 32.5 DPS)
4: 1,280 HP, 0 physical, 29 magical, 0.7 sec (0 / 41.42 DPS)
5: 1,440 HP, 0 physical, 32 magical, 0.6 sec (0 / 53.33 DPS)
6: 1,600 HP, 0 physical, 35 magical, 0.6 sec (0 / 58.33 DPS)
7: 1,760 HP, 0 physical, 38 magical, 0.5 sec (0 / 76 DPS)
8: 1,920 HP, 0 physical, 41 magical, 0.5 sec (0 / 82 DPS)
9: 2,080 HP, 0 physical, 44 magical, 0.5 sec (0 / 88 DPS)
10: 2,240 HP, 0 physical, 47 magical, 0.4 sec (0 / 117.5 DPS)
11: 2,400 HP, 0 physical, 50 magical, 0.4 sec (0 / 125 DPS)
12: 2,560 HP, 0 physical, 53 magical, 0.4 sec (0 / 132.5 DPS)
13: 2,720 HP, 0 physical, 56 magical, 0.4 sec (0 / 140 DPS)
14: 2,880 HP, 0 physical, 59 magical, 0.3 sec (0 / 196.66 DPS)
15: 3,040 HP, 0 physical, 62 magical, 0.3 sec (0 / 206.66 DPS)
16: 3,200 HP, 0 physical, 65 magical, 0.3 sec (0 / 216.66 DPS)
17: 3,360 HP, 0 physical, 68 magical, 0.3 sec (0 / 226.66 DPS)
18: 3,520 HP, 0 physical, 71 magical, 0.3 sec (0 / 236.66 DPS)
19: 3,680 HP, 0 physical, 74 magical, 0.3 sec (0 / 246.66 DPS)
20: 3,840 HP, 0 physical, 77 magical, 0.3 sec (0 / 256.66 DPS)

Lessons:
Kitsune is your HP hero, making her the best tanker. When you need to lock down a boss in the range of your best towers (and her reinforcements are on cooldown), she can buy you time. But her reinforcements can also do the same. She’s basically a mobile barracks.
Takami is your little bit of everything, making her the best scout. When you don’t know what’s coming, she can always participate. Her freeze probably can’t lock down a single target as well as Kitsune’s reinforcements, but it can potentially effect more targets.
Sumi is your physical DPS hero. If she doesn’t hit hardest, then she does strike fastest. She can handle softened up crowds that escape tower range, and I believe she can traverse the map fastest as well.
Airi appears to be your potential magical DPS hero, but her DoT is extremely effective against a rush: faster enemies equals more of them reaching and passing through the DoT’s area.
Yasako is your glass cannon. She has the strongest magical damage nuke, and the AoE is delightfully massive. Big Mystic Meteors. As a certain someone once said about a different mature character, “It’s about power.”
Upgrades
There are a lot of upgrades that are not worth comparing to one another, due to the fact that they do not share the same currency cost. Some priorities are worth mentioning, however.
Without bombarding you with tables and calculations, let me just say that the most literal bang for your buck is going to come from Elite Training (10 Gold stars). The problem with Advanced Engineering (10 Gold stars) is that in most cases, you won’t be saving even 5 coins per tower built, so the savings won’t realistically add up to an extra tower to build. You only really need it once the map is full and the only option left is to start saving on upgrades. In the late, late, late game it might start giving you an extra upgrade that you couldn’t afford otherwise.
Generally, if you wish to maximize DPS, then my advice is to prioritize Speed (including “downgrading” your enemies), then Damage, then Range, then Cost upgrades. However, the utility of special abilities (e.g. stun) may be more valuable. Luckily we can (now) respec upgrades. If something doesn’t help much, refund and try something else.
Gems, being infinite, are not something to worry about. But as I completed stage 36 on silver without any star or gem upgrades at all, I wouldn’t exactly worry about how you spend your stars, either. Even some of the gold stages can be done without any upgrades.
My advice is thus: if you aren’t winning, don’t run to the upgrade page or start farming. A solid strategy is all you need, and it’s better to realize what works and what doesn’t instead of trying to force a square peg in a round hole with an upgraded hammer.
Bestiary
You can click on enemies to view their stats just like you can view the hero stats. The primary difference in difficulties is that enemies will have more health, so I will not list that stat here.
Pathfinding exists, particularly with bosses if not all enemies. Pretend they have truesight or something and can see tower ranges. If the lane is wide enough, then they try to avoid as much damage as possible.
Fliers
Flying Trunk: 2 physical armor, 0 magic resistance
Rabidwing: 0 physical armor, 0 magic resistance
Warship: 0 physical armor, 2 magic resistance
AoEs aren’t very efficient since these cannot be slowed. You’ll need at least 3 Guns or Altars depending on the weakness.
Rushers
Blackhound: 0 physical armor, 1 magic resistance
Blackrider: 1 physical armor, 0 magic resistance
Blue Spider: 1 physical armor, 0 magic resistance
Buggie: 0 physical armor, 0 magic resistance
Hellhound: 0 physical armor, 0 magic resistance
Hound: 0 physical armor, 0 magic resistance
Imp: 0 physical armor, 2 magic resistance
Greenhound: 1 physical armor, 0 magic resistance
Gray Spider: 0 physical armor, 1 magic resistance
Mongrel: 1 physical armor, 0 magic resistance
Mutt: 0 physical armor, 0 magic resistance
Red Spider: 1 physical armor, 0 magic resistance
Wolfrider: 0 physical armor, 0 magic resistance
Yellow Spider: 0 physical armor, 1 magic resistance
Always Bile ASAP, then Cannon or Thunder depending on weakness.
Sponges
Highlander: 1 physical armor, 0 magic resistance
Even though they aren’t as swift, you need a lot of damage. It’s simply more cost efficient to combo Bile and Cannon. One pair won’t cut it, but since it is such a strong strategy in general, it rarely hurts to devote several stations to physical AoEs.
Anti-Mages
Cultist: 0 physical armor, 3 magical resistance
Executioner: 0 physical armor, 3 magic resistance
Marauder: 0 physical armor, 2 magic resistance
Robber: 0 physical armor, 3 magic resistance
Skeleton: 0 physical armor, 3 magic resistance
These should be a non-issue since your anti-rush and anti-sponge strategy already provides physical DPS.
Tanks
Bandit: 2 physical armor, 0 magic resistance
Barbarian: 1 physical armor, 0 magic resistance
Bounty Hunter: 3 physical armor, 0 magic resistance
Mercenary: 2 physical armor, 0 magic resistance
Mugger: 2 physical armor, 0 magic resistance
Rogue: 1 physical armor, 0 magic resistance
Snail: 3 physical armor, 0 magic resistance
Bile and Thunder combos are best. You shouldn’t need more than one altar to mop up survivors.
Trash
Raider: 0 physical armor, 0 magic resistance
Thief: 0 physical armor, 0 magic resistance
The only challenge here is if you have no towers unlocked. Fill the map with guns before upgrading any guns to get more bang for your buck. You only need to save one spot for an anti-boss barracks, and if the boss is a flier, then you don’t need one at all.
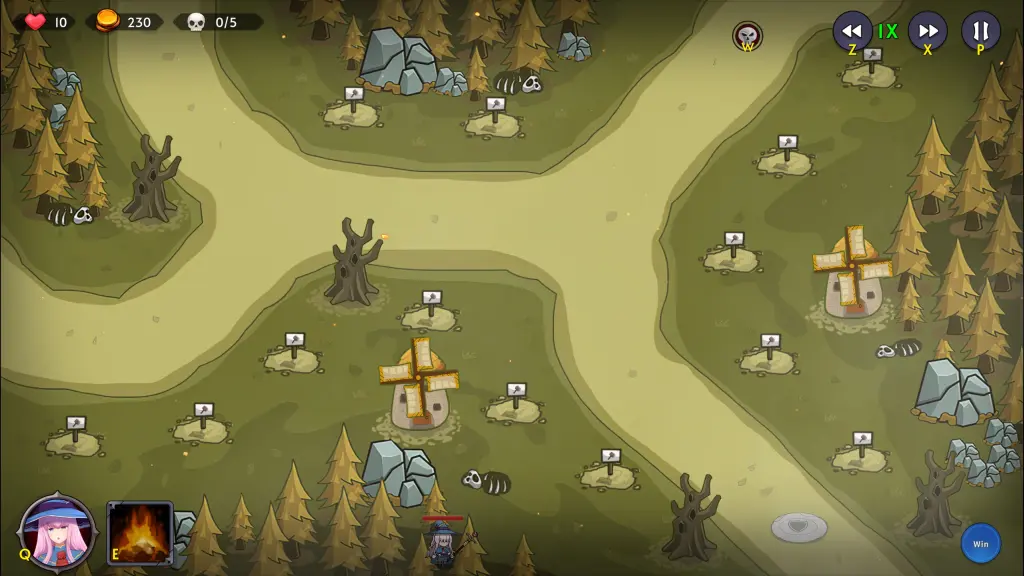
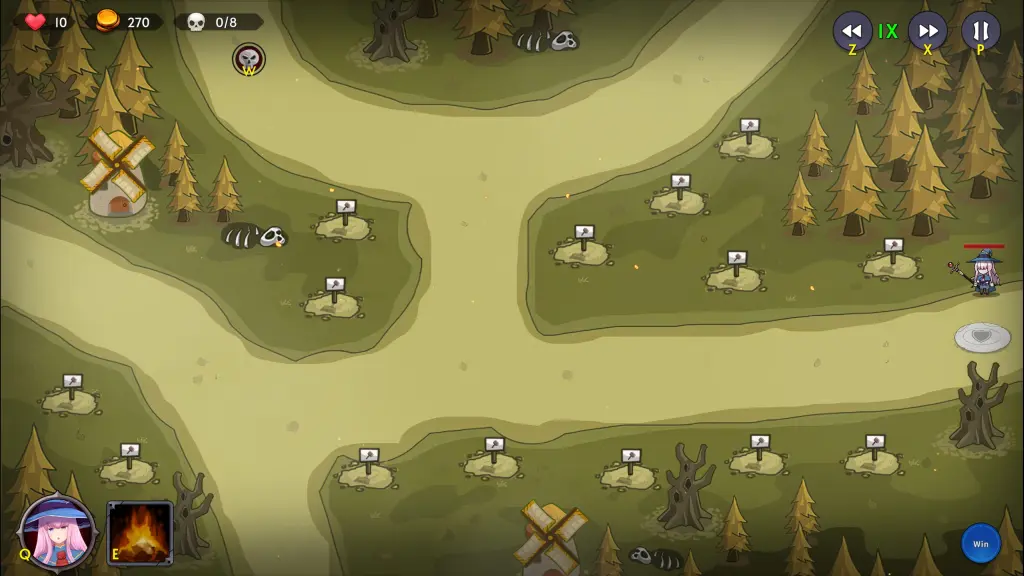
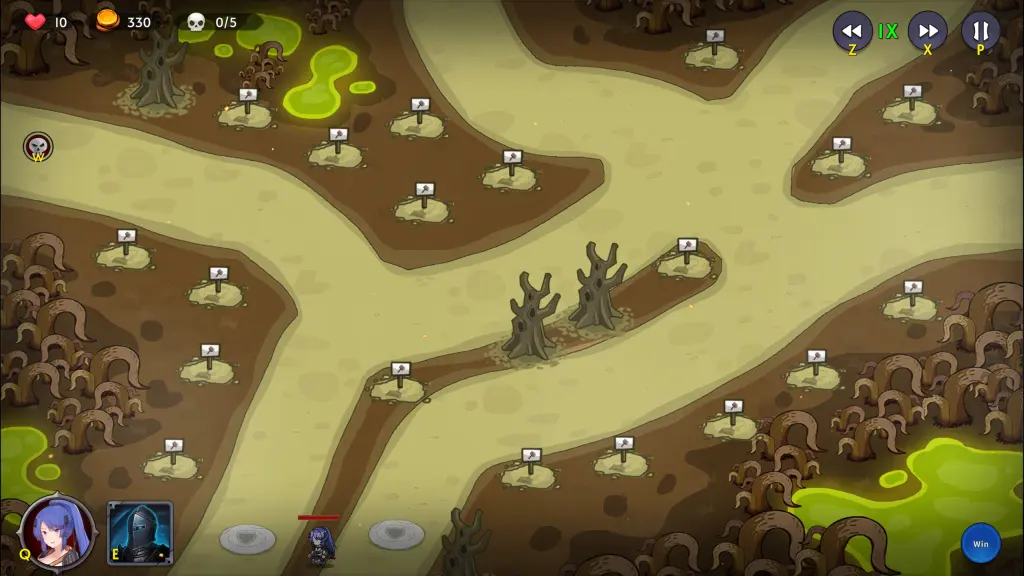
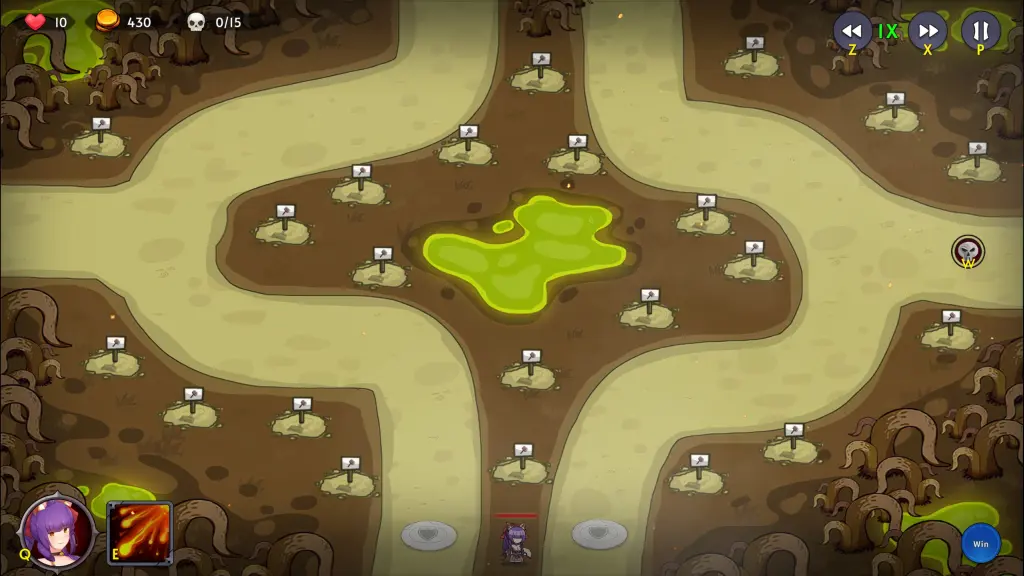
Twilight Forest (1-6)
Stage 1
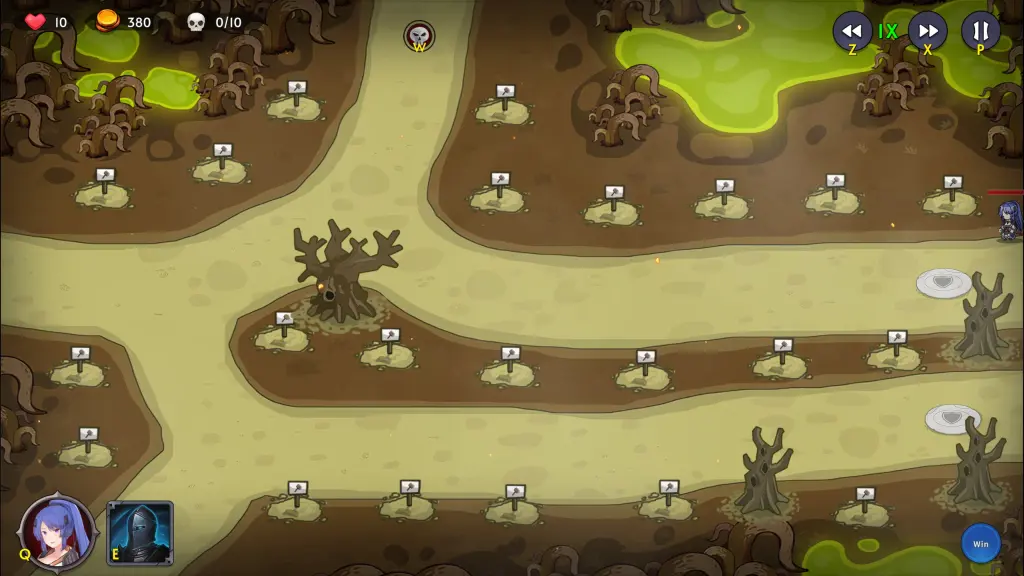
Supports up to 9 towers.
Begin with 200g.
Wave 1) 20 Thieves (100g)
Wave 2) 20 Raiders (100g)
Wave 3) 20 Barbarians (100g)
Boss) Krush (100g)
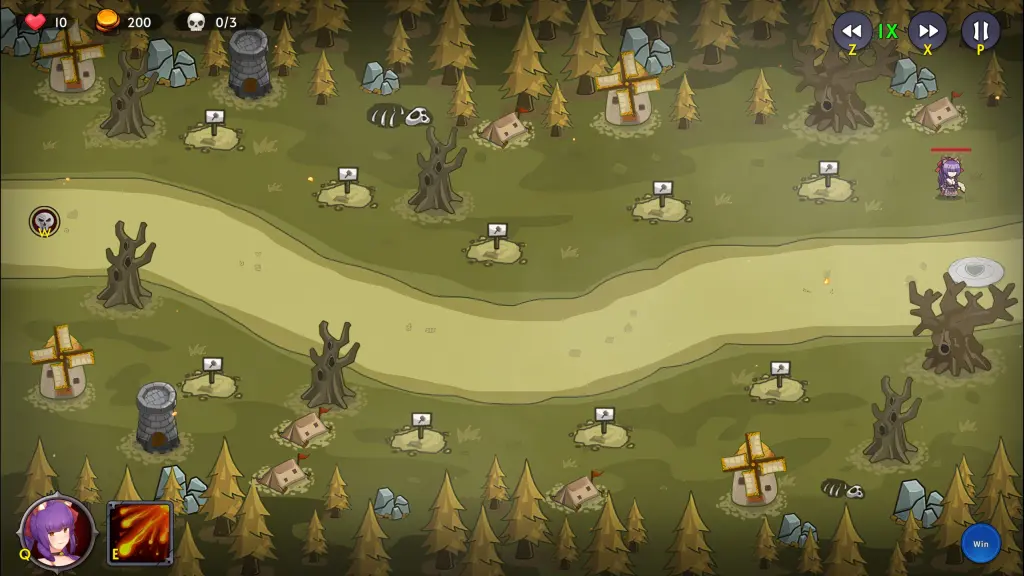
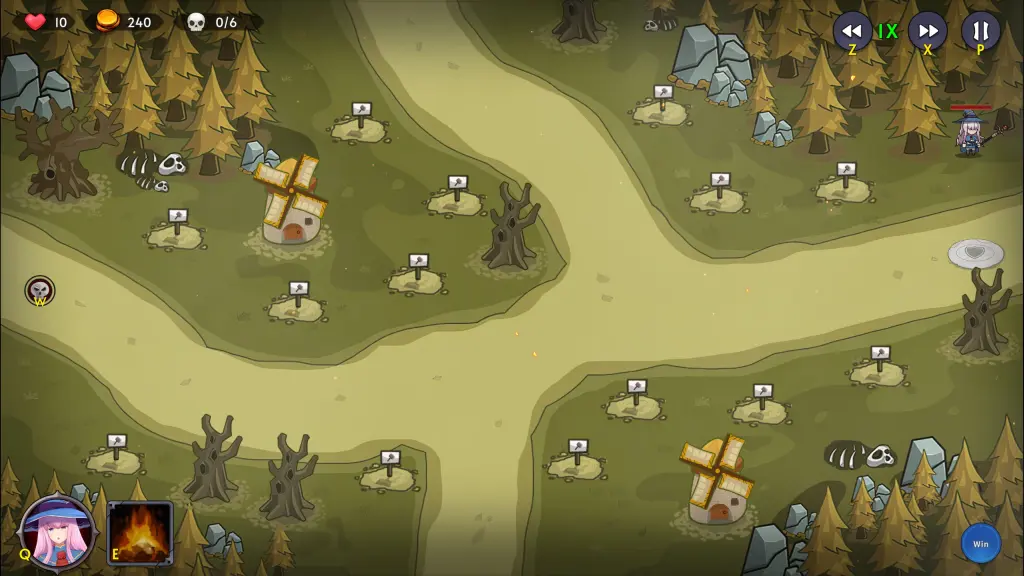
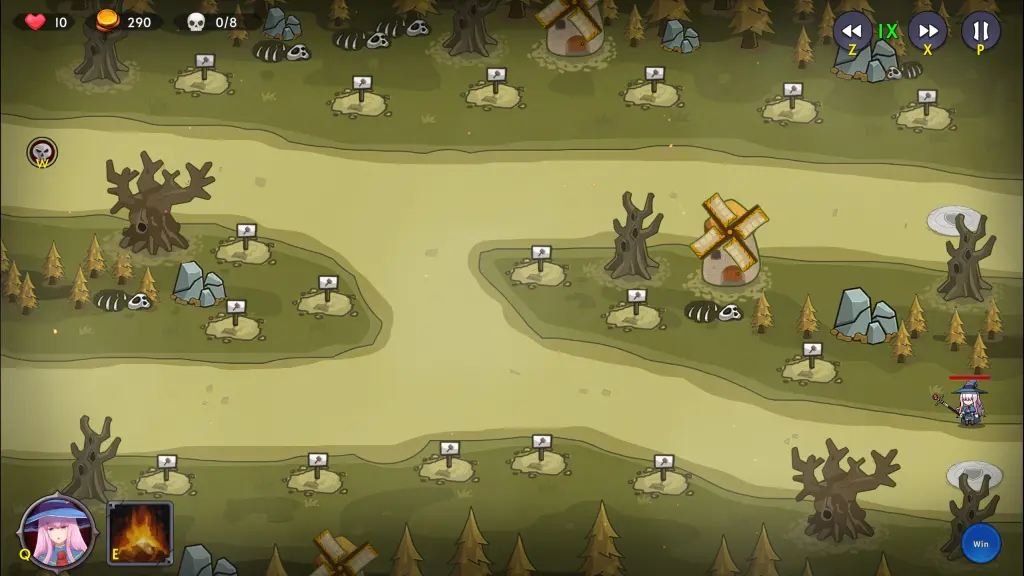
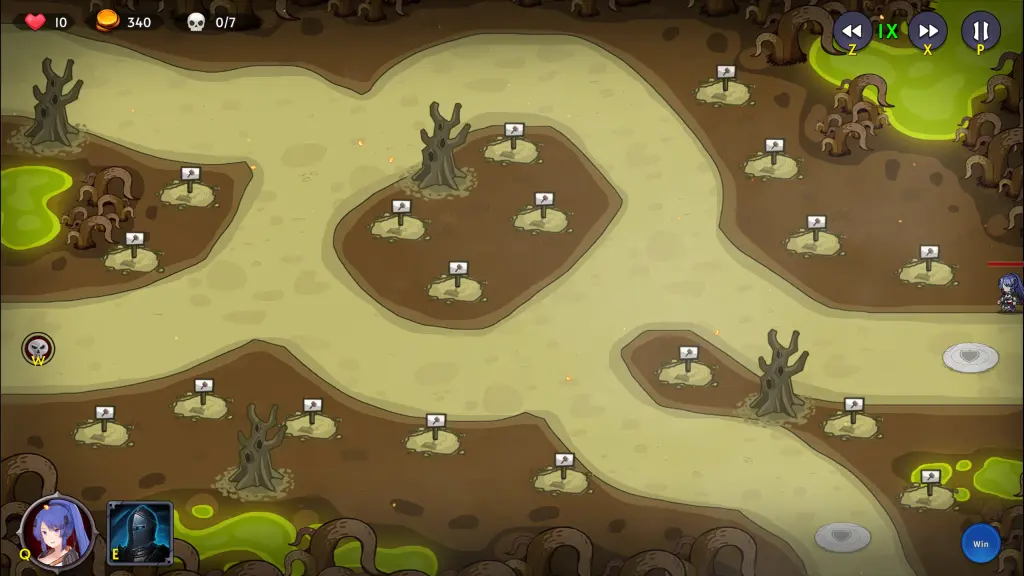
Stage 2
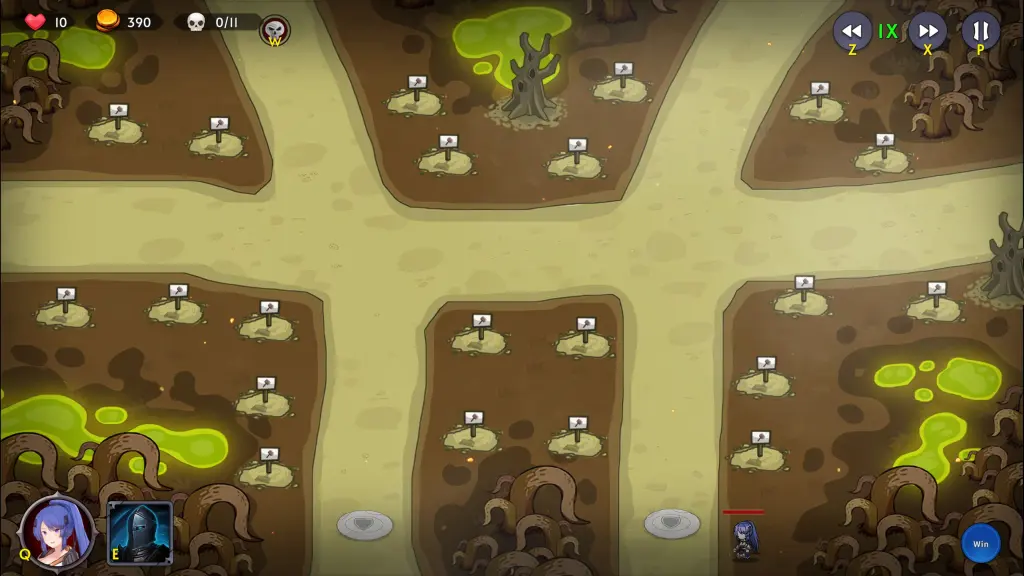
Supports up to 11 towers.
Begin with 210g.
Wave 1) 20 Thieves (100g)
Wave 2) 20 Raiders (100g)
Wave 3) 20 Barbarians (100g)
Wave 4) 20 Rogues (100g)
Boss) Cano (100g)
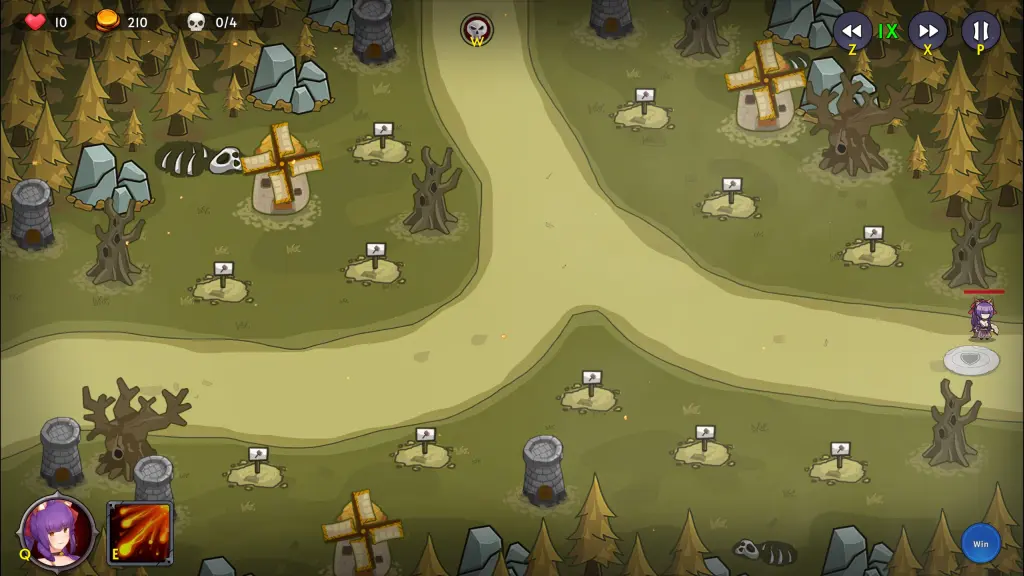
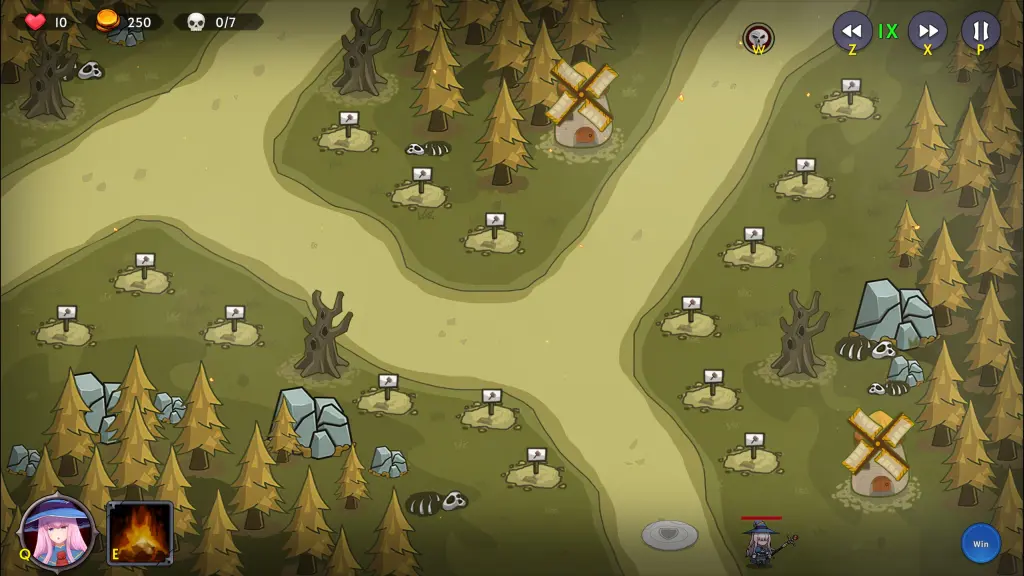
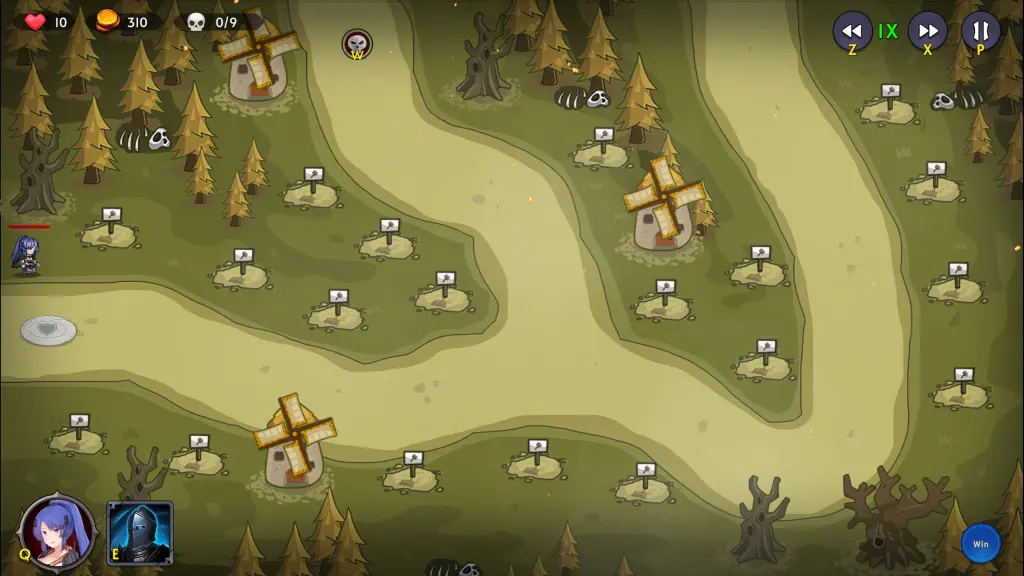
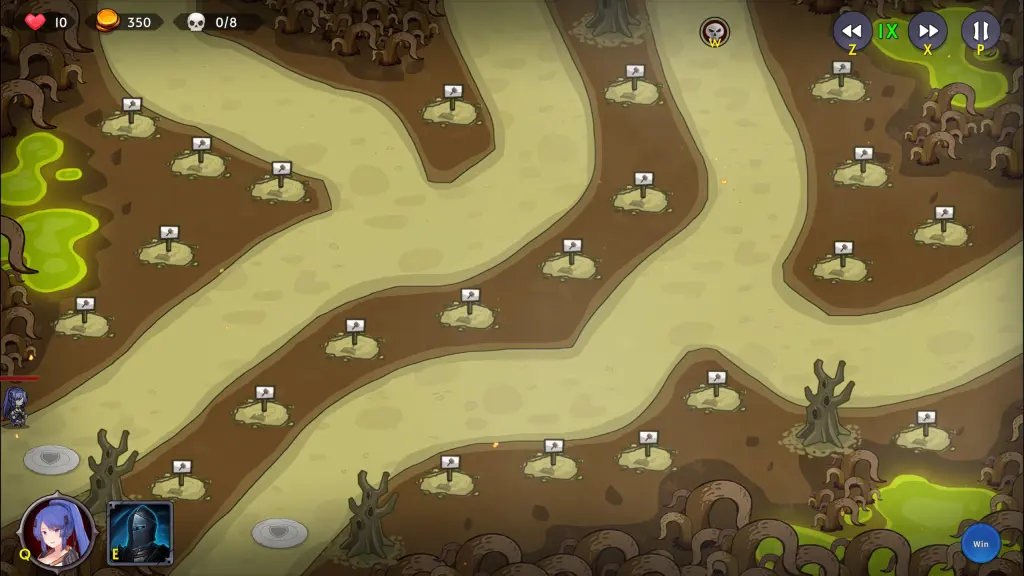
Stage 3
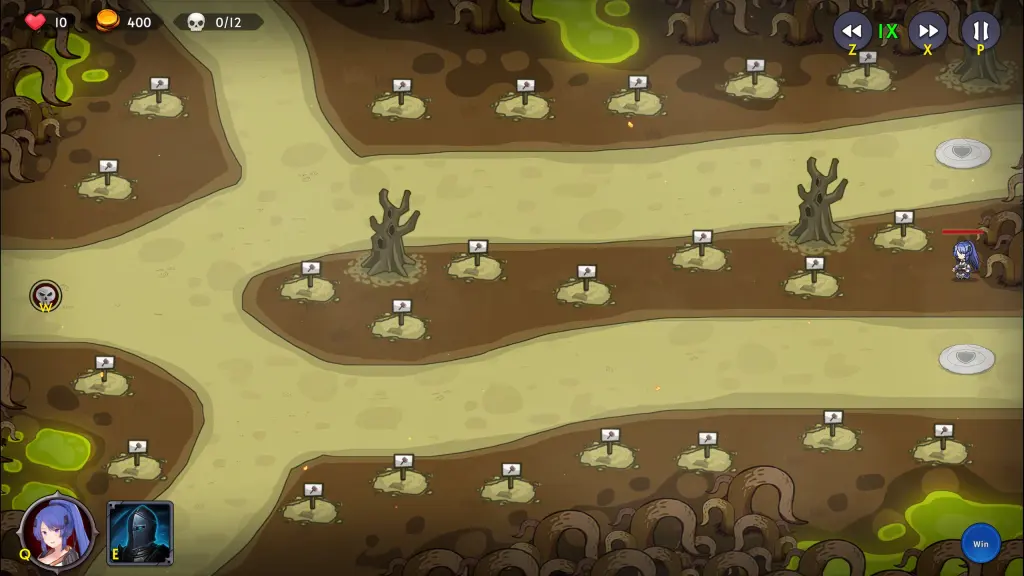
Supports up to 13 towers.
Begin with 220g.
Wave 1) 20 Rogues (100g)
Wave 2) 20 Thieves (100g)
Wave 3) 20 Raiders (100g)
Wave 4) 20 Barbarians (100g)
Wave 5) 40 Buggies (80g)
Boss) Zombear (100g)
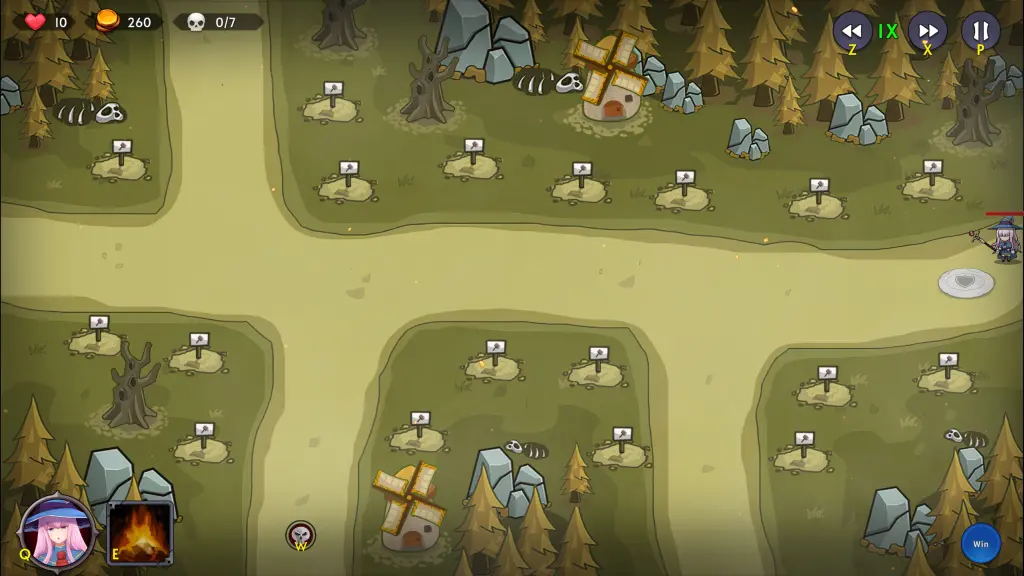
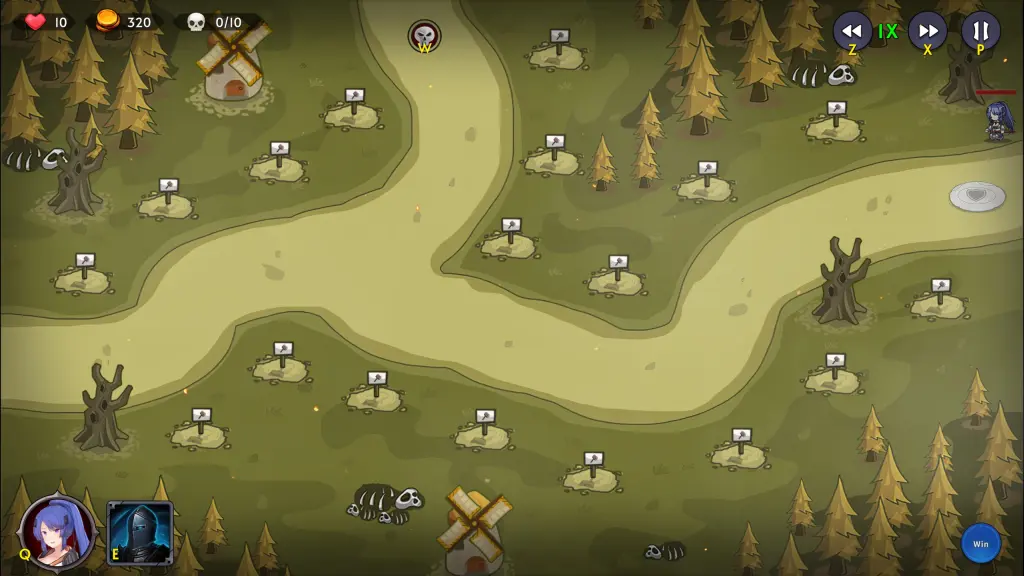
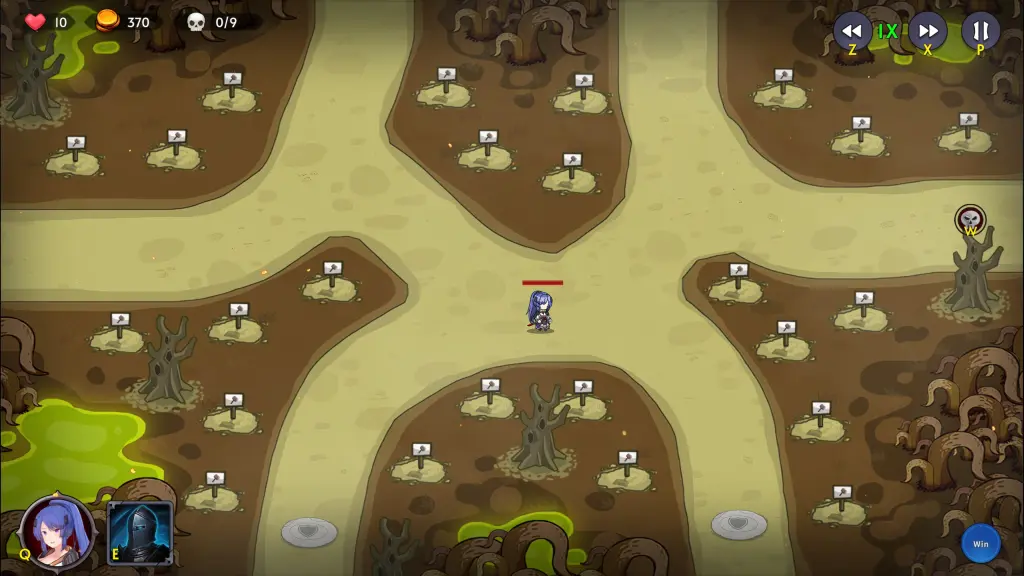
Stage 4
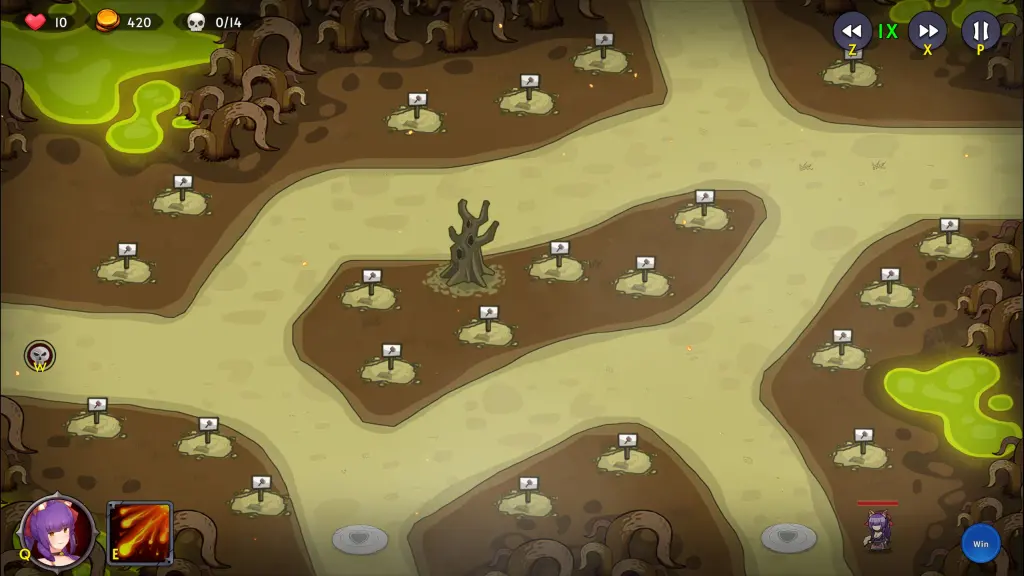
Supports up to 13 towers.
Begin with 230g.
Wave 1) 20 Rogues (100g)
Wave 2) 20 Mercenaries (100g)
Wave 3) 20 Bandits (100g)
Wave 4) 20 Thieves (100g)
Wave 5) 40 Buggies (80g)
Boss) Bittie (100g)
Stage 5
Supports up to 14 towers.
Begin with 240g.
Wave 1) 20 Rogues (100g)
Wave 2) 20 Mercenaries (100g)
Wave 3) 20 Bandits (100g)
Wave 4) 40 Buggies (80g)
Wave 5) 20 Rabidwings (100g)
Wave 6) 60 Barbarians (300g)
Boss) Dead Kong (100g)
Stage 6
Supports up to 15 towers.
Begin with 250g.
Wave 1) 20 Bandits (100g)
Wave 2) 20 Rogues (100g)
Wave 3) 40 Buggies (80g)
Wave 4) 20 Mercenaries (100g)
Wave 5) 40 Buggies (80g)
Wave 6) 60 Rabidwings (300g)
Wave 7) 60 Barbarians (300g)
Boss) Blightwings (100g)
Frontier (7-12)
Stage 7
Supports up to 18 towers.
Begin with 260g.
Wave 1) 20 Rogues (100g)
Wave 2) 20 Bandits (100g)
Wave 3) 20 Thieves (100g)
Wave 4) 40 Buggies (80g)
Wave 5) 20 Mercenaries (100g)
Wave 6) 60 Rabidwings (300)
Wave 7) 60 Raiders (300g)
Boss) Jade (100g)
Stage 8
Supports up to 14 towers.
Begin with 270g.
Wave 1) 20 Barbarians (100g)
Wave 2) 20 Robbers (100g)
Wave 3) 40 Buggies (80g)
Wave 4) 20 Mercenaries (100g)
Wave 5) 20 Rogues (100g)
Wave 6) 60 Rabidwings (300g)
Wave 7) 60 Robbers (300g)
Wave 8) 60 Rabidwings (300g)
Boss) Jade (100g)
Stage 9
Supports up to 17 towers.
Begin with 290g.
Wave 1) 20 Robbers (100g)
Wave 2) 40 Buggies (80g)
Wave 3) 20 Barbarians (100g)
Wave 4) 20 Bounty Hunters (100g)
Wave 5) 40 Buggies (80g)
Wave 6) 60 Rabidwings (300g)
Wave 7) 60 Skeletons (300g)
Wave 8) ?? Blue Spiders (3g each?)
Boss) Jade (100g)
Stage 10
Supports up to 18 towers.
Wave 1) Skeletons
Wave 2) Robbers
Wave 3) Bounty Hunters
Wave 4) Warships
Wave 5) Robbers
Wave 6) Bounty Hunters
Wave 7) Blue Spiders
Wave 8) Skeletons
Wave 9) Muggers
Boss) Warship* (use Yasako to attack, her meteors are the only special that will hit)

Stage 11
Supports up to 19 towers.
Wave 1) Robbers
Wave 2) Bounty Hunters
Wave 3) Muggers
Wave 4) Marauders
Wave 5) Blue Spiders
Wave 6) Grey Spiders
Wave 7) Blue Spiders
Wave 8) Skeletons
Wave 9) Warships
Boss) Corona
Stage 12
Supports up to 18 towers.
Wave 1) Robbers
Wave 2) Bounty Hunters
Wave 3) Muggers
Wave 4) Executioners
Wave 5) Marauders
Wave 6) Warships
Wave 7) Muggers
Wave 8) Marauders
Wave 9) Skeletons
Wave 10) Executioners
Molten Gate (13-18)
Stage 13
Supports up to 19 towers.
Wave 1) Muggers
Wave 2) Red Spiders
Wave 3) Marauders
Wave 4) Grey Spiders
Wave 5) Executioners
Stage 14
Supports up to 17 towers.
Wave 1) Robbers
Wave 3) Blue Spiders
Wave 4) Warships
Wave 5) Executioners
Wave 6) Red Spiders
Wave 7) Grey Spiders
Boss) Cano
Stage 15
Supports up to 22 towers.
Wave 1) Muggers
Wave 2) Executioners
Wave 3) Red Spiders
Wave 4) Snails
Wave 5) Yellow Spiders
Wave 6) Robbers
Wave 7) Executioners
Wave 8) Warships
Boss) Zombear
Stage 16
Supports up to 19 towers (one beneath the speed controls).
Wave 1) Bounty Hunters
Wave 2) Hounds
Wave 3) Snails
Wave 4) Marauders
Wave 5) Robbers
Wave 6) Muggers
Wave 7) Warships
Wave 8) Executioners

Stage 17
Supports up to 24 towers.
Wave 1) Muggers
Wave 2) Mutts
Wave 3) Red Spiders
Wave 4) Yellow Spiders
Wave 5) Highlanders
Wave 6) Executioners
Wave 7) Grey Spiders
Wave 8) Highlanders
Wave 9) Warships
Stage 18
Supports up to 22 towers.
Wave 1) Marauders
Wave 2) Executioners
Wave 3) Yellow Spiders
Wave 4) Highlanders
Wave 5) Warships
Wave 6) Red Spiders
Wave 7) Mutts
Wave 8) Rabidwings
Wave 9) Snails
Wave 10) Mongrels
Molten Bridge (19-24)
Stage 19
Supports up to 21 towers.
Wave 1) Bounty Hunters
Wave 2) Hounds
Wave 3) Snails
Wave 4) Mutts
Wave 5) Executioners
Wave 6) Gray Spiders
Wave 7) Buggies
Wave 8) Highlanders
Wave 9) Executioners
Wave 10) Highlanders
Wave 11) Mutts and Bandits
Stage 20
Supports up to 23 towers.
Wave 1) Red Spiders
Wave 2) Executioners
Wave 3) Bounty Hunters
Wave 4) Muggers
Wave 5) Marauders
Wave 6) Executioners
Wave 7) Highlanders
Wave 8) Highlanders
Wave 9) Snails
Wave 10) Skeletons
Wave 11) Warships
Wave 12) Mutts
Stage 21
Supports up to 23 towers.
Wave 1) Bounty Hunters
Wave 2) Executioners
Wave 3) Highlanders
Wave 4) Robbers
Wave 5) Highlanders
Wave 6) Snails
Wave 7) Skeletons
Wave 8) Warships
Wave 9) Imps
Wave 10) Snails
Wave 11) Robbers
Wave 12) Skeletons
Wave 13) Marauders

Stage 22
Supports up to 21 towers.
Wave 1) Bounty Hunters
Wave 2) Skeletons
Wave 3) Executioners
Wave 4) Muggers
Wave 5) Executioners
Wave 6) Marauders
Wave 7) Imps
Wave 8) Imps
Wave 9) Warships
Wave 10) Highlanders
Wave 11) Skeletons
Wave 12) Rabidwings
Wave 13) Highlanders
Wave 14) Muggers
Boss) Warship (still gonna insist you just use Yasako)
Stage 23
Supports up to 22 towers.
Wave 1) Imps
Wave 2) Muggers
Wave 3) Marauders
Wave 4) Buggies
Wave 5) Yellow Spiders
Wave 6) Red Spiders
Wave 7) Highlanders
Wave 8) Bounty Hunters
Wave 9) Warships
Wave 10) Blue Spiders
Wave 11) Skeletons
Wave 12) Red Spiders
Wave 13) Snails
Wave 14) Snails
Wave 15) Imps
Boss) Trunk Lord (Yasako still works)
Stage 24
Supports up to 23 towers.
Wave 1) Imps
Wave 2) Bounty Hunters
Wave 3) Yellow Spiders
Wave 4) Hounds
Wave 5) Skeletons
Wave 6) Mutts
Wave 7) Warships
Wave 8) Mongrels
Wave 9) Blackhounds
Wave 10) Imps
Wave 11) Warships
Wave 12) Highlanders
Wave 13) Mutts
Wave 14) Highlanders
Wave 15) Mongrels
Boss) Grimsbane
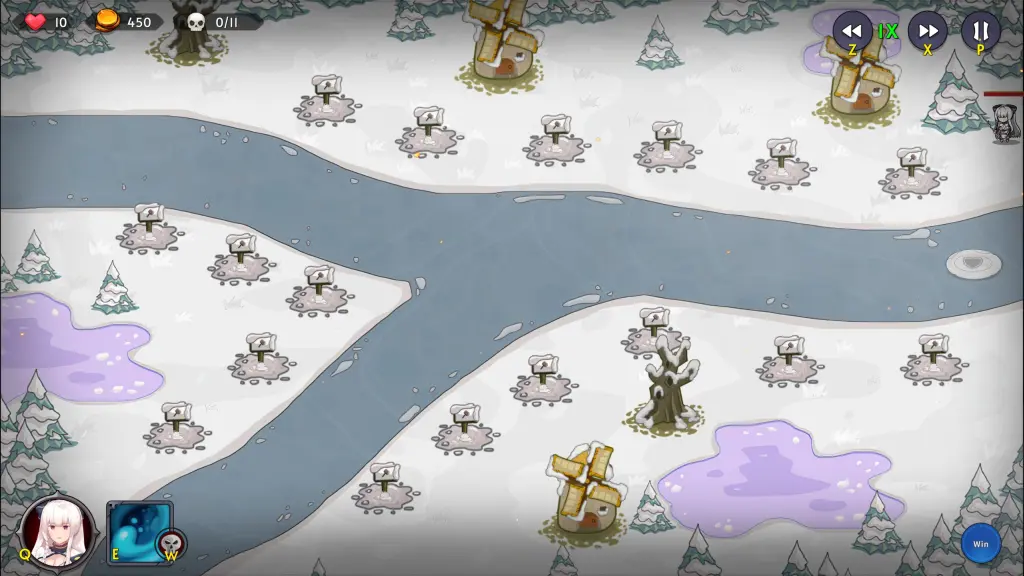
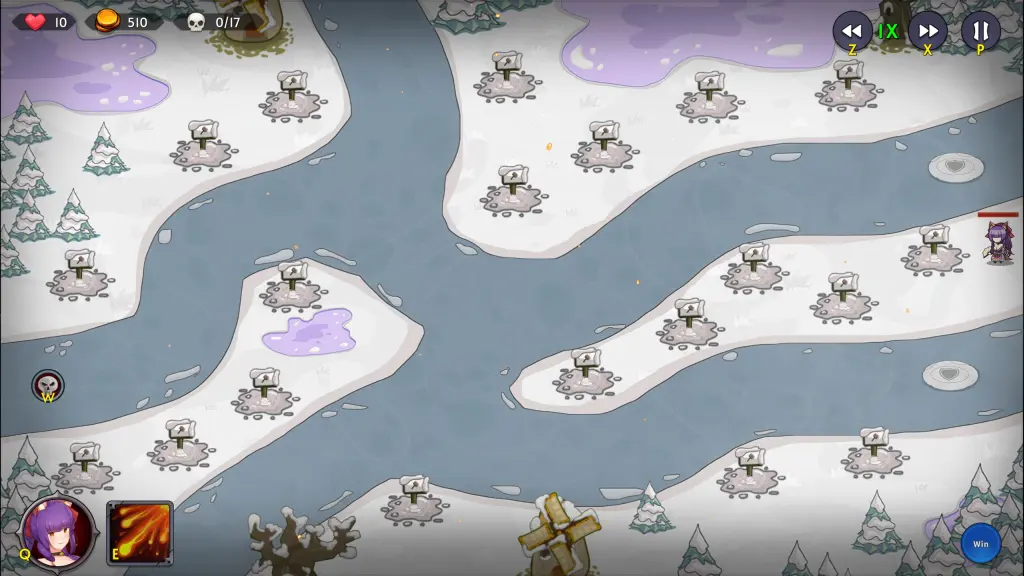
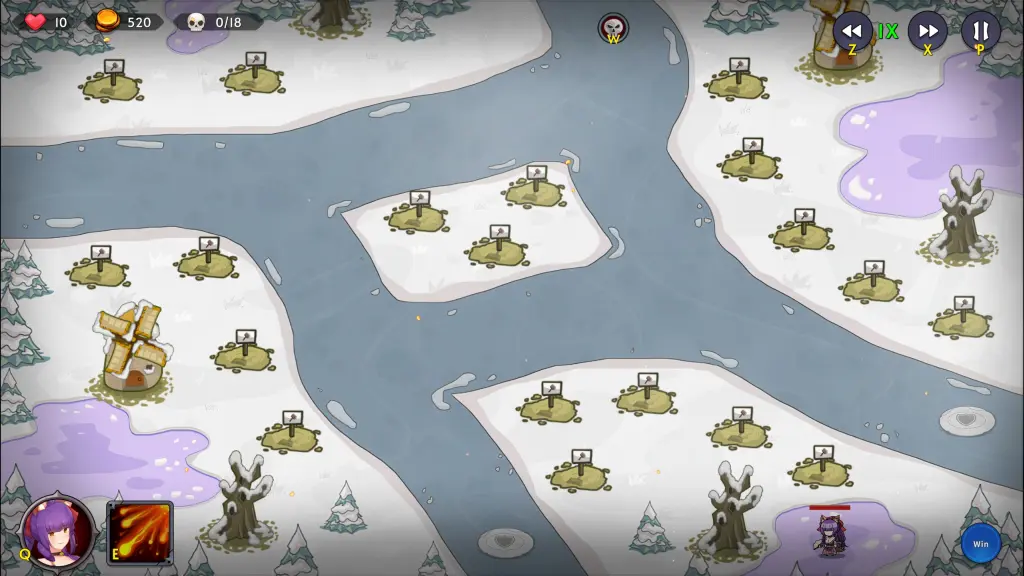
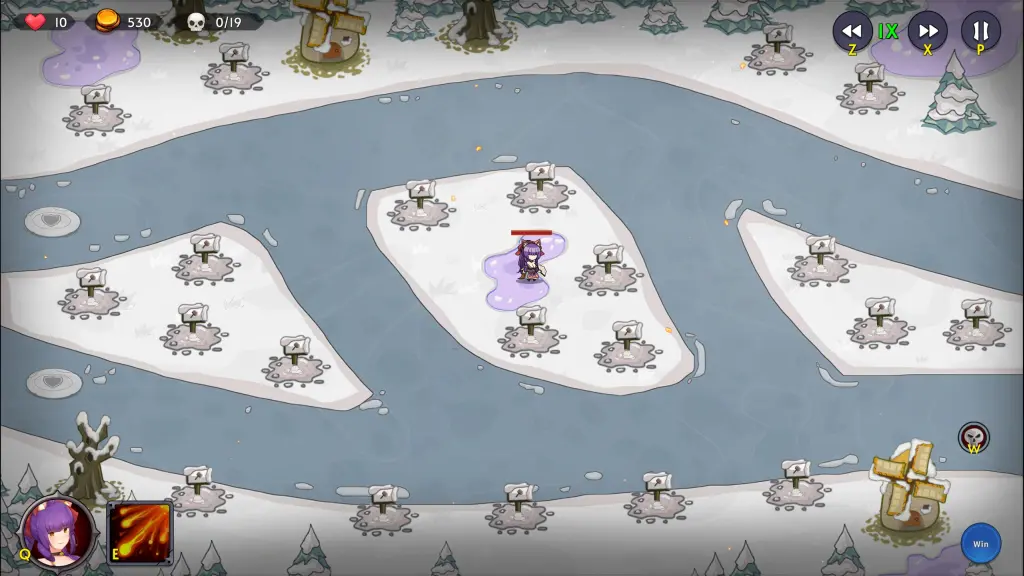
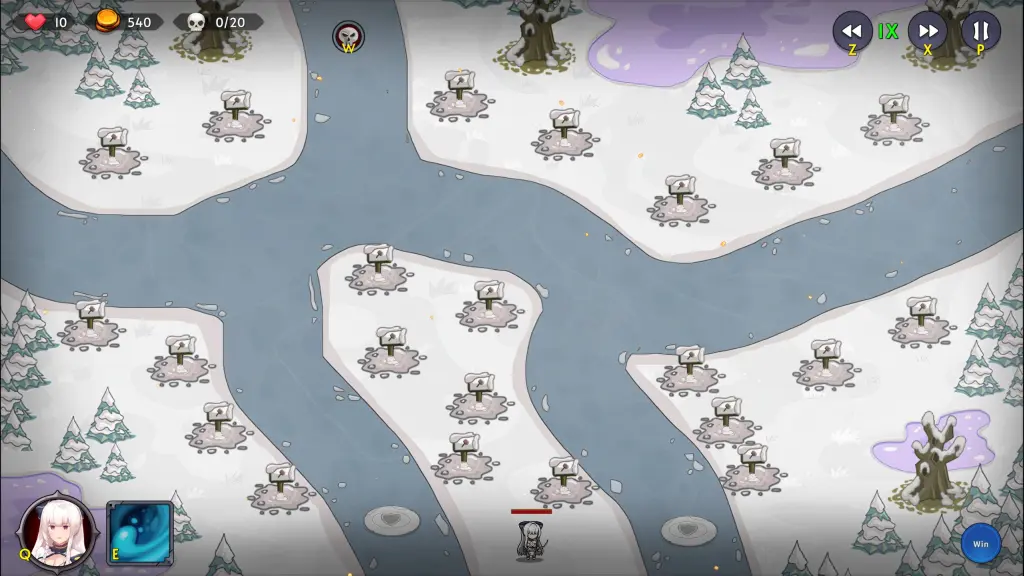
Everwinter (25-30)
Stage 25
Supports up to 17 towers.
Wave 1) Wolfriders
Wave 2) Executioners
Wave 3) Imps
Wave 4) Warships
Wave 5) Blackriders
Wave 6) Mongrels
Wave 7) Skeletons
Wave 8) Mutts
Wave 9) Cultists
Wave 10) Red Spiders
Wave 11) Yellow Spiders
Boss) Krush
Stage 26
Supports up to 18 towers.
Wave 1) Hellhounds
Wave 2) Gray Spiders
Wave 3) Yellow Spiders
Wave 4) Gray Spiders
Wave 5) Hounds
Wave 6) Snails
Wave 7) Highlanders
Wave 8) Wolfriders
Wave 9) Flying Trunk
Wave 10) Cultists
Wave 11) Executioners
Wave 12) Marauders
Boss) Cano
Stage 27
Supports up to 17 towers.
Wave 1) Muggers
Wave 2) Hellhounds
Wave 3) Executioners
Wave 4) Greenhounds
Wave 5) Highlanders
Wave 6) Cultists
Wave 7) Snails
Wave 8) Wolfriders
Wave 9) Robbers
Wave 10) Skeletons
Wave 11) Warships
Wave 12) Bounty Hunters
Wave 13) Orcs
Boss) Zombear
Stage 28
Supports up to 20 towers.
Wave 1) Blackriders
Wave 2) Orcs
Wave 3) Blackhounds
Wave 4) Cultists
Wave 5) Cultists
Wave 6) Buggies
Wave 7) Executioners
Wave 8) Highlanders
Wave 9) Orcs
Wave 10) Highlanders
Wave 11) Executioners
Wave 12) Snails
Wave 13) Trunk Riders
Wave 14) Imps
Boss) Bittie
Stage 29
Supports up to 18 towers.
Wave 1) Imps
Wave 2) Executioners
Wave 3) Executioners
Wave 4) Highlanders
Wave 5) Cultists
Wave 6) Yellow Spiders
Wave 7) Mongrels
Wave 8) Highlanders
Wave 9) Warships
Wave 10) Greenhounds
Wave 11) Snails
Wave 12) Marauders
Wave 13) Blackriders
Wave 14) Cultists
Wave 15) Blackriders
Boss) Dead Kong
Stage 30
Supports up to 20 towers.
Wave 1) Imps
Wave 2) Executioners
Wave 3) Cultists
Wave 4) Greenhounds
Wave 5) Gray Spiders
Wave 6) Orcs
Wave 7) Highlanders
Wave 8) Hellhounds
Wave 9) Cultists
Wave 10) Trunk Riders
Wave 11) Cultists
Wave 12) Rabidwings
Wave 13) Marauders
Wave 14) Hellhounds
Wave 15) Cultists
Wave 16) Imps
Boss) Grimm
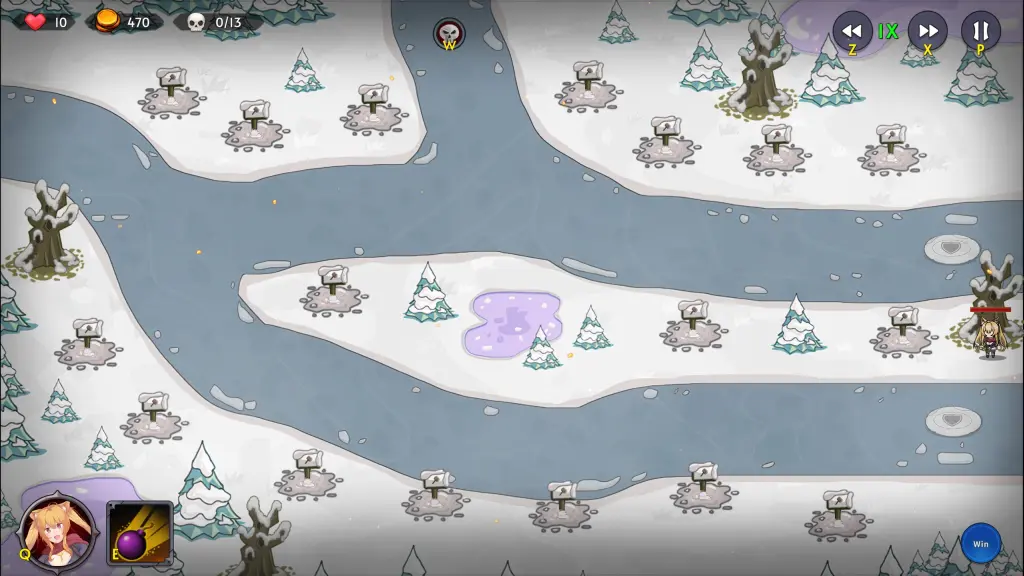
Frozen Stronghold (31-36)
Stage 31
Supports up to 20 towers.
Wave 1) Marauders
Wave 2) Highlanders
Wave 3) Executioners
Wave 4) Highlanders
Wave 5) Wolfriders
Wave 6) Imps
Wave 7) Imps
Wave 8) Snails
Wave 9) Wolfriders
Wave 10) Orcs
Wave 11) Blackhounds
Wave 12) Warships
Wave 13) Orcs
Wave 14) Cultists
Wave 15) Trunk Riders
Wave 16) Orcs
Wave 17) Blackriders
Boss) Blightwing
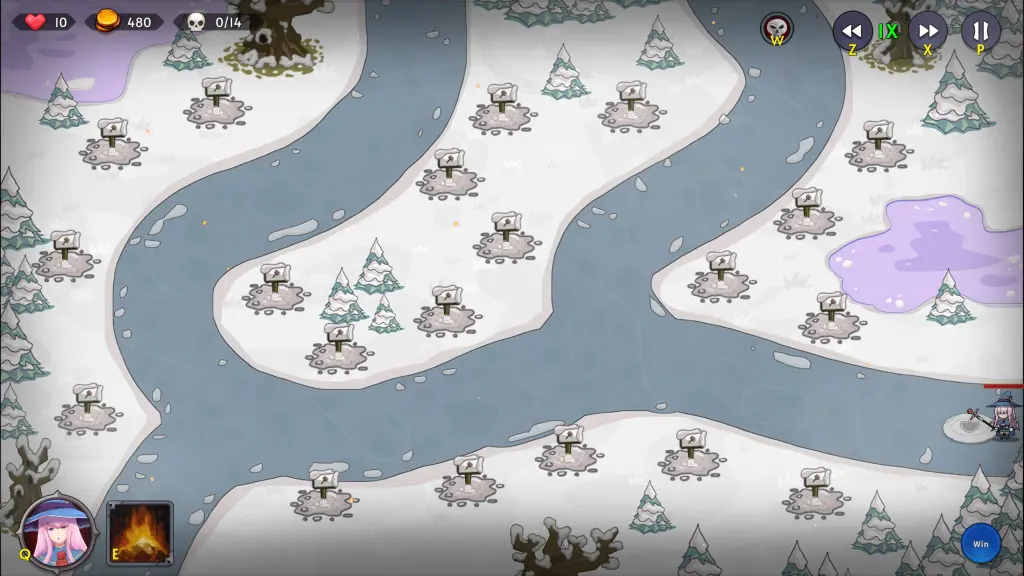
Stage 32
Supports up to 19 towers.
Wave 1) Robbers
Wave 2) Snails
Wave 3) Highlanders
Wave 4) Cultists
Wave 5) Muggers
Wave 6) Rabidwings
Wave 7) Warships
Wave 8) Blackriders
Wave 9) Marauders
Wave 10) Imps
Wave 11) Imps
Wave 12) Snails
Wave 13) Trunk Riders
Wave 14) Marauders
Wave 15) Executioners
Wave 16) Cultists
Wave 17) Marauders
Wave 18) Blackhounds
Boss) Jade
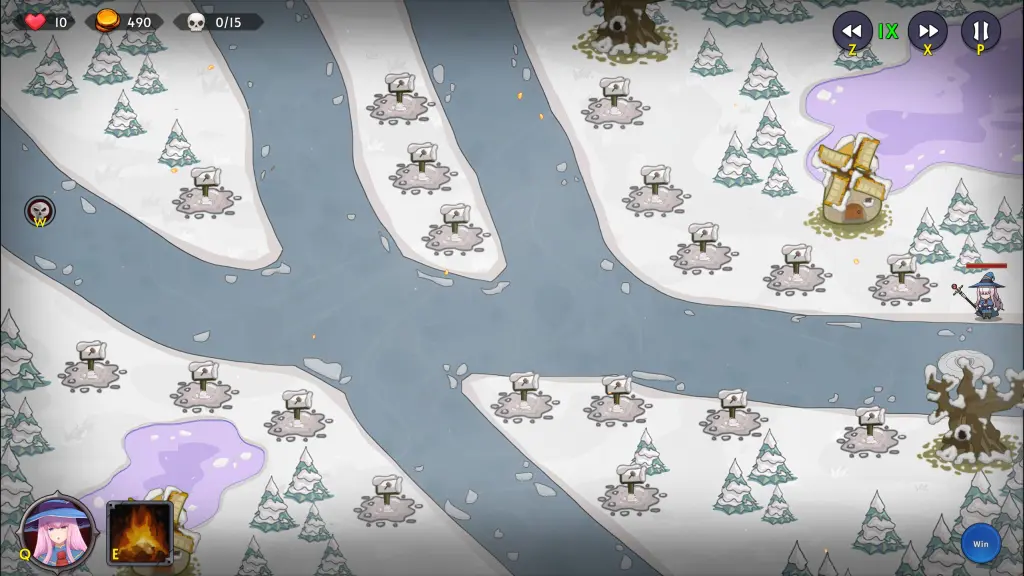
Stage 33
Supports up to 21 towers.
Wave 1) Hounds
Wave 2) Robbers
Wave 3) Imps
Wave 4) Bounty Hunters
Wave 5) Imps
Wave 6) Rabidwings
Wave 7) Bounty Hunters
Wave 8) Warships
Wave 9) Trunk Riders
Wave 10) Highlanders
Wave 11) Executioners
Wave 12) Imps
Wave 13) Cultists
Wave 14) Orcs
Wave 15) Orcs
Wave 16) Muggers
Wave 17) Highlanders
Wave 18) Cultists
Wave 19) Orcs
Boss) Jade
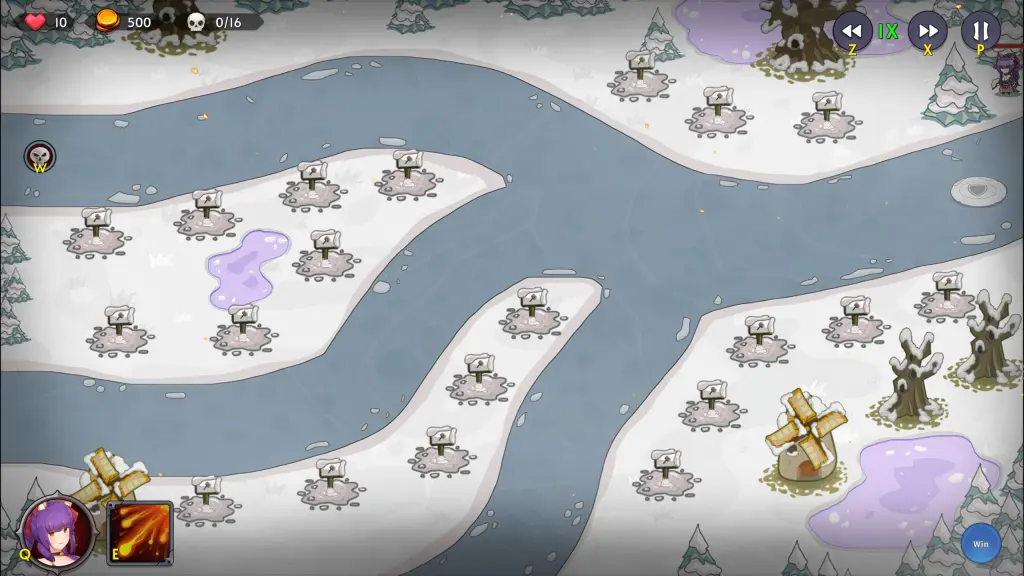
Stage 34
Supports up to 22 towers.
Wave 1) Snails
Wave 2) Executioners
Wave 3) Cultists
Wave 4) Greenhounds
Wave 5) Warships
Wave 6) Greenhounds
Wave 7) Imps
Wave 8) Cultists
Wave 9) Trunk Riders
Wave 10) Skeletons
Wave 11) Skeletons
Wave 12) Snails
Wave 13) Buggies
Wave 14) Marauders
Wave 15) Executioners
Wave 16) Highlanders
Wave 17) Highlanders
Wave 18) Snails
Wave 19) Orcs
Wave 20) Wolfriders
Boss) Giant Warship
Stage 35
Supports up to 19 towers.
Wave 1) Imps
Wave 2) Imps
Wave 3) Cultists
Wave 4) Cultists
Wave 5) Mutts
Wave 6) Blue Spiders
Wave 7) Greenhounds
Wave 8) Mongrels
Wave 9) Warships
Wave 10) Red Spiders
Wave 11) Executioners
Wave 12) Yellow Spiders
Wave 13) Blackriders
Wave 14) Cultists
Wave 15) Bounty Hunters
Wave 16) Highlanders
Wave 17) Mutts
Wave 18) Snails
Wave 19) Hellhounds
Wave 20) Blackriders
Boss) Trunk Lord

Stage 36
Supports up to 21 towers.
Wave 1) Imps
Wave 2) Blackhounds
Wave 3) Blackriders
Wave 4) Orcs
Wave 5) Cultists
Wave 6) Highlanders
Wave 7) Buggies
Wave 8) Executioners
Wave 9) Warships
Wave 10) Hellhounds
Wave 11) Robbers
Wave 12) Bounty Hunters
Wave 13) Imps
Wave 14) Warships
Wave 15) Orcs
Wave 16) Greenhounds
Wave 17) Trunk Riders
Wave 18) Cultists
Wave 19) Wolfriders
Wave 20) Trunk Riders
Wave 21) Snails
Wave 22) Mutts
Wave 23) Snails
Wave 24) Cultists
Wave 25) Marauders
Wave 26) Warships
Boss) Moldark
And, *yes*, you can beat the whole thing on both bronze and silver without spending a single star or gem.