There are a number of images in LEWDAPOCALYPSE game that people have been trying to find because they don’t know the path to it. This guide has all the images that can be missed with descriptions for how to unlock them.
Intro
Greeting all! If you’re reading this you’re either stuck on an image unlock or you’re bored. Either way you need help. 😛 Now I can’t help with the latter but I can help with the former.
See, this game has a decent number of images and a good portion of them requires taking a certain path to unlock that you might not consider. This guide covers all of those images that are skippable to help people figure out where to get them.
NOTE: This guide is not a full gallery, it does not have any images that are unavoidable. If you have an image not on this list that is locked on your save file, then either you’re in the wrong mode (base game for DLC images or vice versa) or you’re save is bugged.
With that, Let’s begin with the Base Game story line images.
Base Game, Story Images
There’s six images in the base game where what you choose determines which images you unlock. There’s been a lot of speculation but little actual testing regarding what you do unlocks which image. Turns out it’s not nearly as difficult as the theories make it out to be. So let’s get started.

– In the first encounter with Penesis outside the Station right after Brandon is killed, choose to fight him.

– In the first encounter with Penesis outside the Station right after Brandon is killed, choose to go to the Post Office.
– In the second encounter with Penesis in the restaurant, choose to fight Penesis for this scene.

– In the second encounter with Penesis in the restaurant, choose to shoot the gas tank.
These next two images do not appear right away, you have to go through a few fights before they show up. So don’t panic, you just haven’t hit the point where the choice pays off yet.

– When facing Penesis on the bridge, choose to confront him.

– When facing Penesis on the bridge, choose to avoid him.
And that’s it for those. six scenes that center around three choices. So if you’re missing one of these scenes, you now know where to make your choice.
Base Game, Endings
The endings for the base games are interesting, as they have two methods to view them. When unlocking them for the first time, all you need to do is finish the game. That’s it. First time for the first ending, second time for the second, and third time for the third. After that you can still view the endings (the CG scenes can be just viewed in the gallery but the endings themselves can’t) but they have different conditions for doing so.
– First ending unlocked. To view after all endings have been unlocked you need to choose the top option (ie fight/confront Penesis) in all three choices.
– Second ending unlocked. To view it after all the endings have been unlocked you need to choose at least one bottom option (Post Office, shoot the gas tank, or avoid Penesis) for the choices. Only one is needed, but you can choose more if you want.

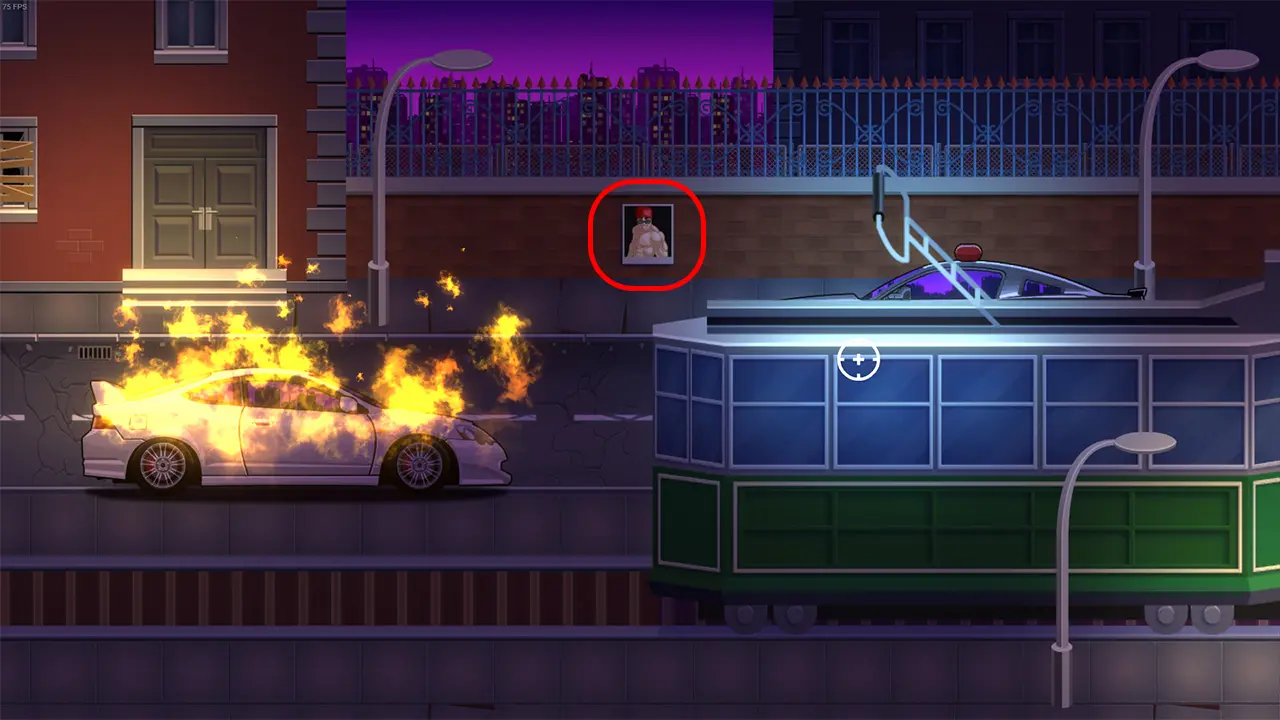
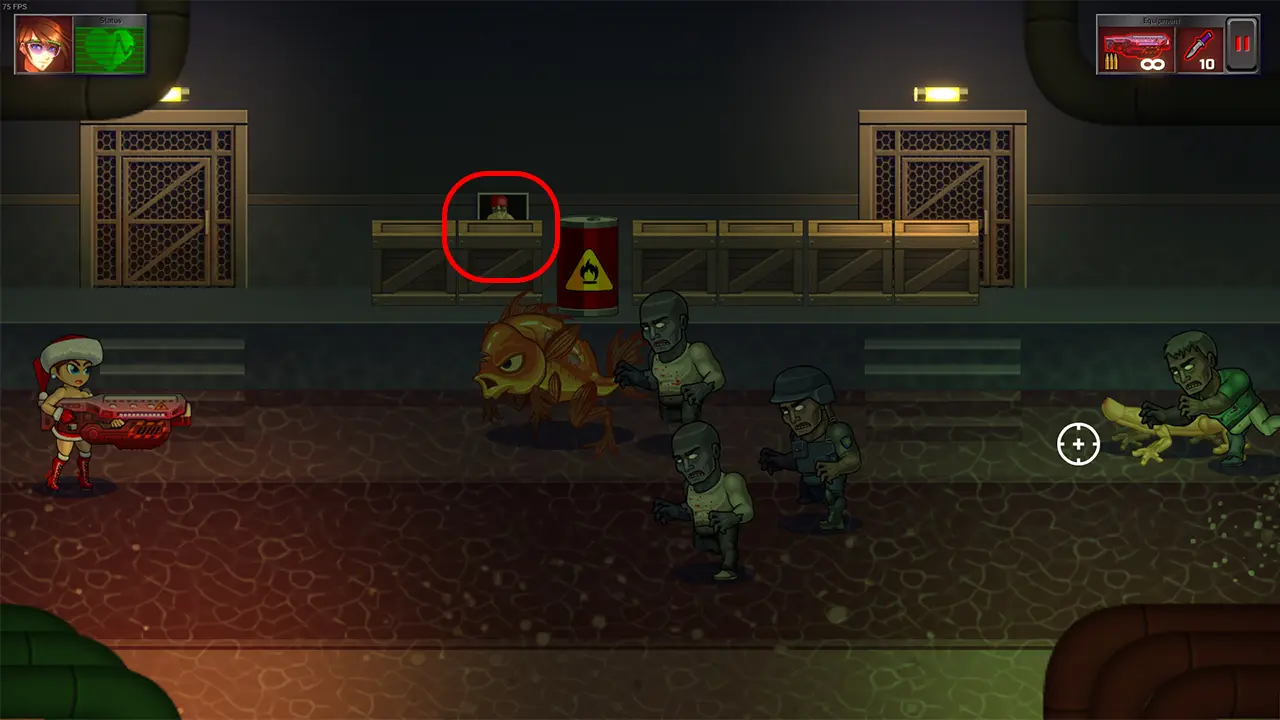
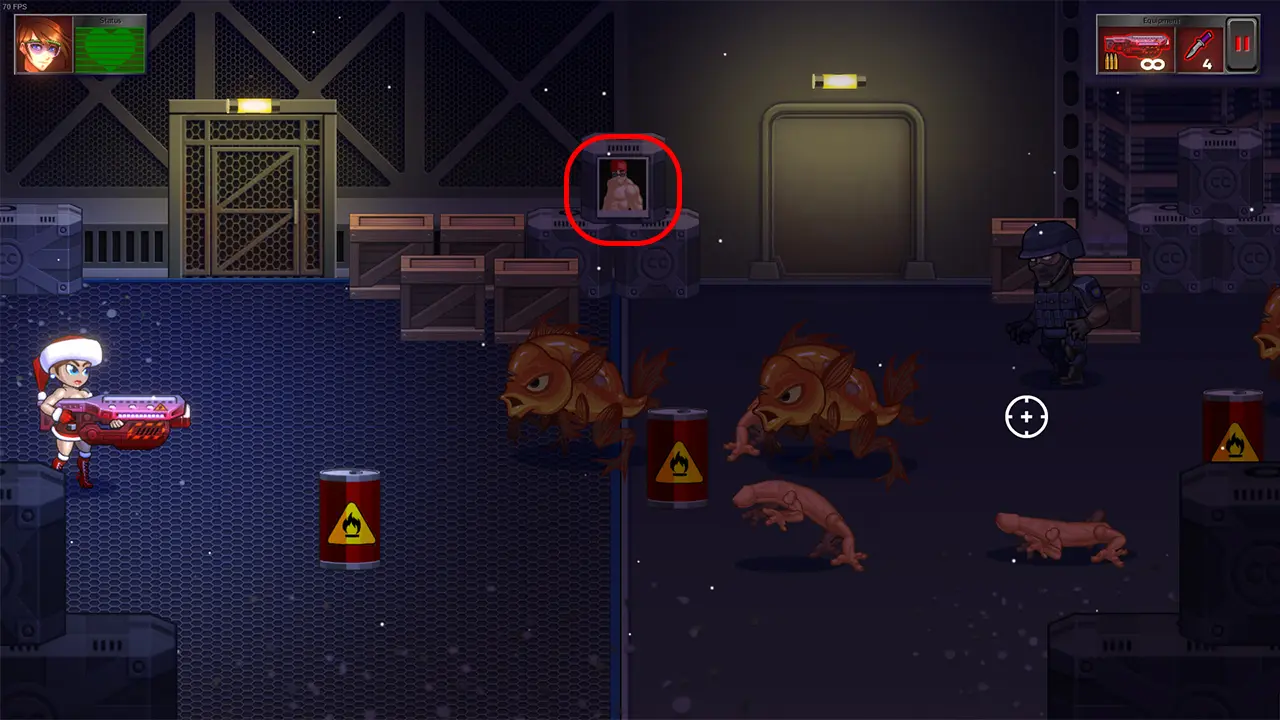
– Third ending unlocked. To view the ending after all the endings are unlocked you need to secure all the Ricardo posters in your playthrough which requires a specific path to be taken. You will need to choose to avoid Penesis on the bridge to be able to get one of the posters. And that covers them. The CG’s are easy to get, but redoing the endings does require some thought.
Here is all Ricardo posters in the LEWDAPOCALYPSE:


Base game, deaths.
An update around the time the first DLC was released gave some new CGs with a rather different way to unlock them: dying. All CGs with this requirement have a two-toned red background and usually you want to avoid this so they’re easy to miss. Now how you die is dependant on what you want to unlock and are split into two groups: Mooks and bosses.
MOOKS
Mooks are the regular enemies you face. You start with humanoid Zombies, then proceed to the penile-shaped quadrupeds called Likers, finally culminating with the ambulatory goldfish called Hunters. Dying to these requires that you run out of knives and get attacked by the enemy in question afterwards so avoid picking up knives if you can help it for these. Zombies have two CGs so you need to die to them twice in one playthrough. Any creature of the type will work.


BOSSES
Bosses are a whole different beast for death unlocks as they have different fight mechanics. If you look at the top left of the game display you will see a green heart monitor. For every hit you take against a boss the colour changes progressively to red. Take too many hits and you die. Each boss (each fight with Penesis, Nicole’s fight in the Lab, and Penesis final form) has a death CG as well as the mooks. Each encounter with Penesis in his humanoid form uses the same lose screen so you only have to die to him once.


And that covers the death scenes and wraps up the missable scenes for the base game.
Third Way Intro
At this point we get into the DLC The Third Way, the second DLC released for the game and this one brings in a bunch of new stuff. Alternate weapons which unlike the previous DLC is added onto your inventory as opposed to replacing. Pressing the proper weapon key switches between the normal/1st DLC weapon and the new one, if you have it. Also new skins for Lara, A new path and new CGs, which includes 4 new endings, so there’s a fa-
What? The CGs? Oh right! The Guide.
*ahem*
Let’s begin, shall we?
First off, These all require the DLC enabled and underway. Make sure you have it purchased and installed, select New Game or New Game+. On the difficulty selection screen there will be a button labelled “Third Way DLC” under the choices. Make sure it’s highlighted. You won’t notice anything until you’re first encounter with Brandon, where you usually get the Shotgun from him. This time you have a choice to let him keep it. Select that and you are now underway in the Third Way DLC.
Third Way, storyline
Like the base game, there’s choices to be made which unlock different scenes. Unlike the last time though, not all of them is one choice decides it and not every choice gives a skippable scene, instead the choice will lead you onto the regular path. It’s not much more intricate, but it can be enough to foil some players.

– When you reach the restaurant in the DLC, Lara will ask where to go with the options being to go into the restaurant or to keep going. Select “Keep going” and after a couple more screens Lara will go into a newspaper office where she will encounter Rick And Penesis. The choices are to shoot the gas tank or jump out the window. Select “Shoot the gas tank” for this scene.
– Same as above (keep going, news office, etc) but instead of shooting the gas tank select “Jump out the window”.

– When Rick is in the hospital he will have a choice of going to the basement or up to the 4th floor. Select “Go to the basement” for this scene.
– Same choice as above, only this time you choose to go to the 4th floor instead.
Now these aren’t the only story sections, but the rest get a little more interesting so they get another section.
Third Way, Paths and Endings.
Now the Third Way DLC handles things differently from the base game regarding endings. There’s a point in the game where, depending on what happens can determine what pair of endings you’re eligible for. In particular a certain boss fight, the stripper centipede. If Lara can get through the fight without being hit by the boss, Brandon lives and one pair of endings open up. However if she gets hit, even once during the fight, Brandon dies and it’s a different pair of endings available.
NOTE: Leaving Brandon his shotgun with him is the condition that starts the Third Way DLC and does not count for any endings. You MUST leave him with his shotgun to get any of these endings.
Path A
(Brandon Dies)
– This is the scene you get when you get hit by the Stripper Centipede boss, further referred to as the bad ending (unless you hate Brandon for some reason, I won’t judge)
NOTE: You only need to get hit at least once during the fight for this path. Dying to the boss resets the flag and you’ll have to get hit in the next attempt. If you die to the boss then beat it without getting hit you’ll go to path B.
Bad/Bad Ending
– To get this ending, Brandon needs to die after the stripper boss (see above) and like with the base game, you choose the bottom option for at least one choice during the playthrough. If Lara is at the chopper alone at the end, this is the scene you get.
Bad/Good Ending

– To get this ending, Brandon needs to die after the stripper boss (see Path A above) but you need to choose the top option in every choice. Lara, Rick and the doctor showing up at the chopper produces this scene.
Path B
(Brandon Lives)
– This is the scene you get when you beat the Stripper centipede boss without taking any damage, hence with referred to as the “good path”. (the BFG 69000 from the first DLC makes this a cakewalk, just hold off firing until the boils appear on the boss)
Good/Bad Ending
– This ending requires Brandon lives (see above) and again, choose at least one bottom option in any of the choices you have during your playthrough. Lara and Brandon should show up at the helicopter for this scene.
Good/Good Ending

– This ending requires Brandon alive (see Path B above) and requires taking the top option for all choices in the playthrough. Lara, Brandon, Rick and the doctor all showing up at the helicopter triggers this scene.
And that finishes up the endings and how to get them.
Third Way, Deaths
The Third Way has four death scenes with three introduced in the (at the time of writing) most recent patch. Same rules apply for the normal route, where if it’s a mook, being attacked once when you have no knives left will cause the death. Bosses you simply need to be attacked until your health meter runs out. They are as follows:
KEY NOTE: These scenes are only acquired in the Third Way DLC. You NEED to have it purchased, installed, and active both in the menu and by having Brandon keep the shotgun.
– The Spider Mite mook. This one can be a little tricky to get as they’re always paired with other mooks. Fortunately they’re usually the first ones to attack Lara so that helps.
– The Spider Lady mook. These are always paired with the spider mites so getting them can be tricky. I recommend trying this on the first screen you find them and using either the sub machine gun (second option for the pistol) or the assault rifle to quickly get rid of the mites then wait for the spider lady to attack.

– The Zombie Strippers mook(s). Easily acquired. Once you meet up with Brandon in the strip club they are the only mook encounters in there. Just get overrun and the death scene is yours.

– The Worm boss. Encountered twice in the DLC and dying to him in either fight will prompt the scene. Once it appears, just sit back and let it kill you.
And that’s it for the death scenes for The Third Way DLC. Enjoy!
Conclusion
So, 30 scenes can be skipped. Granted not all at once, you have to unlock some after all. But I hope this guide helps in figuring out what you’ve missed and how to remedy that. I’m pretty sure I got everything listed but if I missed one that I thought was mandatory, let me know.
Thx for reading. Source here