Quick guide for Once Ever After game. Stuff I wish I knew before I started + a guide to all the missable bonuses up to the wolf gauntlet.
There are two parts to this guide! First is a set of things I wish I knew before I started playing: some general tips as well as information on how the game systems work. Then there’s a guide to the first section of the game (where resources are limited and grinding is impossible before the first big optional challenge). Basically just to get you started off right if you prefer more guidance! No real spoilers aside from mentioning a few names.
TIPS AND TRICKS
Most of the game is straightforward but there are some tricky parts! For example if you see this…
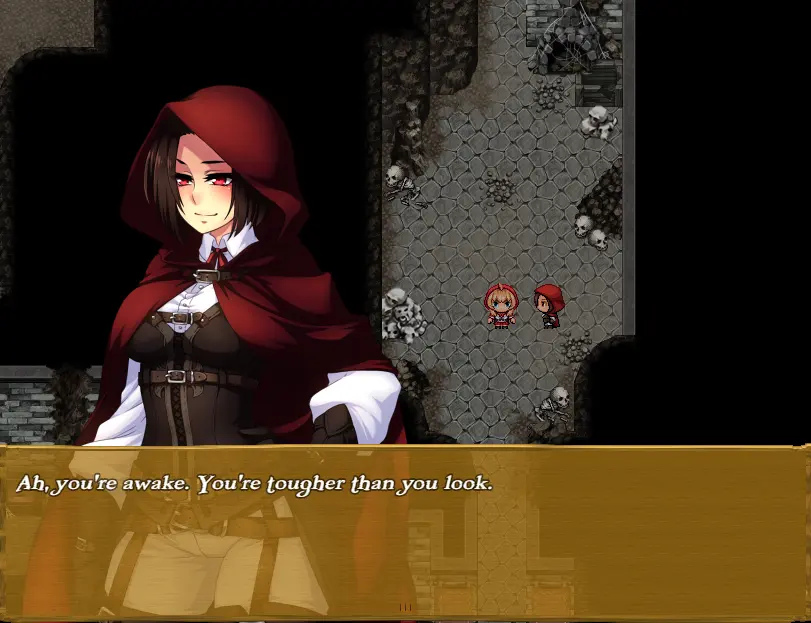
It means you missed something! This section will try to explain these less obvious elements.
Hidden Mechanics
There is a “hard path” and an “easy path”
The game is forgiving but there are often rewards for not using the forgiveness. For example in the first real dungeon if you die you will be immediately rescued by another character. But if you tough it out without dying until you meet them you get a nice piece of equipment! Not every example gives a usable reward immediately but in the postgame many of the other rewards turn into good accessories. And you’ll want those for the postgame!
Bangville items start stronger but weaken toward the endgame
The game never fully explains this but for example “Bread” heals 25% of your HP while “Long, Hard Loaf” heals a flat 100 HP. Early on the latter could be better but it will quickly fall behind. So use your Bangville items first and save your other consumables for later!
There are two elements: physical and magical
Technically there are some others but those are special cases. Most of the time if enemies are weak to magic they are weak to ALL magic so feel free to use fire spells on fire enemies. If an enemy seems too durable try switching to the other type of damage. Early on you can use “piercing” skills to avoid enemies with tough physical defense but later on there will be enemies that can block those too. Basically just keep this in mind and use the Slayer skills to test which defense the enemy has.
Grim8P from the comments has added this: “Piercing Strike ignores the target’s Defense but not traits that reduce Physical damage entirely. Piercing Strike’s damage formula for those who are curious: (a.atk * 6). You can see it just completely ignores the target’s Defense. A regular attack is (a.atk * 4 – b.def * 2).”
Go all one way or the other when it comes to Dreamers
At certain points in the game you’ll be given a “command” from higher powers called Dreamers (you’ll know when you get there). Things like “don’t harm any living being” or “don’t give in to greed.” There is usually a reward for following every single rule and a different reward for BREAKING every rule. Doing some of both won’t get you anything! So either avoid all enemies and do everything you think the Dreamer would like or slaughter everything and do the opposite whenever possible.
To be clear you should go all one way or another for each scenario. There’s no reward for picking one side the entire game. Either extreme offers a reward and the “best” results are probably selecting from both.
Some skills have level requirements This is no longer the case. However there are certain skills that are locked by plot progression.
If a class doesn’t have any new skills to learn but it isn’t mastered you probably need to level that character up more. You can keep earning AP for later but I suggest switching them to another class until you hit a big level number like 10 or 20.
Gameplay Suggestions
Everyone needs crit protection
Enemies can do critical hits and they can be brutal (especially bosses). Certain rare accessories (like the Scratched Bracer) can completely neutralize enemy criticals. Consider these NON-optional! Some bosses can crit frequently so if you aren’t shielded you’re going to see characters getting one-shotted.
Equipment comes first
There are lots of shiny things to spend your money on including permanent boosts and new character classes. I recommend buying these only AFTER you’ve bought newer equipment for your current party. Better equipment is usually the fastest way to boost your stats and you’re going to have a bad time if you ignore it.
Money matters until late game
In most RPGs there comes a point where you have more money than you could ever need and Once Ever After is no exception. But that point comes pretty late into the game so be careful with money! Weapons and armor are usually worth it, while purchased accessories often have free equivalents, and consumables are usually NOT worth it. The unique purchases are most valuable but don’t worry: I don’t think a single one of them is missable.
Few accessories are perfect
Later in the game you start getting really great accessories but look out for what they don’t do! Some block only “ordinary” status effects but not the rarer ones and some are the opposite. One might block all status effects but not critical hits… you absolutely need to pair it with crit protection. Resisting debuffs is great but stacking multiple on one person has diminishing returns. Don’t forget that passive skills can grant immunity to some effects too. Be sure to balance all the essentials instead of just focusing on stats.
Secondary classes have worse stats but better skills
For example you might wonder why you’d ever move Wilhelm from his unique class to Woodsman when the latter has worse stats. But if you put enough AP into Woodsman you’ll eventually unlock Wilhelm’s best offensive skill! I suggest using secondary classes when fighting normal enemies but switching to unique classes for bosses and challenging areas. You shouldn’t ever have to grind but if you wanna I suggest grabbing those secondary skills.
Max level is 40
You’re probably not going to hit it in normal play but there’s a fairly low level cap. Most of the endgame challenges there’s no real way to grind past them. Getting unique equipment, balancing accessories, and strategy are generally more important.
It’s worth checking the controls
The game has all kinds of extra keys: skip text you’ve seen, speed up combat, remove the dialogue box to view the art, quick restart, and more! So don’t assume it’s just your standard arrow keys.
Archetypes and Leveling Suggestions
I have noticed some players expressing frustrating or uncertainty about all the choices so I thought I would add some suggestions regarding all the different characters. The game is mostly forgiving but there are definitely better and worse decisions! These are only my opinions about overall usefulness.
Minor Classes (for everyone)
- Villager: Some okay passive skills and the final skill is useful to make escaping guaranteed. Not a priority.
- Guard: Guarding Experience provides the earliest immunity to confusion and stun. The final skill is an amazing passive. A good choice for any character to level if you don’t have a major goal for them.
- Forestkin: Only decent passive skills but the final skill reduces all MP costs! This is very handy but you probably want to focus on other stats for the early game.
- Lumberjack: The attack-boosting passive is helpful and cheap. I recommend grabbing it for any offensive characters and otherwise ignoring the archetype. Lumberjack’s Stance might be useful in the endgame but pushback isn’t a major concern earlier.
- Herbalist: A lousy combat class with invaluable skills. Smelling Salts is the best early revive skill. Blending is useful if you intend to use items. The final skill is nothing too exciting so I wouldn’t waste more AP here.
- Canisan: Surprisingly underwhelming. It does have the only crit-boosting passive and the final agility passive is not bad.
- Grimmton: Decent skills leading up to a great passive. Maybe worth leveling early if you are having trouble in the violent Tales but definitely get by the end.
Ingrid

Ingrid is your main character and a bit of an all-rounder. Unlike all the others her base class is weak (until endgame) so she will spend a lot of time in other archetypes. In turn she gets access to more archetypes than any other character.
Recommended Early Skills: Ingrid will be in almost every party so she is a good choice for utility skills. She starts off with your bread and butter healing skill. However you will also want her to learn a few offensive skills when possible so she can assist Ulfina or fight solo.
- Woodsman: This will be your only good archetype for a while so you might as well use it. Get at least some Woodsmans Defense to make her less squishy and get Piercing Strike. Forest Lore and Warding Blow are handy but lower priority.
- Slayer: Get some Agility boosts! You definitely want one of the “Slay X” skills but the others can wait until later.
- Other: Tons of things are good on Ingrid and the problem is that you’re only earning so much AP unless you grind. She has more skill slots than other characters so many of the passives will benefit her. A good candidate for the Herbalist skills because you’ll always have her around.
Recommended Late Skills: Ingrid is a top candidate for the Fairy Grandmother class because she’s most likely to have a turn free for healing. That said she has access to most of the great endgame skills (like Wolfslayer and Counterattack). Your skill slots might be getting overwhelmed by this point but she can deal out pretty decent damage if you pick at least one damage skill for her.
Ulfina

Ulfina is adorable DPS. Her core archetypes make her good at this but she does lack in other skill types for most of the game.
Recommended Early Skills: You should have Ulfina focus on doing what she does best: biting! Grab secondary capabilities occasionally as they’re necessary.
- Wolfgirl: Tackle is essential so that she can interrupt in desperate situations. Adorable Intensity is a great immunity skill. But otherwise (aside from her Little Bad Wolf passive) you don’t need much from her core archetype early on.
- Feral: Get Wolfbite ASAP! Ulfina can use this for a huge part of the game. Animal Strength also helps her deal damage. The “X Rage” skills are good once you need buffs but lower priority.
- Other: Just grab a few passives that improve ATK or AGI and otherwise leave secondary skills for later.
Recommended Late Skills: Ulfina starts out with good damage but in the late game you can optimize her even MORE. Wild Blows is amazing damage to a single target and you obviously want her to have Counterattack (when she gets the archetype later). But don’t neglect her “X Rage” skills because they’re your best way to buff damage.
Wilhelm

Though the designated tank Wilhelm needs to diversify into other skills to be effective. He can often manage status effects and interrupt enemies while maintaining his normal tank duties.
Recommended Early Skills: Unless you’re grinding you’re going to have to choose which direction to take Wilhelm. He’ll be more useful if you focus on getting one of his best skills ASAP.
- Survivor: Shattering Blow is a debuff/interrupt combination and it’s useful for the whole game. Endurance is useful but probably too expensive to get right away. Cleaving Blow is immensely powerful but deep in the skill tree.
- Woodsman: Piercing Strike is essential to give him more offensive ability. Forest Lore is a handy status heal. The others are less useful in the early game but you might want to get them anyway if you’re making a beeline to Wolfslayer.
- Other: Wilhelm is a good choice for Herbalist skills and will benefit from all passive bonuses. However you might want to consider ignoring these for him to rush to Cleaving Blow or Wolfslayer so that he has better damage output options.
Recommended Late Skills: Got all his top damage skills? Good! Regeneration is also worth a skill slot because it’s pretty much unique. Go back and pick up any buff skills you missed and Wilhelm should always have something useful to do with his turn.
Hood

Absurdly overpowered when you first get her and useful when she rejoins. Hood is roughly the magical counterpart to Ulfina’s physical DPS but she has more alternate abilities.
Recommended Early Skills: Hood has multiple paths open to her but because she joins your already established party you probably want to specialize her into roles you don’t already have.
- Sorcerer: Basically your question is whether you want to rush to Fire Blast (AOE) or Flame (single target). You want both eventually so it’s just a question of which your party needs more.
- Slayer: Hood probably has what she needs from this class already. I recommend waiting until later to grab the top skills that require a lot of AP.
- Other: Due to when she joins you might want to consider ignoring most of the minor archetypes. Once you have a bunch of AP in Fairy Grandmother then you can grab the good passive skills for her.
Recommended Late Skills: The Sorcerer skills backed by the Fairy Grandmother passives will do crazy damage rivaling even Ulfina. Once you have this set up I suggest giving her healing capabilities as well. Finally her stats are likely to be balanced so don’t neglect the Slayer passives for extra physical damage.
Variable Skills
There are four skills where you have to choose who gets them: Stomachcutter, Basket Dance, Basket Waltz, Red Strike. Wilhelm is a good choice for the first because he’s most likely to be alive to res others. The others were not in the game in the earlier versions and so I’m not as sure about who to give them. So you’re on your own sorry!
STARTING GUIDE
The first section of the game has no repeatable fights and limited resources before you face several challenges. You can stumble through easily enough… but if you do everything right you’ll get a nice boost for the rest of the game! I won’t give unnecessary spoilers but this part will describe the first hour or so of the game.
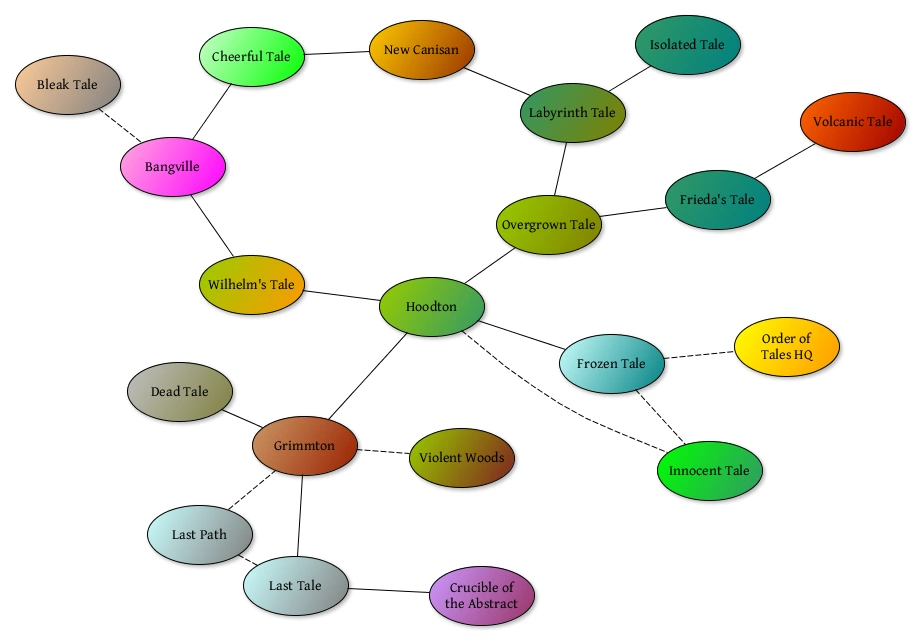
Map of all Tales
Nothing fancy here: if you want to know how all the different fairy tale worlds are connected this guide has you covered. This map was originally made by a wiki member named Lamsey but I thought I would put it over here so people could find it easily.
Technically minor spoilers in the form of Tale names.
Bangville
1) When you get control go around Bangville and talk to everyone. Don’t worry about the stats you see on screen. Make sure to do the following:
- Talk to the man west of the entrance
- Tell the woman east of the entrance you like your men “bad to the bone”
- Talk to Big John in his house
- Talk to the smith
- Talk to Mr. Wolf and “Promise to visit” (he’s near the center of town but may hide behind a building)
- Go to Ingrid’s house, sleep in the bed, and choose “Masturbate” (the Hand Mirror in the pink treasure chest is unmissable but you might as well grab it now)
- Talk to the librarian (behind his desk, so an event happens)
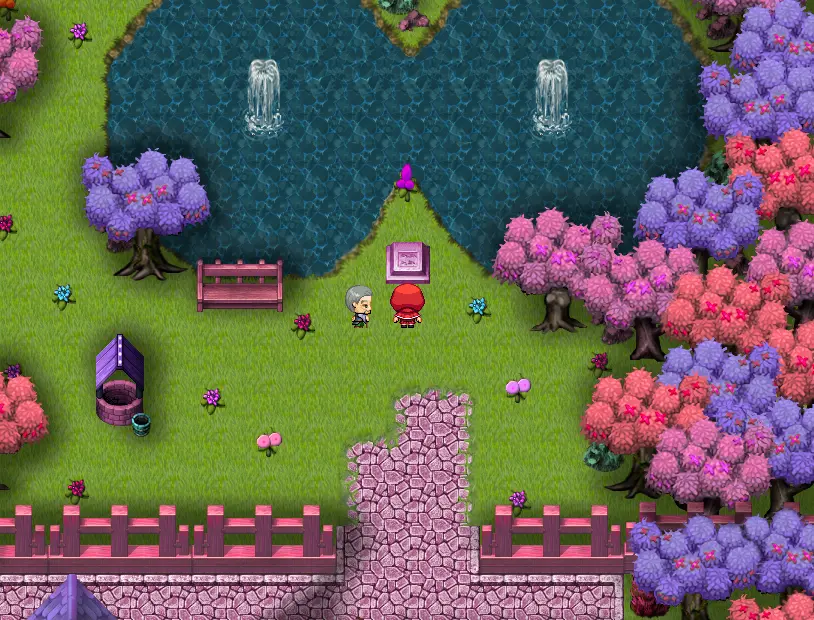
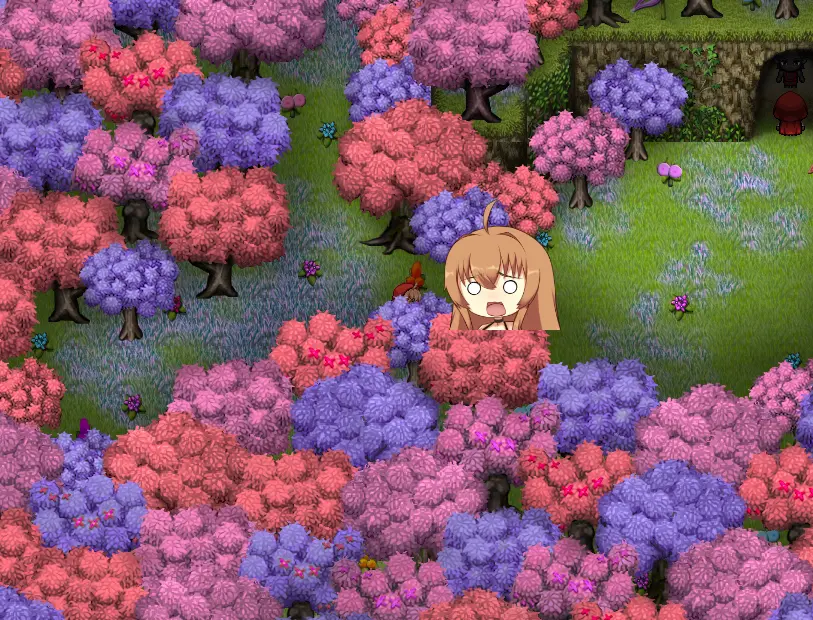
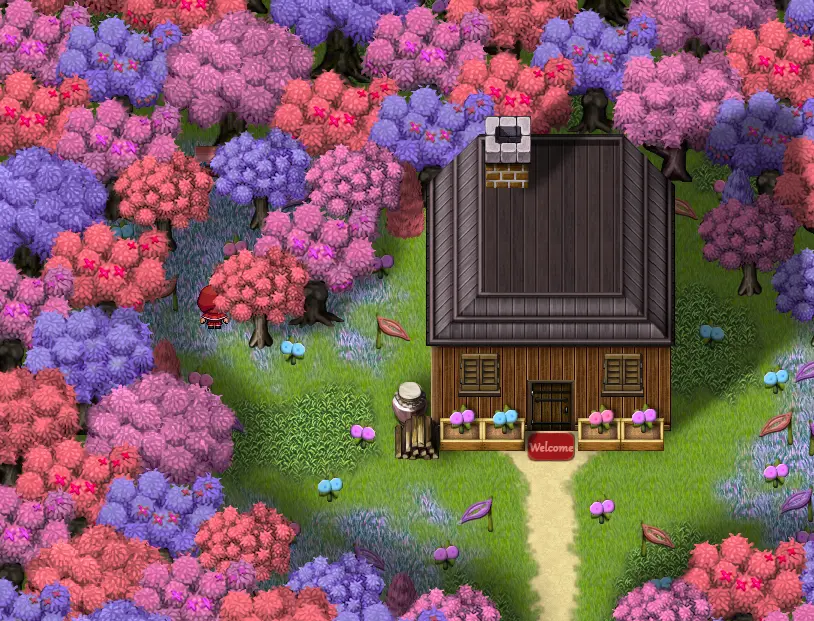
Boob fountains and dong trees? Welcome to Bangville!
2) Once you’re done with all that, go to the park and see the event. Then go straight south through the forest until you reach the Peaceful Glade. Do the following BEFORE entering the bottom part of this map:
- Talk to the southeastern soldier
- Grab the bread in the southeastern part of the first clearing (it’s partially hidden by trees)
- Grab the milk on the western edge
- You can’t do anything with the dark path yet
- Lose at least once by letting enemies take away all your MP (the set fight with three imps or the orc will beat you fastest)
- Defeat the Erotic Orc and take all the stuff behind him
- Equip the Sexy Ring on Ingrid
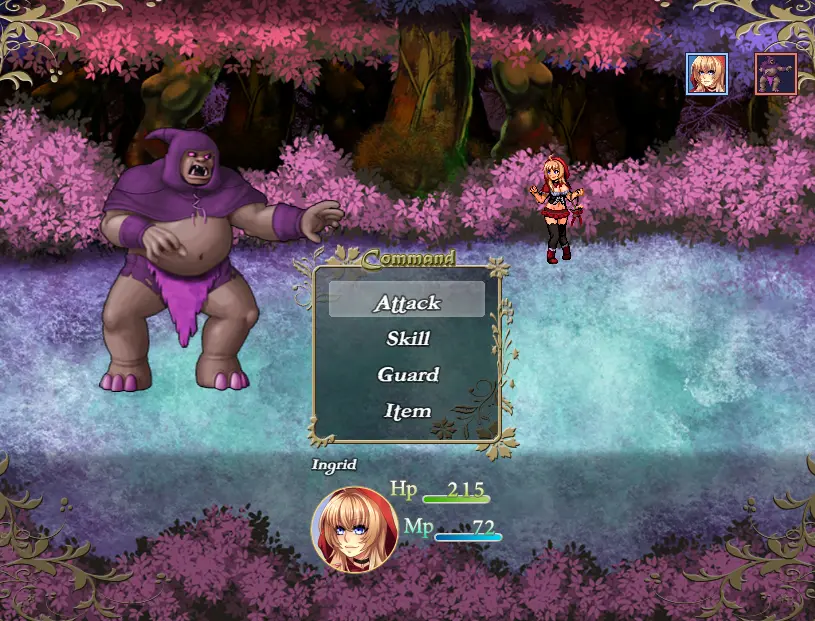
Erotic Orc: This guy might seem impossible if you haven’t messed with your skills but he’s manageable. Use your normal slap and Wink if he has a charge built up. When his health gets lower than 50%, he’ll run away and you win. If you’re having trouble try going to “Equip Skills” and unequipping the “Slut I” skill.
The Ingrid head marks the point of no return for this section:
Point of No Return #1
Do all of the above before you enter the final clearing of the glade! Some of the above can be done later but some of it will be gone forever! You don’t need to worry about running back to heal if you’re missing MP: you will be fully healed after the next set of events.
3) Go south in the glade and watch events. For the solo fight just attack until your HP drops and events take over (defending will just waste time and you want to conserve your items). Once Hood joins you basically can’t lose. Eventually you will be alone again so make sure to do the following:
- Equip the Sexy Ring on Ingrid
- Unequip “Slut I” as explained above
Bleak Caverns
After some scenes you are a cave. Your general goal is to go east without dying using the limited resources you’ve gathered so far. Dodge enemies when possible and use items outside battle so enemies aren’t hitting you. If you can save items that’s good… but it’s better to use them than to die early.
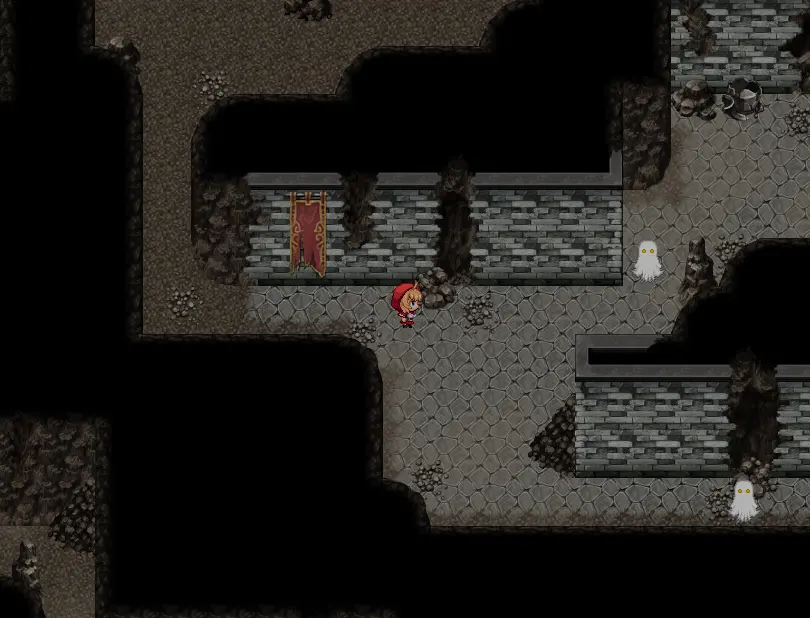
Go here and follow the upper path first or attrition might take you down.
4) Along the way:
- There’s a chest with a healing item near the beginning.
- There are two spiders that are unavoidable.
- When the path splits, fight the northern enemy even though it seems harder at first. The southern path is harder overall.
- After the paths rejoin five spiders will ambush you (no map icon). You need 100+ HP to survive this fight without luck.
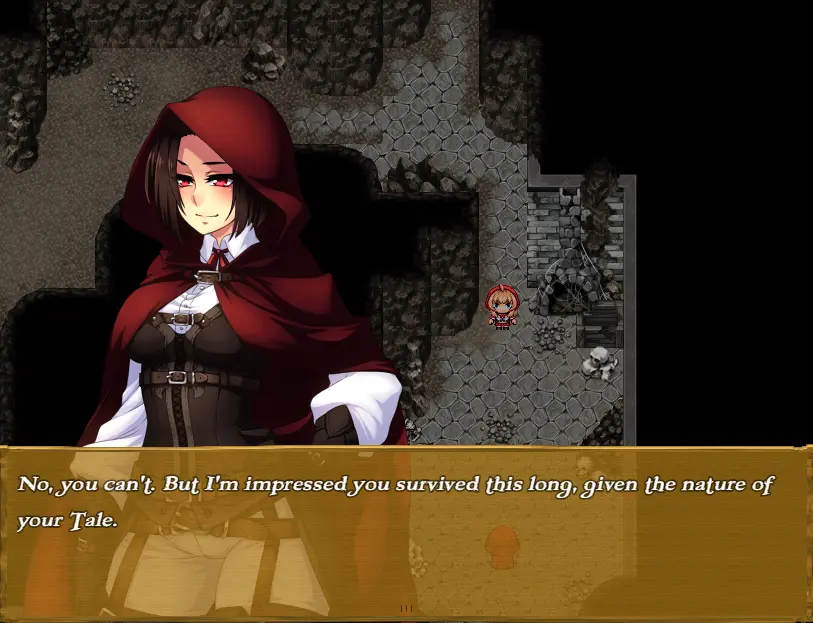
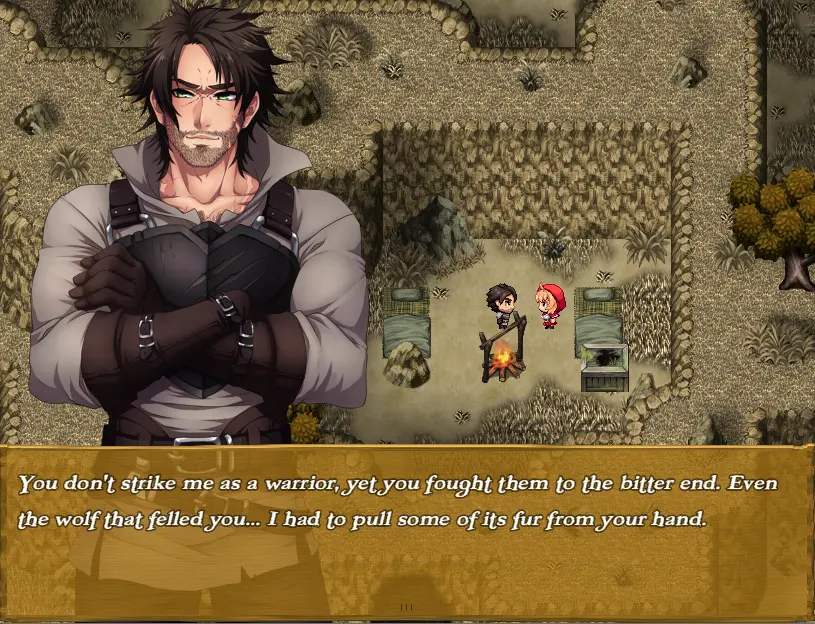
- If you meet Hood instead of dying and being saved, you did it!
What you want to see:
5) Hood can solo everything but should focus on the dangerous enemies while Ingrid kills spiders or Winks. Backtrack to the enemies you skipped before and they’ll be easy now. The rest of this dungeon should be fairly simple, just be sure to grab stuff:
- There are two chests back the way you came (plus bread you should have gotten before).
- All the bones in the area you met Hood have items. Equip the Scratched Bracer to Ingrid. NOT to Hood! If you do you won’t get it back for a while and she doesn’t need the help!
- There’s another chest on the way south.
- Right of the obvious exit, there’s a stationary enemy. This is the closest this area has to a boss but if you learned the enemy weaknesses earlier you should have no trouble.
- Ingrid gets AP/XP even if unconscious so don’t worry about it.

Point of No Return #2
Clear out all enemies and chests before you talk to Fenris and advance the plot. Skipping some won’t harm you but you want to get the chests and enough AP to buy a new skill later.
Bangville II: The Banging
6) You’ve finished the introduction and you’re back in Bangville! If you did everything perfect, your save file should have -3 Corruption and 95 Intelligence. The forest is now unlocked, the town is updated, and there’s lots of new stuff to do:
- Talk to Ingrid’s mother and then find the sewing kit left of her bed. The Reinforced Bustier will automatically be equipped.
- Talk to the woman just outside Ingrid’s house.
- Go to the library and try to read the books.
- Talk to Big John in his house.
- Go to the smithy. The Iron Basket will automatically be equipped.
- Talk to the woman by the entrance to get the mushroom quest.
- Buy a Bimbofication Potion and use it on Ingrid (just trust me). Buying a second will have no effect except wasting money.
- There are two new chests hidden between houses: one in the northwest and one in the southeast.
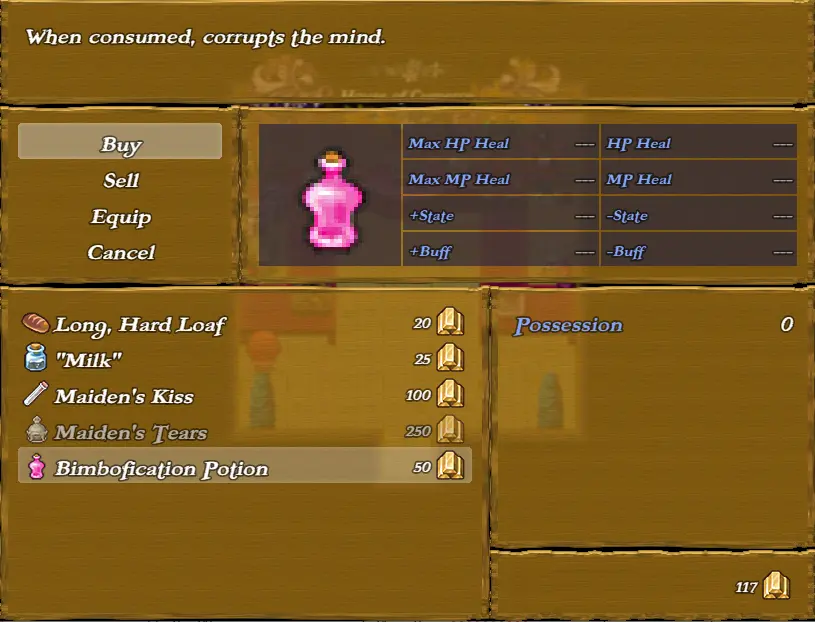
Just trust me.
Shopping Suggestions: I recommend buying/using the Bimbofication Potion now, but it doesn’t help you fight and you can also get it later in the game. If you’re having a lot of trouble with the final wolf gauntlet there are two items that will improve your stats: the ♥♥♥♥♥’s Riding Hood and the Sexy Ring. You will later find two items called Virile Axes that can be harmlessly sold for more money. You can also spend money on more healing items but probably only “Milk” is worth it.
Screenshots of the sneakiest chests:
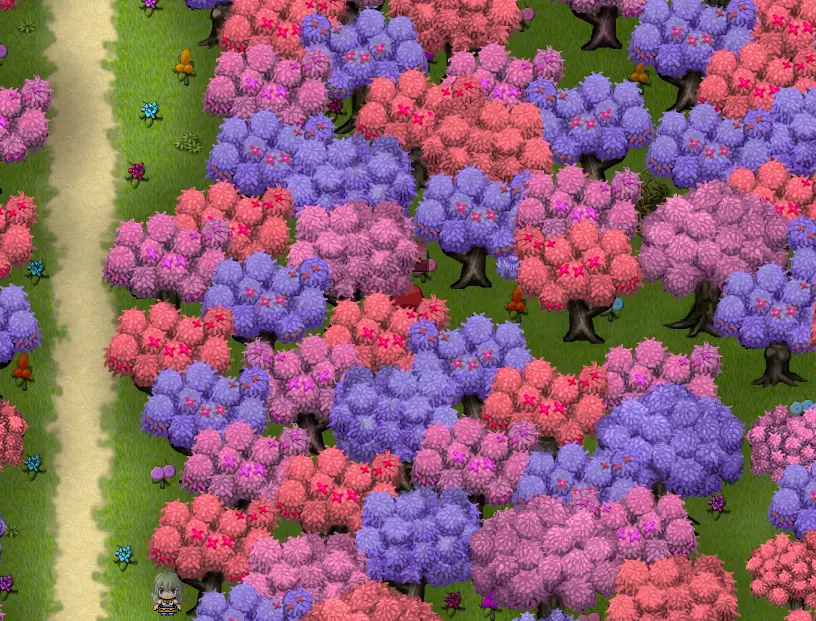
7) Go out into Bangville Woods and do more stuff:
- Ruthlessly slaughter everything you see. No enemies regenerate but you can gain a level.
- You’ll need to visit your grandmother’s cottage before you can enter the entire forest. Go west and grab the chest in a southern pass.
- There’s a chest northwest of the cottage hidden in the trees.
- I don’t think it’s possible to lose the fight in the cottage. Just do the obvious stuff and see the sex scene. This unlocks two southern paths and returns you to Bangville.
- Head east next. There’s a chest in Mr. Wolf’s house.
- Don’t miss the sneaky chest in the northeast, left of the brambles you can’t pass through.
- Navigate the forest maze in the southwest section until you find a treasure chest and a stump with an axe. This will teach you the Violence skill.
- Go back to Peaceful Glade and walk around near the southeastern mushrooms until you start a fight.
- Grab the sparkly item in the furthest southeast area.
- You should have enough JP to learn Sexual Healing now. Learn and equip it.
- Don’t forget to go back to Ingrid’s house to heal! Your MP is probably drained from all the enemies.
This lady is pointing to where you need to go last:
Point of No Return #3
Before you enter the portal you should have the following:
- Ingrid Level: 3
- Corruption: -12
- Intelligence: 110
- New skills: Violence, Sexual Healing
- New equipment: Iron Basket, Reinforced Bustier (optionally ♥♥♥♥♥’s Riding Hood or another Sexy Ring)
- All the healing items you can get your hands on
The Wolf Gauntlet
This is the big test of all your preparations! You need to face a series of fights with no saving allowed. There are four bone piles that have items but the important ones are the Tattered Hood (equip ASAP!) in the southeast and the Water in the northwest.
You need to learn the different wolf types even though they don’t have different names. The wolves looking straight on are standard attackers. The wolves with their heads lowered are relatively weak but cause poison that will drain you really fast. The wolves with red eyes are strongest but weirdly your last priority because they will spend turns charging (their charged attack is lethal but can be canceled with Wink). Most wolves should take one Violence + one normal attack to kill if you’ve done everything I said.
These are the fights:
- 1. Normal x1
- 2. Normal x1 + Poison x1
- 3. Normal x1
- 4. Normal x1 + Charger x1
- 5. Poison x3
- 6. Normal x2
- 7. Poison x1 + Charger x1
- 8. White Wolf (unbeatable)
You’re going to need good strategy to survive all these. Plan enemy HP so you don’t waste resources. Don’t go into a battle with too little MP. Cancel enemy charges before they get a second turn. Try to heal only in between fights. Spend items freely. Save a Maiden’s Kiss for AFTER the poison enemy fights or you’re dead. IMO the riskiest fight is #5 against three poison wolves. Other than that all I can say is good luck!
If you do all this you’ll be in a great position for the rest of the game. Corruption -16 and Intelligence 110 mean you can access more events in Hoodton early. Violence and Sexual Healing will be decent skills for a good while before getting replaced. The Scratched Bracer won’t be replaced by better accessories for a long time. The Pale Fur you got from reaching the last wolf will eventually turn into one of the best accessories in the game!
Those are all my tips. I hope they helped. 🙂 Have fun ❤